Reports
This section allows user to configure and schedule reports. The user can filter the reports by selecting a Report Type from the search box.
- From the left menu, navigate to Reports.
-
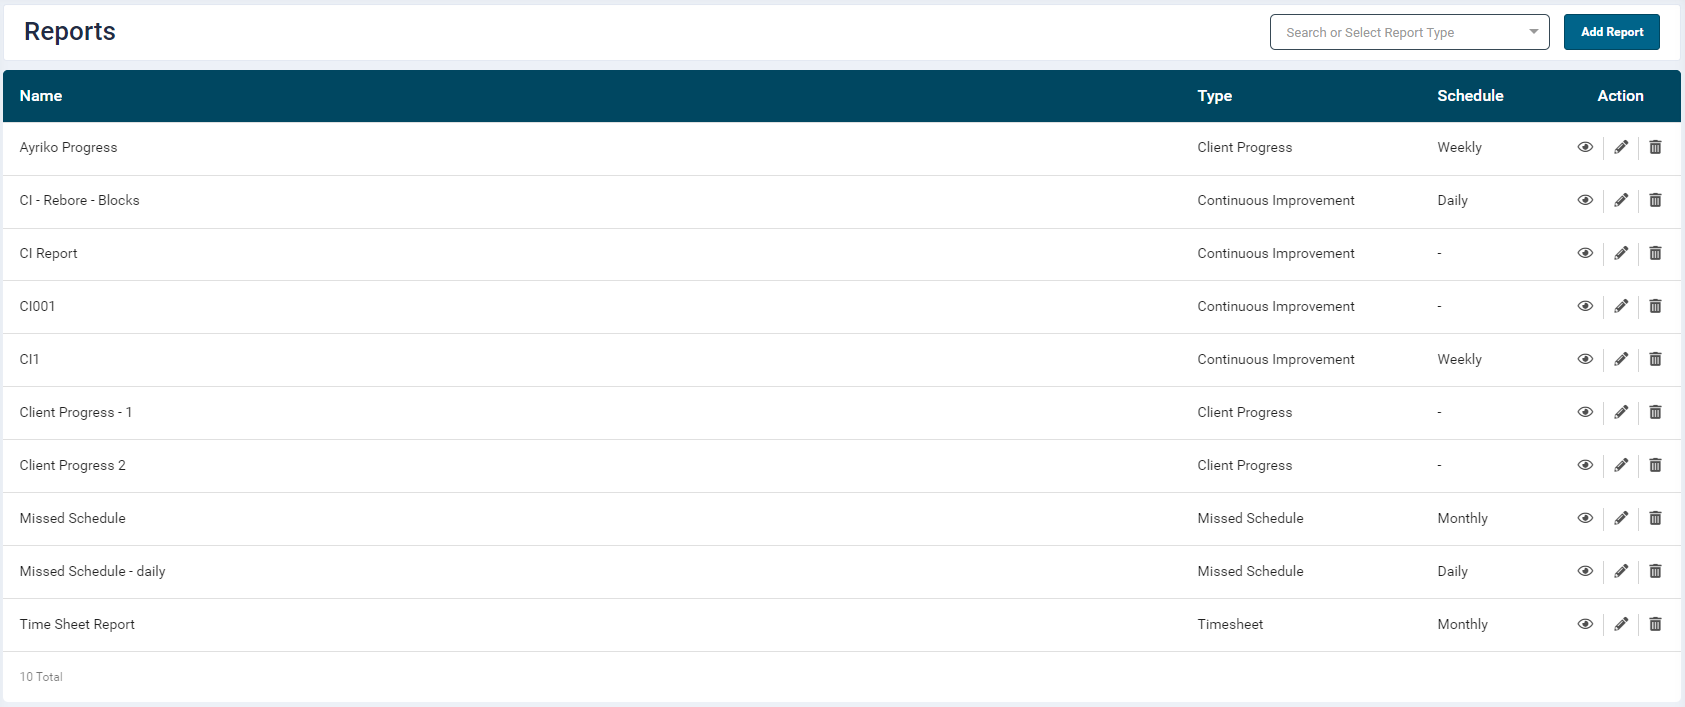
This section lists all the reports configured by the user with a brief information such as,
- Name: Report name
- Type: Report template
- Schedule: Assigned report schedule
- Action: Allows user to Edit, View and Delete reports
- Once a report has been added, the user can view data by clicking the View icon under the Action column.
- Data of different durations can be viewed by selecting the required date range from the date picker.
- The report can be exported in Excel, JSON and CSV formats by clicking the Export button at the top right-hand side of the report view screen.
-
The Template tab displays a list of all the available report templates in the SmartShopFloor portal.

Adding a Report
Steps
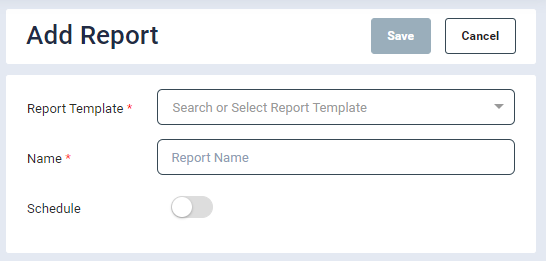
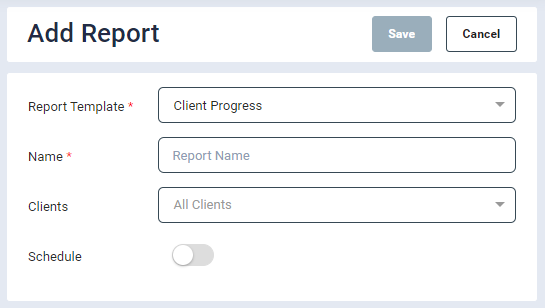
- Click on Add Report button which opens a Report configuration page. This section provides easy to use templates that allows user to configure, view and schedule reports.
- Report Template: Select a Report Template from the dropdown list.
- As per the selection, relevant fields would be enabled as explained ahead in the respective report templates.
-
Currently, the following templates are available:
-
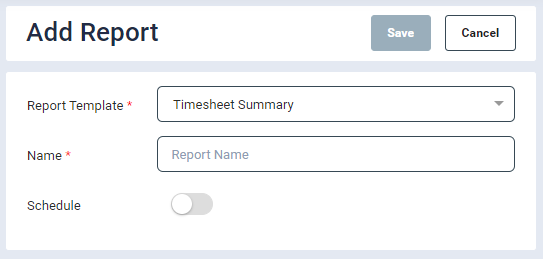
Name: Enter a name for the report
- Enter inputs in the fields as per the selected template
- Schedule: The user can add a schedule and receive reports in PDF format as per the selected frequency.
Report Templates
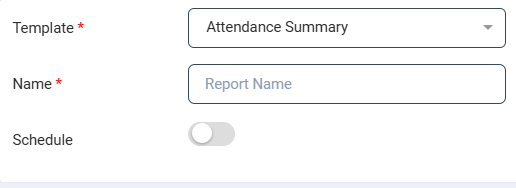
Attendance Summary
This template displays brief attendance records of employees.This will show clock-in clock-out times for all employees over a specified date range.
- On the Details screen
- Template: select Attendance Summary from the dropdown
- Name: Enter a report name
- You can schedule it to receive reports in email on a Daily, Weekly or Monthly basis.
- Click Save. The configured report will get listed in the List tab.
- Clicking the View icon under the Action column will display the attendance records of employees.
- By default the report provides data of the current month with the following information.
- User Name
- Employee Id
- Date
- Clock-In Time
- Work Centres
- Job Codes
- Approved by
- Approved Time
- The date range can be modified from the date picker at the top right-hand side of the screen
Missed Schedule
Missed Schedule report shows a list of all missed scheduled operations for a specified date range. Typically this report is run to identify what operations have been missed that day so that production managers know what jobs might be at risk of running behind.
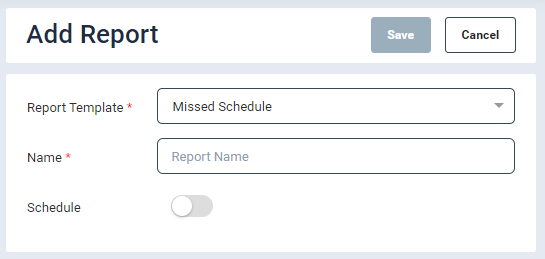
- From the Report Details screen, select Missed Schedule from the Report Template dropdown.
- Name: Enter a name
- Date Picker: Select a date range: 1 Day, 1 Week. 1 Month, Custom. By default, the timeframe is 1 Day.
- Click Save.
- The Report Viewer will display missed schedule job details for configured date range with total count along with the following information.
- Job Code
- Customer
- Order No
- Component
- Operation
- Due Date
- Work Centre
- Department
- Scheduled From
- Scheduled To
- Scheduled By
- Click Save.
- User can schedule it to receive CSV report of jobs.
Attendance Summary
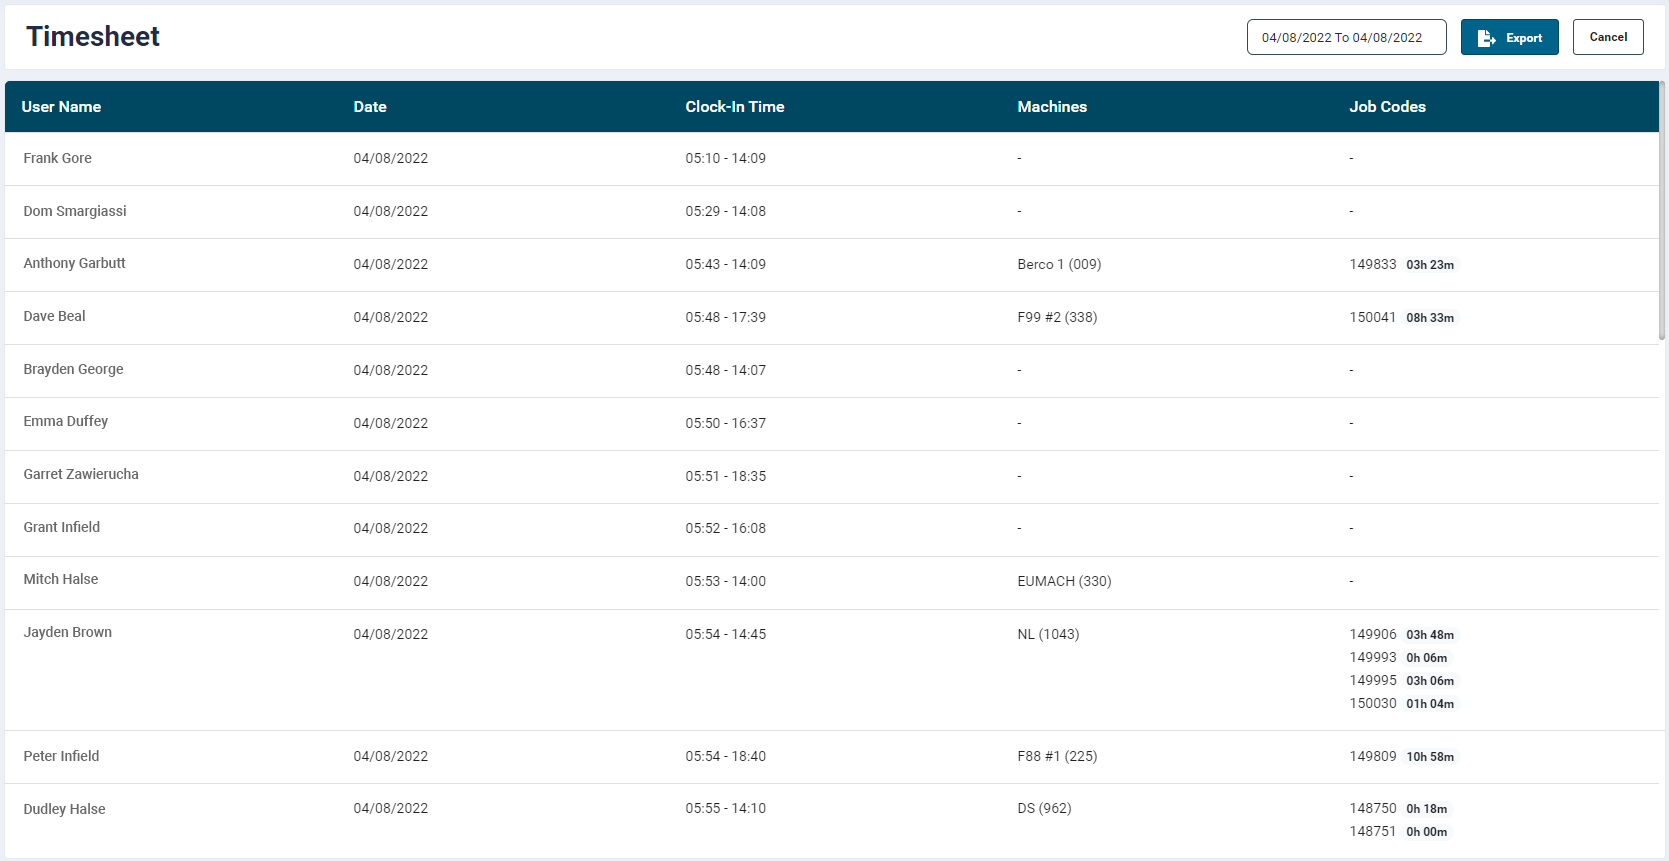
This report shows a summary of clock-in -> clock-out time as well as a brief overview of what Work Centre’s and Job Codes an employee worked on at a daily basis
This template displays brief attendance records of employees. * From the Report Details screen, select Timesheet Summary from the Report Template dropdown. * Name: Enter a name * Date Picker: Select a date range: 1 Day, 1 Week. 1 Month, Custom. By default, the timeframe is 1 Day. * Click Save. * The Report Viewer will display attendance records of employees for configured date range with the following information. * User Name * Date * Clock-In Time * Work Centres * Job Codes * Users can schedule it to receive CSV report of jobs.
Timesheet Details
Similar to the attendance summary report, this provides a detailed breakdown of the operators day, showing all interactions with the operator interface.
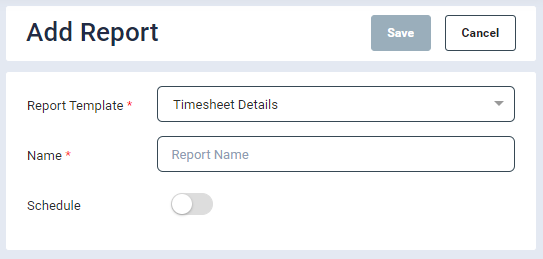
This template displays login hours of employees with detailed information of all tasks that were done on a perticular day.
- From the Report Details screen, select Timesheet Details from the Report Template dropdown.
- Name: Enter a name
- Date Picker: Select a date range: 1 Day, 1 Week, 1 Month, Custom. By default, the timeframe is 1 Day.
- Click Save.
- The Report Viewer will display attendance records of employees for configured date range with the following information.
- User Name
- Date
- Clock-In Time: If the operator forgets to clock-out, the system will automatically clocked him out at shift end.This is indicated with asterisk against the timestamp.
- Clock-In Duration
- Clicking the downward arrow will expand the table and display the following details:
- From and To timestamps (time during which the operator worked on a component)
- Job Code
- Order Number
- Customer Name
- Component
- Operation
- Duration
- Information of any downtimes used on machine which are not associated with any jobs (if any) is displayed further below the table.
- Status (downtime status)
- Work Centre
- Duration
- User can schedule it to receive CSV report of jobs.
Continuous Improvement
This report provides a summary of all operational activities broken down by Work Centre giving users the ability to understand potential costs of totaled downtimes or calculate their utilization cost analysis
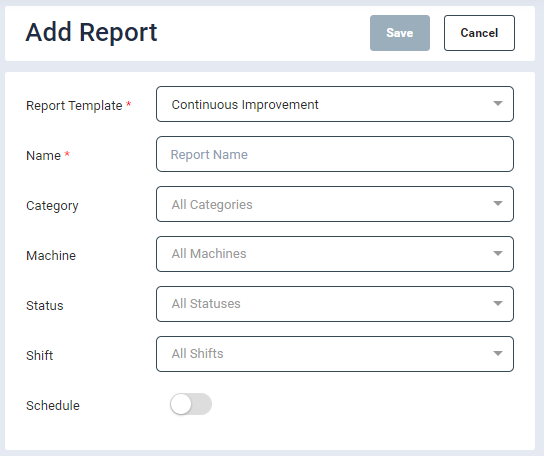
- From the Report Details screen, select Continuous Improvement from the Report Template dropdown.
- Name: Enter a name
- Category: User can single select a value. Select a required work centre category.
- Work Centre: This field lists all the work centres configured under the selected category. User can multi-select values.
- Status: This field lists all the life cycle statuses associated with the selected category. User can multi-select values.
- Shift: This field will display only if there are multiple shifts configured in the system. This field lists all the configured work shifts. User can multi-select values. The report will provide data related to the selected shifts and exclude any OT hours. If no valued is selected, then the report will include data of all the shifts as well as OT hours.
- Click Save.
-
The Report Viewer will display work centre utilisation for configured date range with total cost with the following information.
- Work Centre
- Operational Activity
- Utilised time
- total
-
User can schedule it to receive CSV report of jobs.
In Continuous Improvement Report preview, the user can click on the individual operational activity to view a breakdown of what date that duration was captured and which job it was captured against if applicable
Client Update
This report shows period wise work done on the jobs grouped by client names. This report is useful in understanding the estimated completion dates grouped by customers and also in identifying the duration spent working on each job in these groupings.
- From the Report Details screen, select Client Progress from the Report Template dropdown.
- Name: Enter a name
- Client: Select a required client name from the dropdown list.
- Click Save.
- The Report Viewer will display period wise work done on the jobs the configured date range. The data will be grouped by Client name.
- Job Code
- Order No
- Due Date: This date is based on max due date of the operations
- ETC: This is the last scheduled time i.e. max of scheduled times Or Partially Scheduled
- Duration: Duration of the jobs
- Status: Completed / In Progress / On Hold
Reopened Jobs
This report shows a list of jobs and operations that have been reopened to identify the total duration spent on reopened tasks. This is useful in tracking the number of reopened components/jobs but also at identifying the total time spent working on reworks

- From the Report Details screen, select Reopened Jobs from the Report Template dropdown.
- Name: Enter a name
- Client: Select a required client name from the dropdown list.
- Click Save.
- The Report Viewer will display the following information:
- Job Code
- Reopened Date
- Personnel
- Comments
- Hours Worked
The reopened jobs which do not have any client name are displayed under ‘NA’
Difot
The DIFOT report provides a performance metric that helps you to evaluate the efficiency and reliability of your delivery process. It assesses the ability to deliver products on time and in the requested quantities.
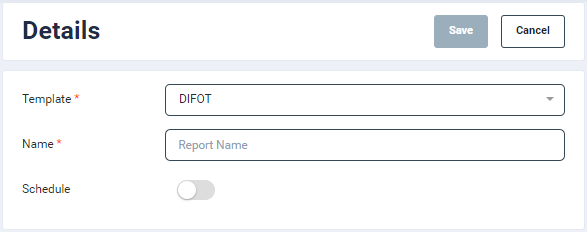
- On the Details screen
- Template: select DIFOT from the dropdown
- Name: Enter a report name
- You can schedule it to receive reports in email on a Daily, Weekly or Monthly basis.
- Click Save. The configured report will get listed in the List tab.
-
Clicking the View icon under the Action column will display the DIFOT data.
-
By default the report provides data of the current month with the following information.
- Customer Id
- Customer Name
- Number of Jobs
- DIF (%) (Delivery In Full)
- DOT (%) (Delivery On Time)
- DIFOT (%) (Delivery In Full On Time)
-
The date range can be modified from the date picker at the top right-hand side of the screen.
Due Jobs
The Due Jobs report gives users a list of all jobs due within the selected date range provided.
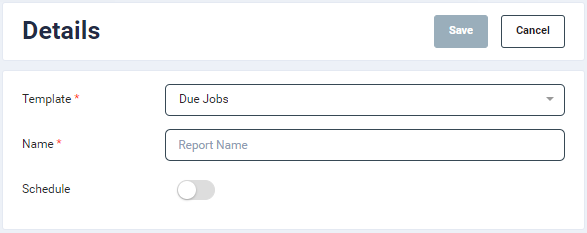
- On the Details screen
- Template: select Due Jobs from the dropdown
- Name: Enter a report name
- You can schedule it to receive reports in email on a Daily, Weekly or Monthly basis.
- Click Save. The configured report will get listed in the List tab.
-
Clicking the View icon under the Action column will display the due job for the current week
-
By default the report provides data of the current week with the following information.
- Job Code
- Order #
- Customer
- Created Date
- Due Date: This date is based on max due date of the operations
- ETC: This is the last scheduled time i.e. max of scheduled times Or Partially Scheduled
- The date range can be modified from the date picker at the top right-hand side of the screen.
Employee Timesheet
This template displays shift time against the total Clock-in and Clock-out duration captured in Smart Shop Floor of each operator.
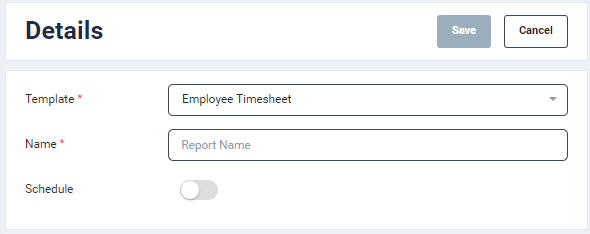
On the Details screen
- Template: select Due Jobs from the dropdown
- Name: Enter a report name
- You can schedule it to receive reports in email on a Daily, Weekly or Monthly basis. Click Save. The configured report will get listed in the List tab. Clicking the View icon under the Action column will display the employee timesheet.
Clicking the downward arrow will expand the table and display the following details:
- Date
- Shift Time
- Clock-In Time: If the operator forgets to clock-out, the system will automatically clocked him out at shift end.This is indicated with asterisk against the timestamp.
- Clock-In Duration
Estimate Vs Actual Duration
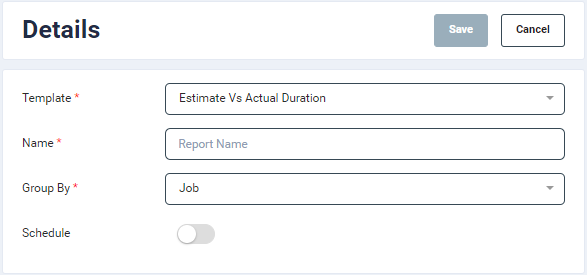
The Estimate Vs Actual Duration report provides a summary of estimated versus actual durations of completed operations on jobs broken down by Departments.
-
On the Details screen
- Template: select Estimate Vs Actual Duration from the dropdown
- Name: Enter a report name
- You can schedule it to receive reports in email on a Daily, Weekly or Monthly basis.
-
Click Save. The configured report will get listed in the List tab.
- Clicking the View icon under the Action column will display the report data

- The report listing page provides the following information:
- Customer Name
- No. of Jobs
- Est. Total
- Act. Total
- Deviation
- The estimate vs. actual data in the report reflects the total work completed for specific components within the specified time range, not considering all components of the job.
- Some of the listed jobs may still be active, but work has been conducted on certain components during the given time period.
Job Analysis
- Job analysis reports are a breakdown of who worked on a job, the job duration and what they were working on arranged by date order. This will only show operations completed for specific jobs within the selected date range.

- On the Details screen
- Template: select Job Analysis from the dropdown
- Name: Enter a report name
- You can schedule it to receive reports in email on a Daily, Weekly or Monthly basis.
- Click Save. The configured report will get listed in the List tab.
-
Clicking the View icon under the Action column will display the data.
-
By default the report provides data of the current week with the following information.
- Job Code
- Due Date
- Status
- Total Duration
- Uptime
- Downtime
- Order
- Customer
- The date range can be modified from the date picker at the top right-hand side of the screen.
- The data can be further drilled down to view Component and Operator details.
- This allows for a more comprehensive view of the specific components involved in each job and the corresponding operators responsible for their execution.
This report will only show records of jobs which were worked more than 2 minutes.
BoM Completion Checklist
The BoM Completion Checklist provides a summary of all the Bill of Material items. This provides users with the ability to filter through the Bill of Material list.
- Bill of Materials is configured in the job as well as each item is then again bifurcated to their usage in respective operation.
- Report helps to know which operation of the job is scheduled in near time so that Bill of materials can be arranged accordingly.
- There are certain filters available for user to configure as per below
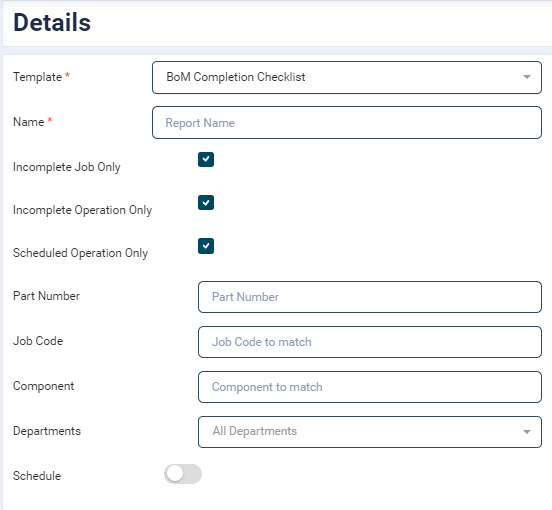
On the Details screen
- Template: select BoM Completion Checklist from the dropdown
- Name: Enter a report name
- Incomplete Job Only: This will filter the report to only list Bill of Materials of incomplete jobs. Any complete jobs will not display their Bill of Materials.
- Incomplete Operation Only: This will filter the report to only list Bill of Materials of incomplete Operations. Any completed operations will not have their Bill of Materials in this list if enabled.
- Scheduled Operation Only: This will filter the report to only list Bill of Materials of operations that have been scheduled. Any unscheduled operations will not appear if this is enabled.
- You can schedule it to receive reports in email on a Daily, Weekly or Monthly basis.
Click Save. The configured report will get listed in the List tab.
Summary of Available hours
The Summary of Available hours provides a summary by shift of total labour hours against the total scheduled hours.
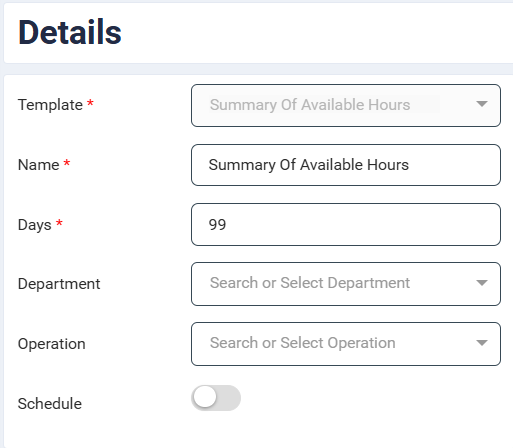
On the Details screen
- Template: select Summary of Available Hours from the dropdown
- Name: Enter a report name
- Days: Enter the number of days you want to display the Summary of Available Hours up to 99
- Department: By default, it selects all departments, however specific department level total hours vs scheduled can be configured
- Operation: By default, it selects all operations for all departments, however specific operation level total hours available vs scheduled can be configured
- You can schedule it to receive reports in email on a Daily, Weekly or Monthly basis.
Click Save. The configured report will get listed in the List tab.
Schedule a Report
- By default, the ’Schedule’ feature is disabled. Move the slider to the right to enable it.
- Select a Schedule Type. Based on the selected frequency, the reports will be sent on the specified email ID in PDF format.
- Daily: The report will be generated Daily, every day at the configured time.
- Weekly: The report will be generated weekly, every configured week day at the configured time.
- Monthly: The report will be generated monthly, on the configured date at the configured time.
- Email Subject: Enter the email subject
- Email: Enter a valid email ID. The user can add multiple email IDs in individual email fields.
- Click SAVE.
Report email for Reopened Jobs will be sent only if there are any reopened jobs.
Edit Report
- To edit a Report, click on the Edit icon
 under the Action column of the required report.
 - Modify the criteria selection as required and save the report configuration.
Delete Report
- Click on Delete icon
 under the Action column of the required report.
 - It will give you confirmation pop-up, “Do you wish to delete this record?”, click "Yes’ to Delete the record or ‘No’ to keep that Report.
- On Successful Deletion, it will give you confirmation pop-up such as “Report deleted successfully”.