Password Change (IMPORTANT)
To ensure your gateway is as secure as possible make sure you change the password from the default. To do this:
- Connect to your gateway by using an ethernet cable connected to your PC and the LAN port of the gateway.
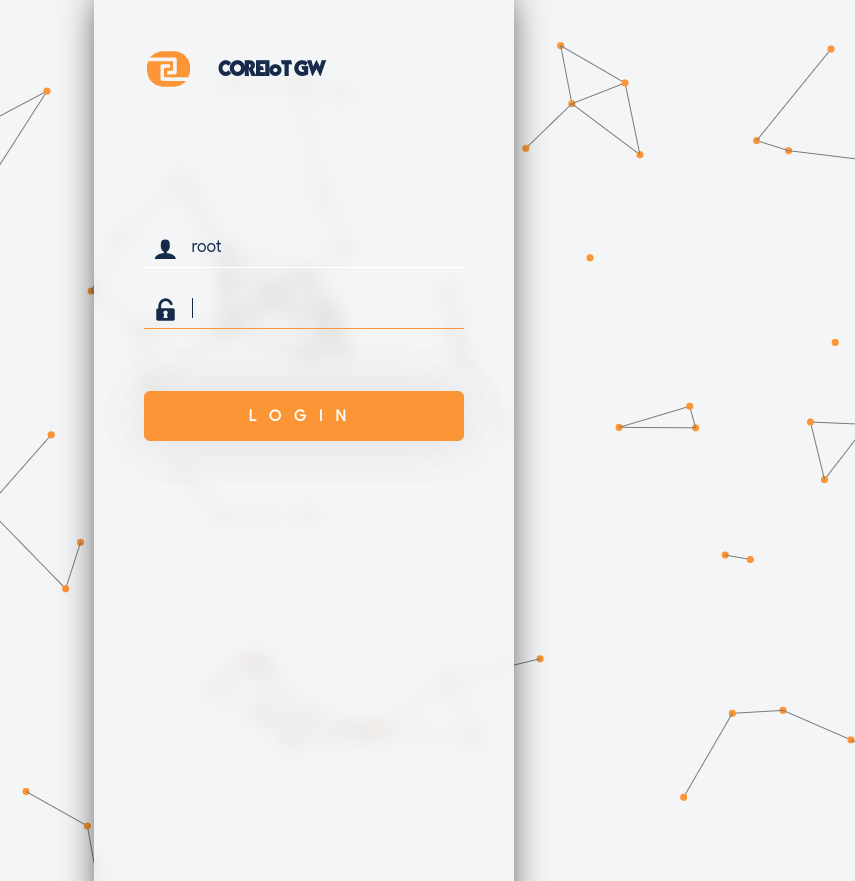
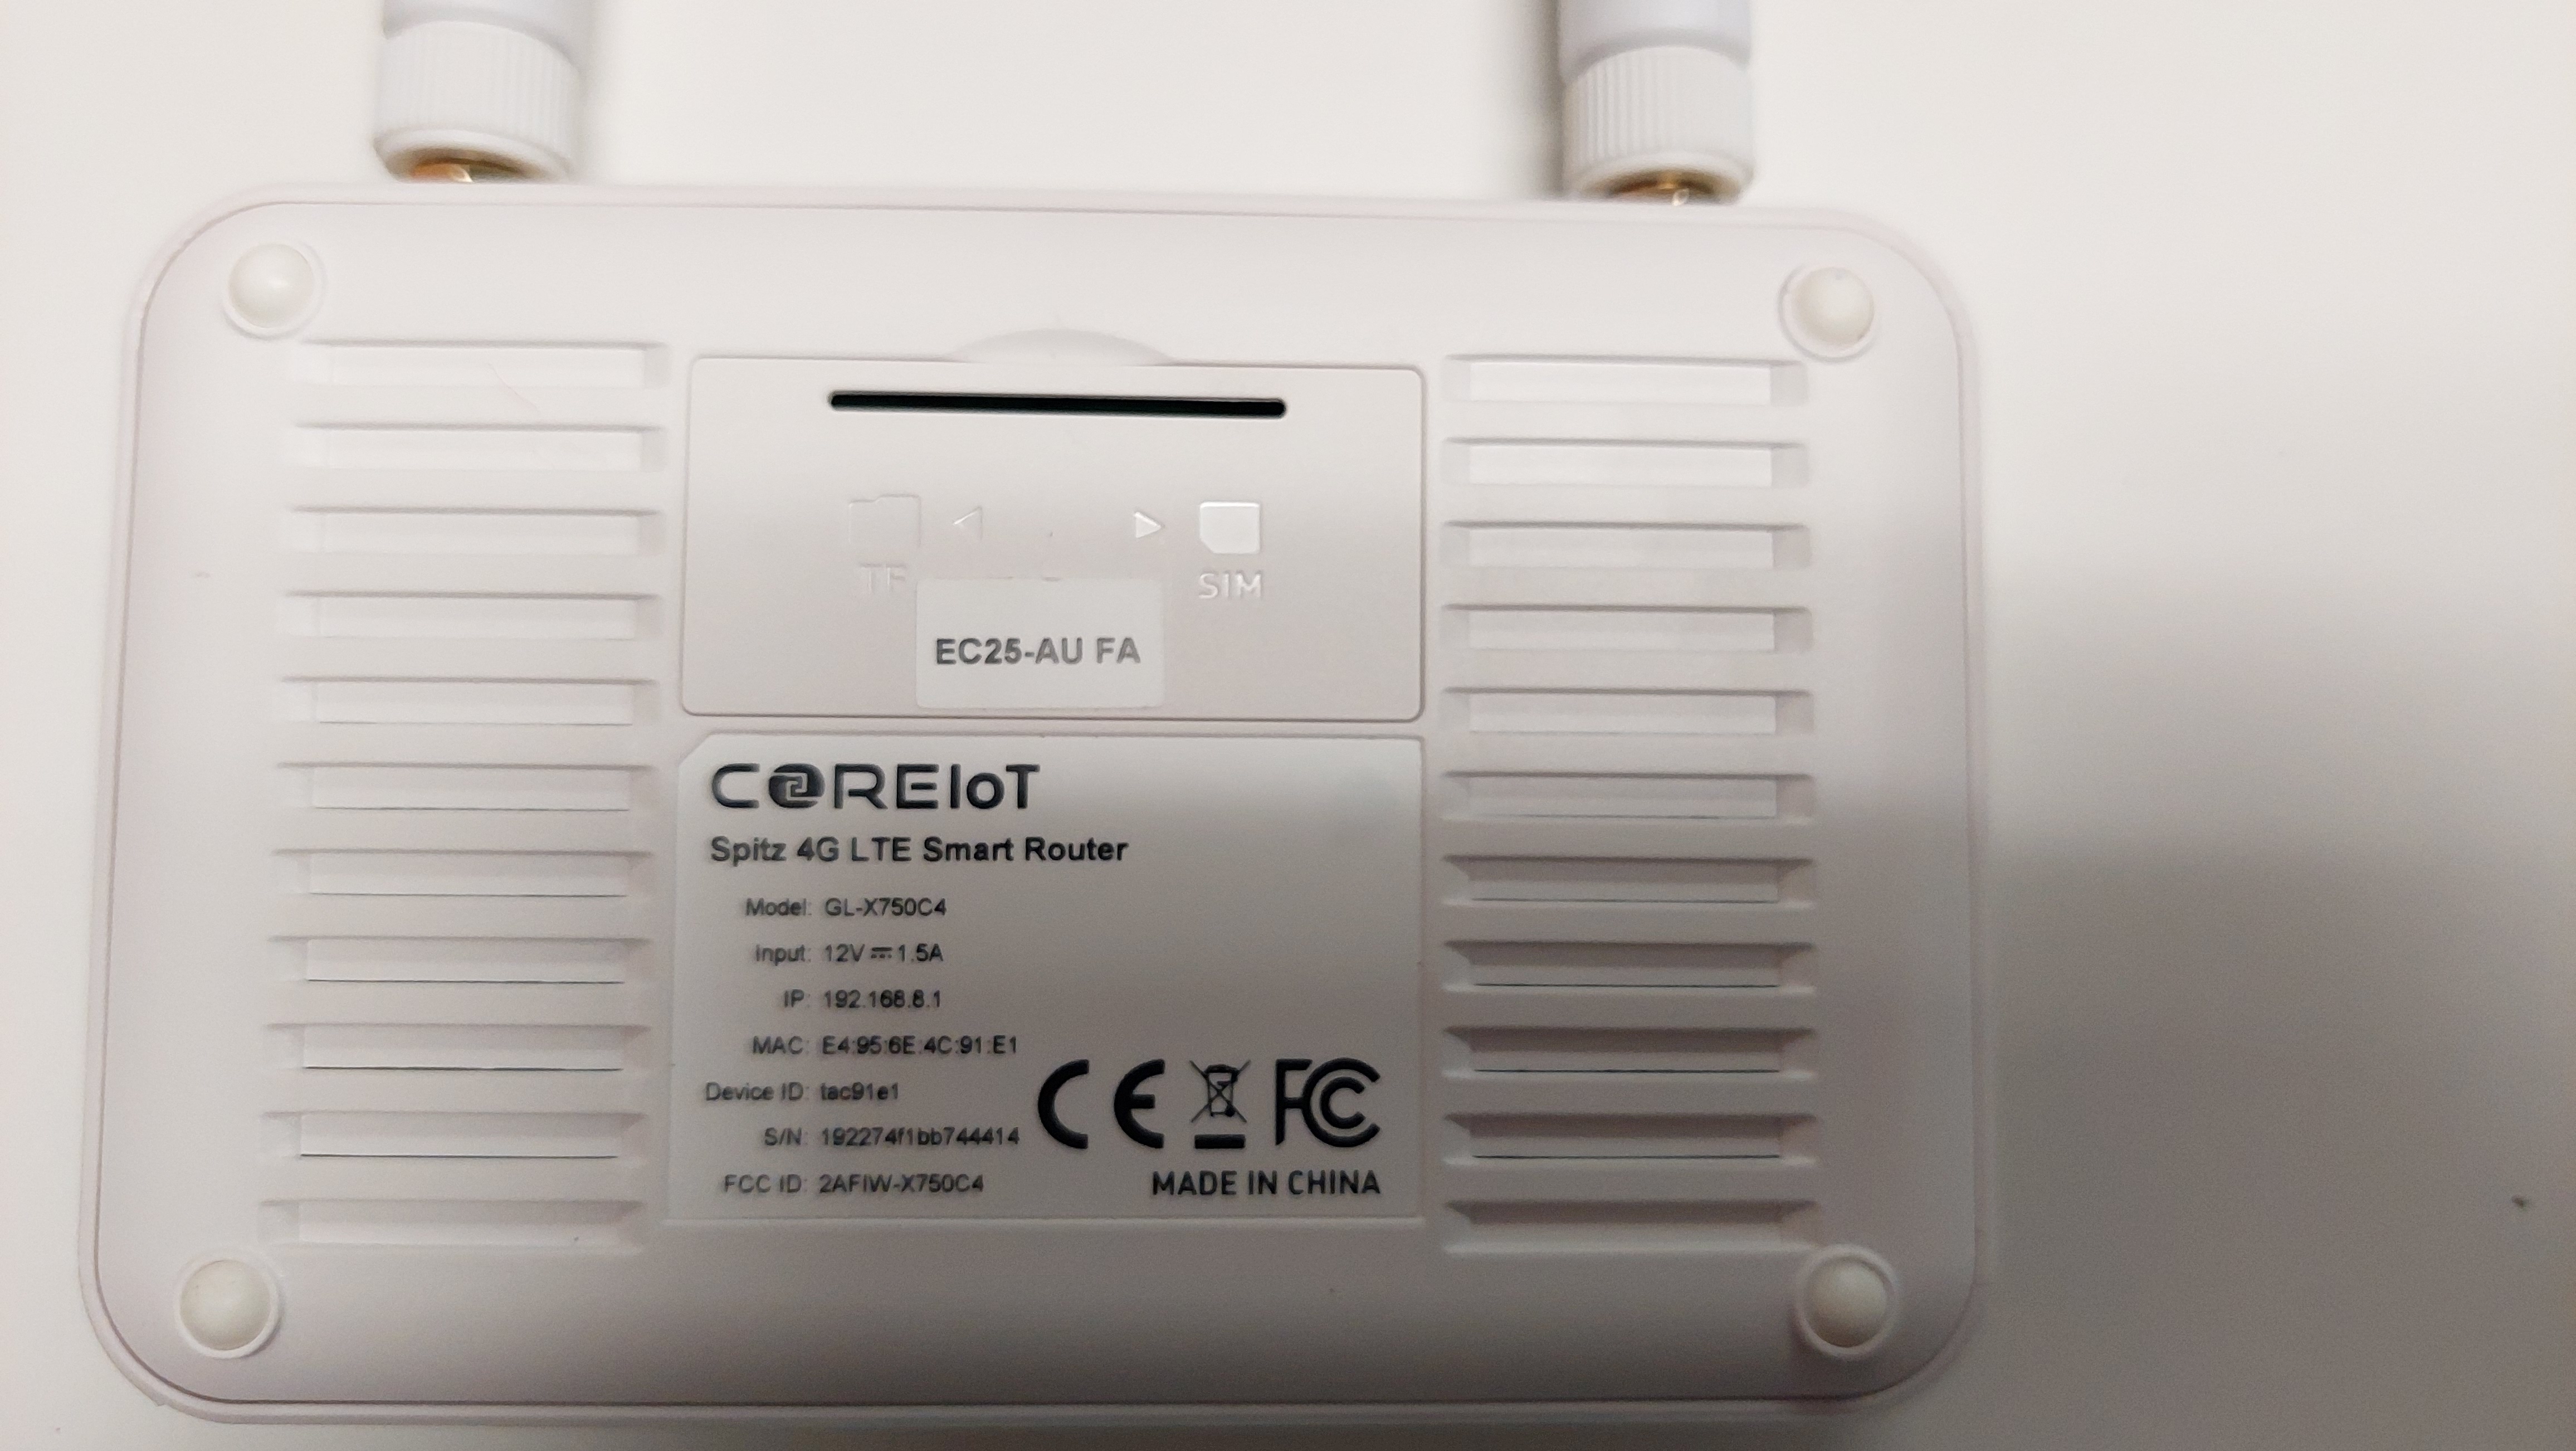
- In your browser navigate to 192.168.8.1
- Login with:
- user: root
- password: {{NEED to CONFIRM}}
- Navigate to System → Administration
- Enter you new password twice.
- Select save.
Prerequisites
- WiFi/Cabled network with internet connectivity
OR
- Activated SIM card and appropriate adapters depending on sim size required.
If using local network the following ports are required to be allowed out:
-
53- DNS port
-
80- HTTP port used to check connection.
-
123- NTP port used to sync time
-
443- HTTPS port used to check connection.
-
8883- Secured MQTT port used to securely communicate to SSF services.
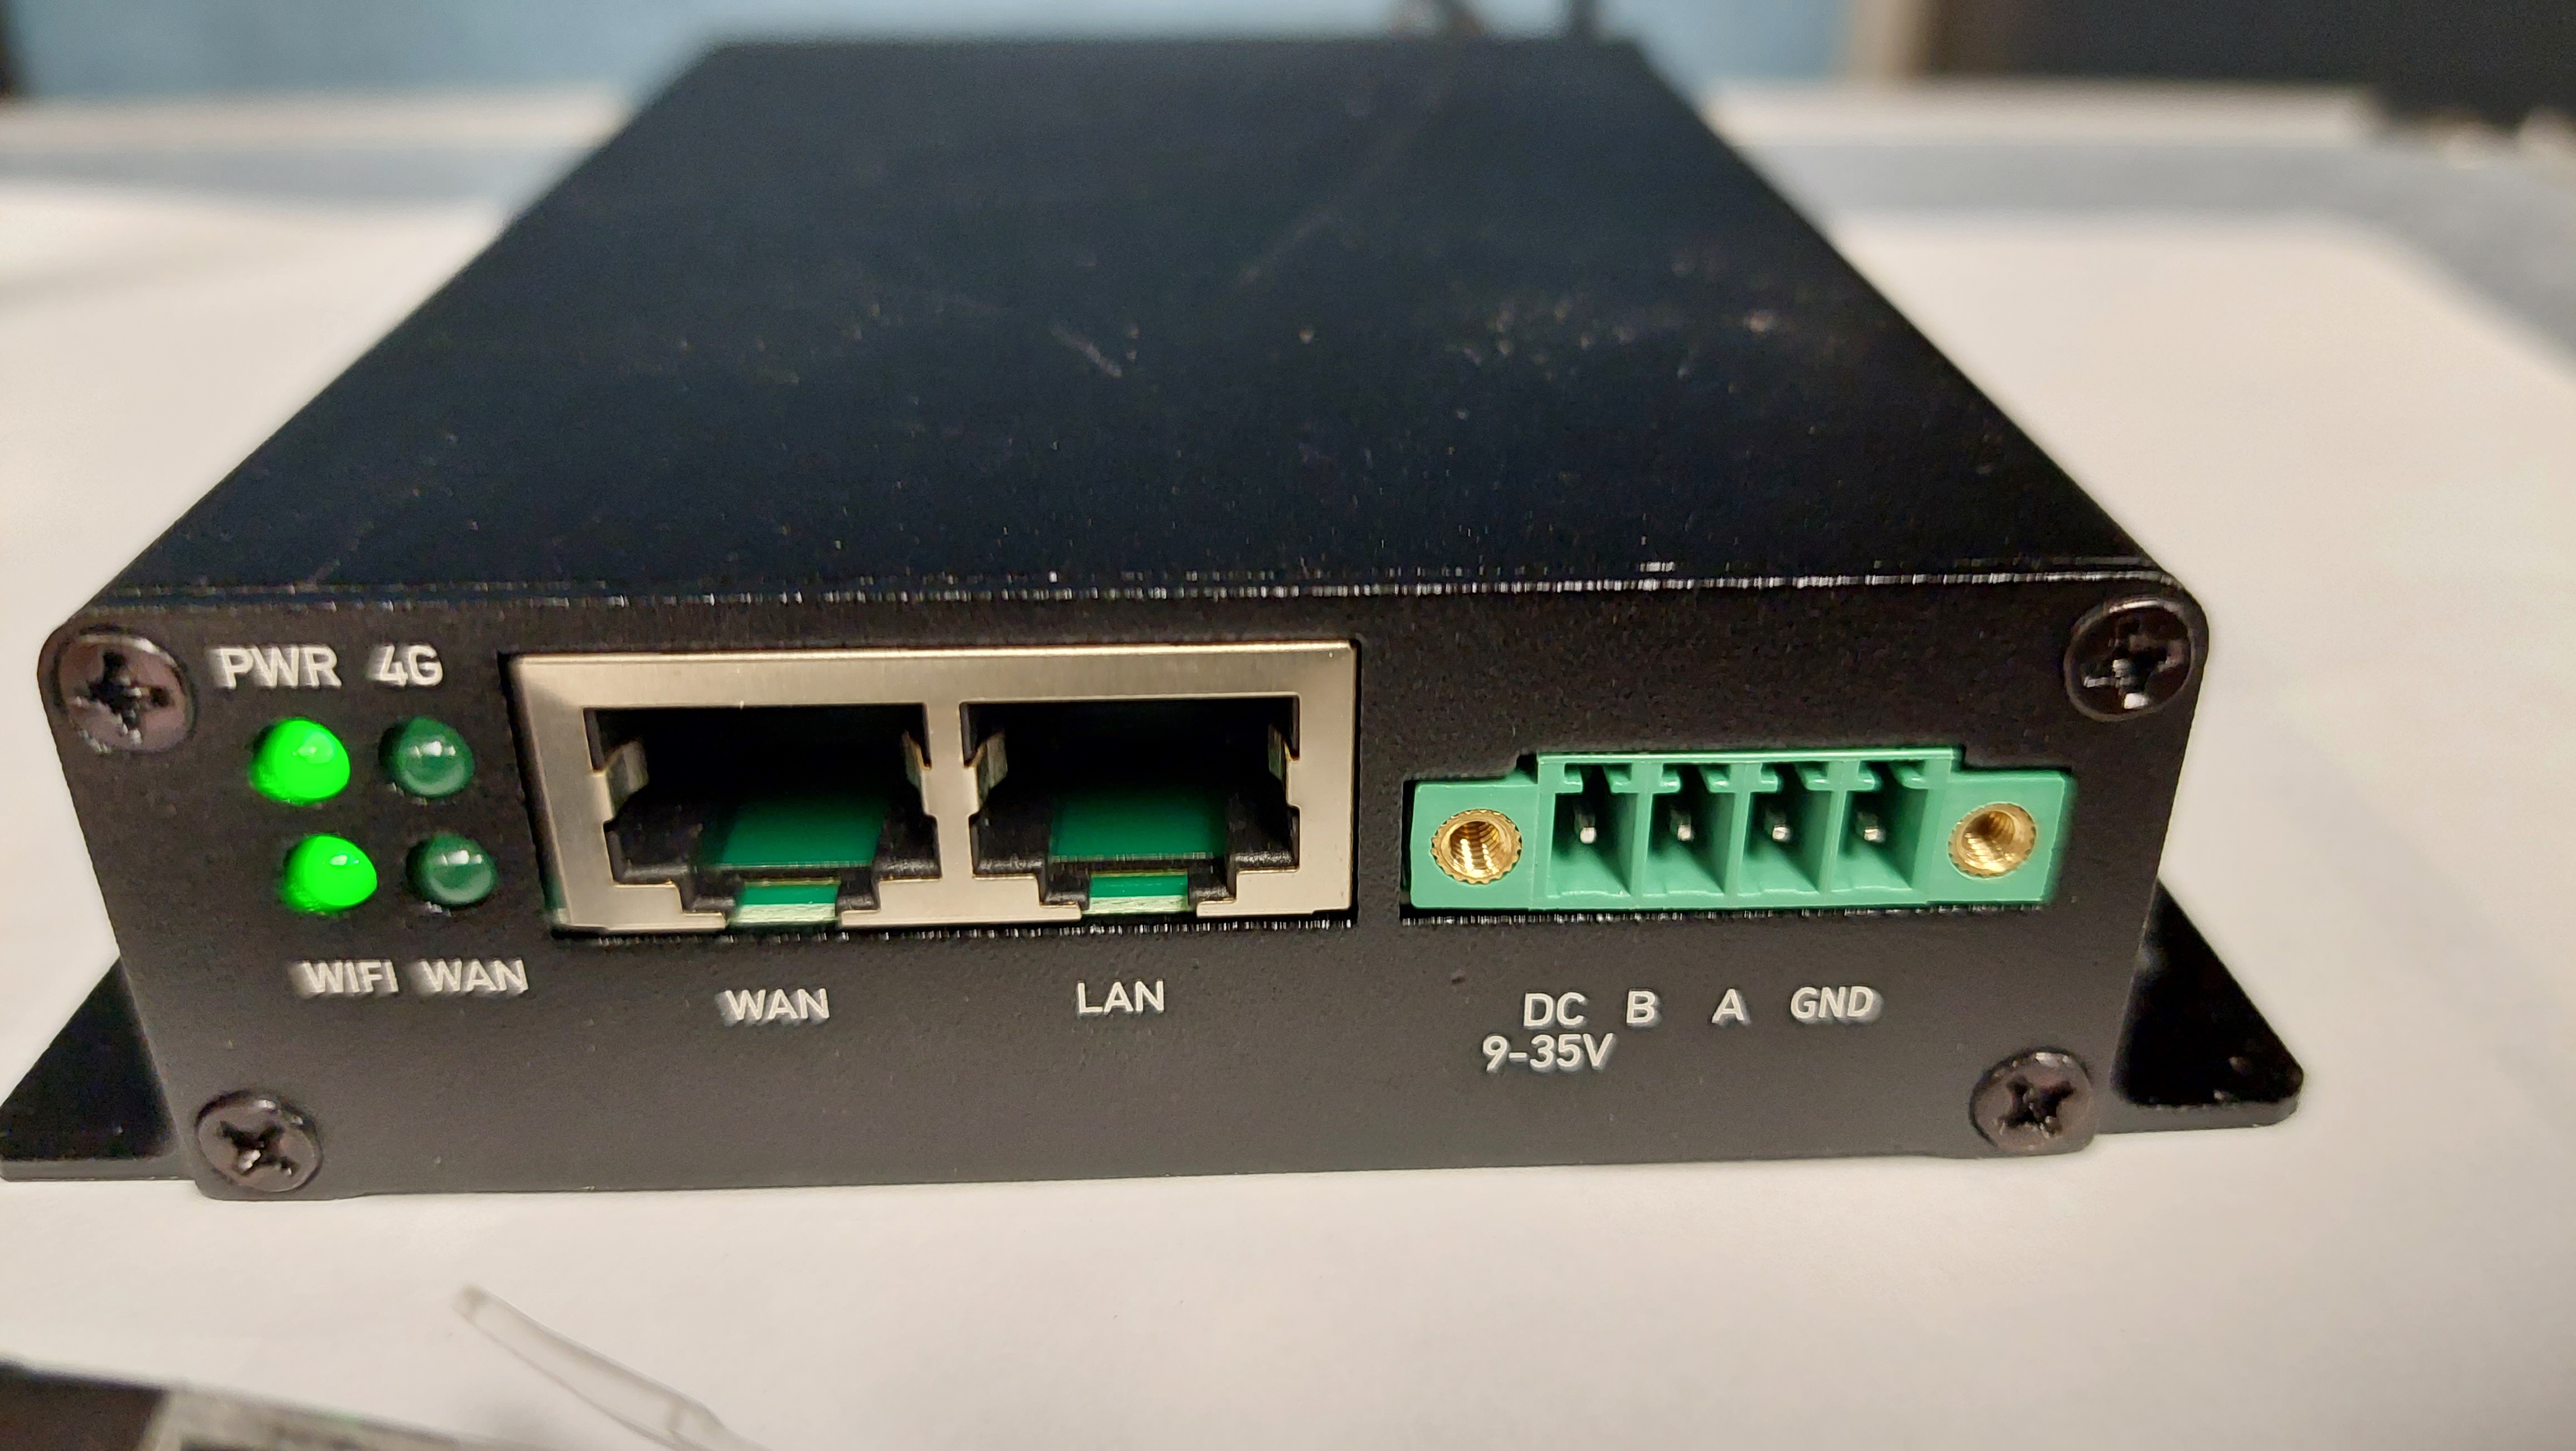
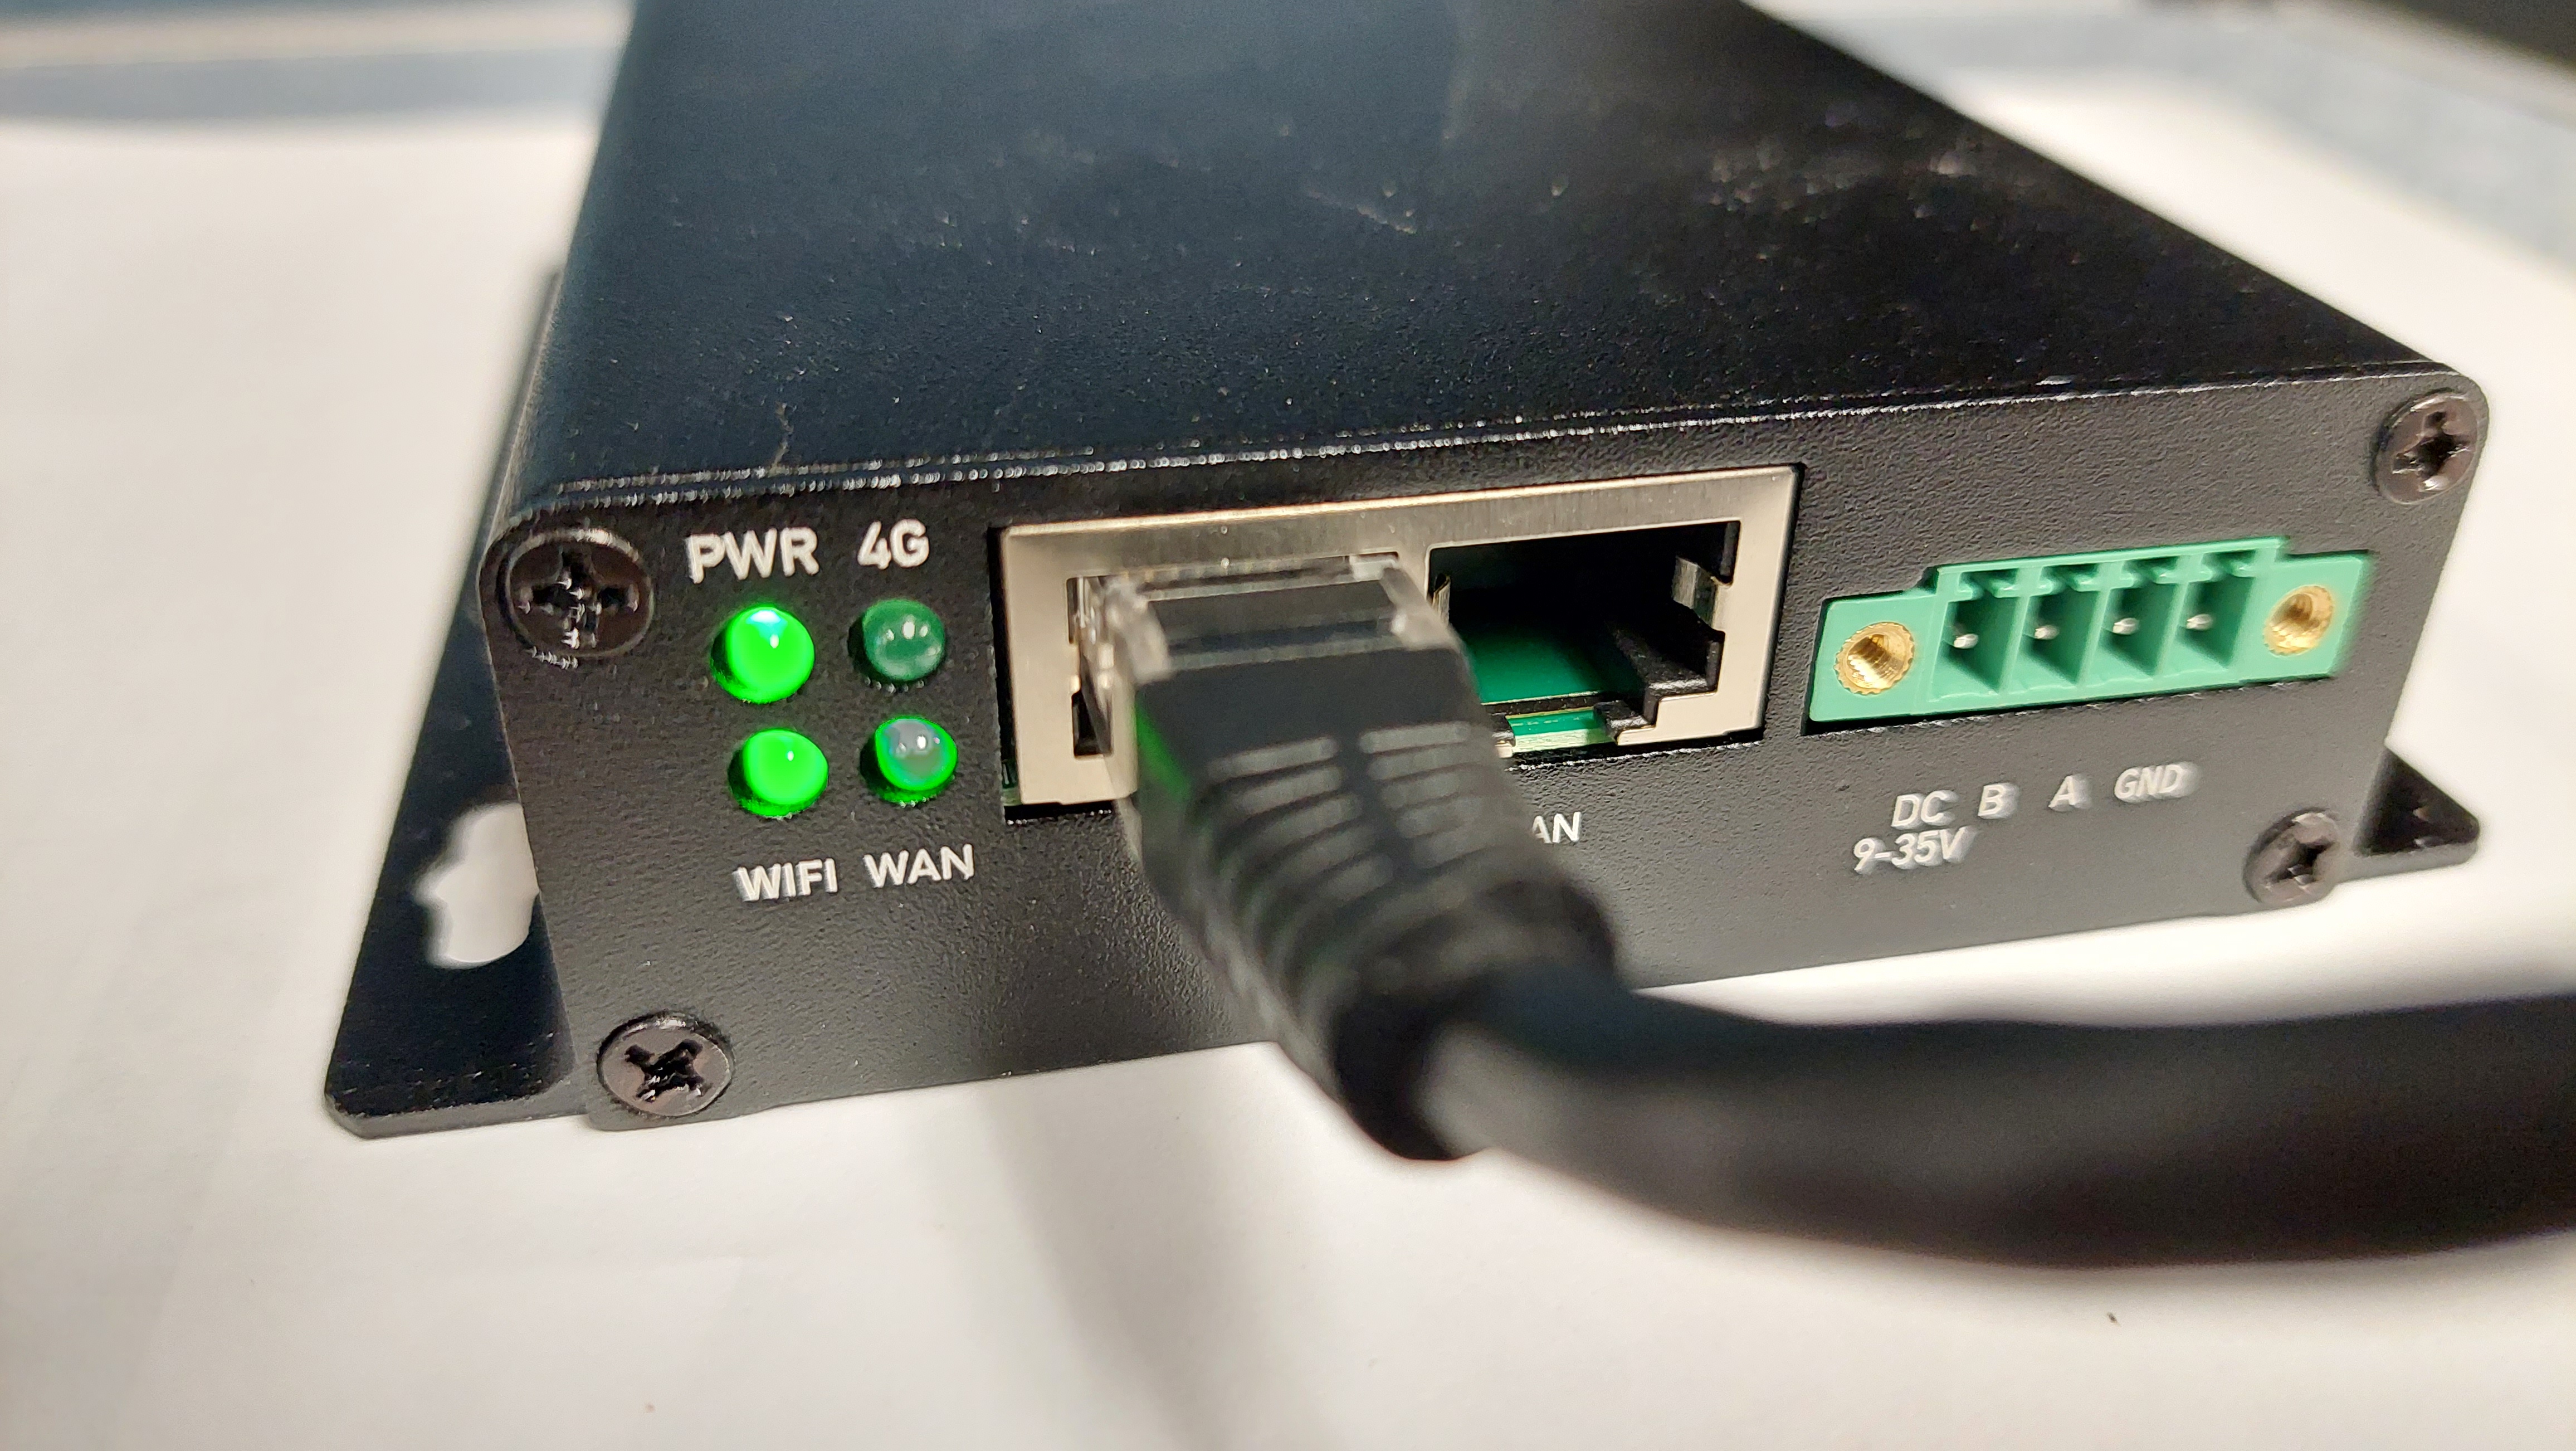
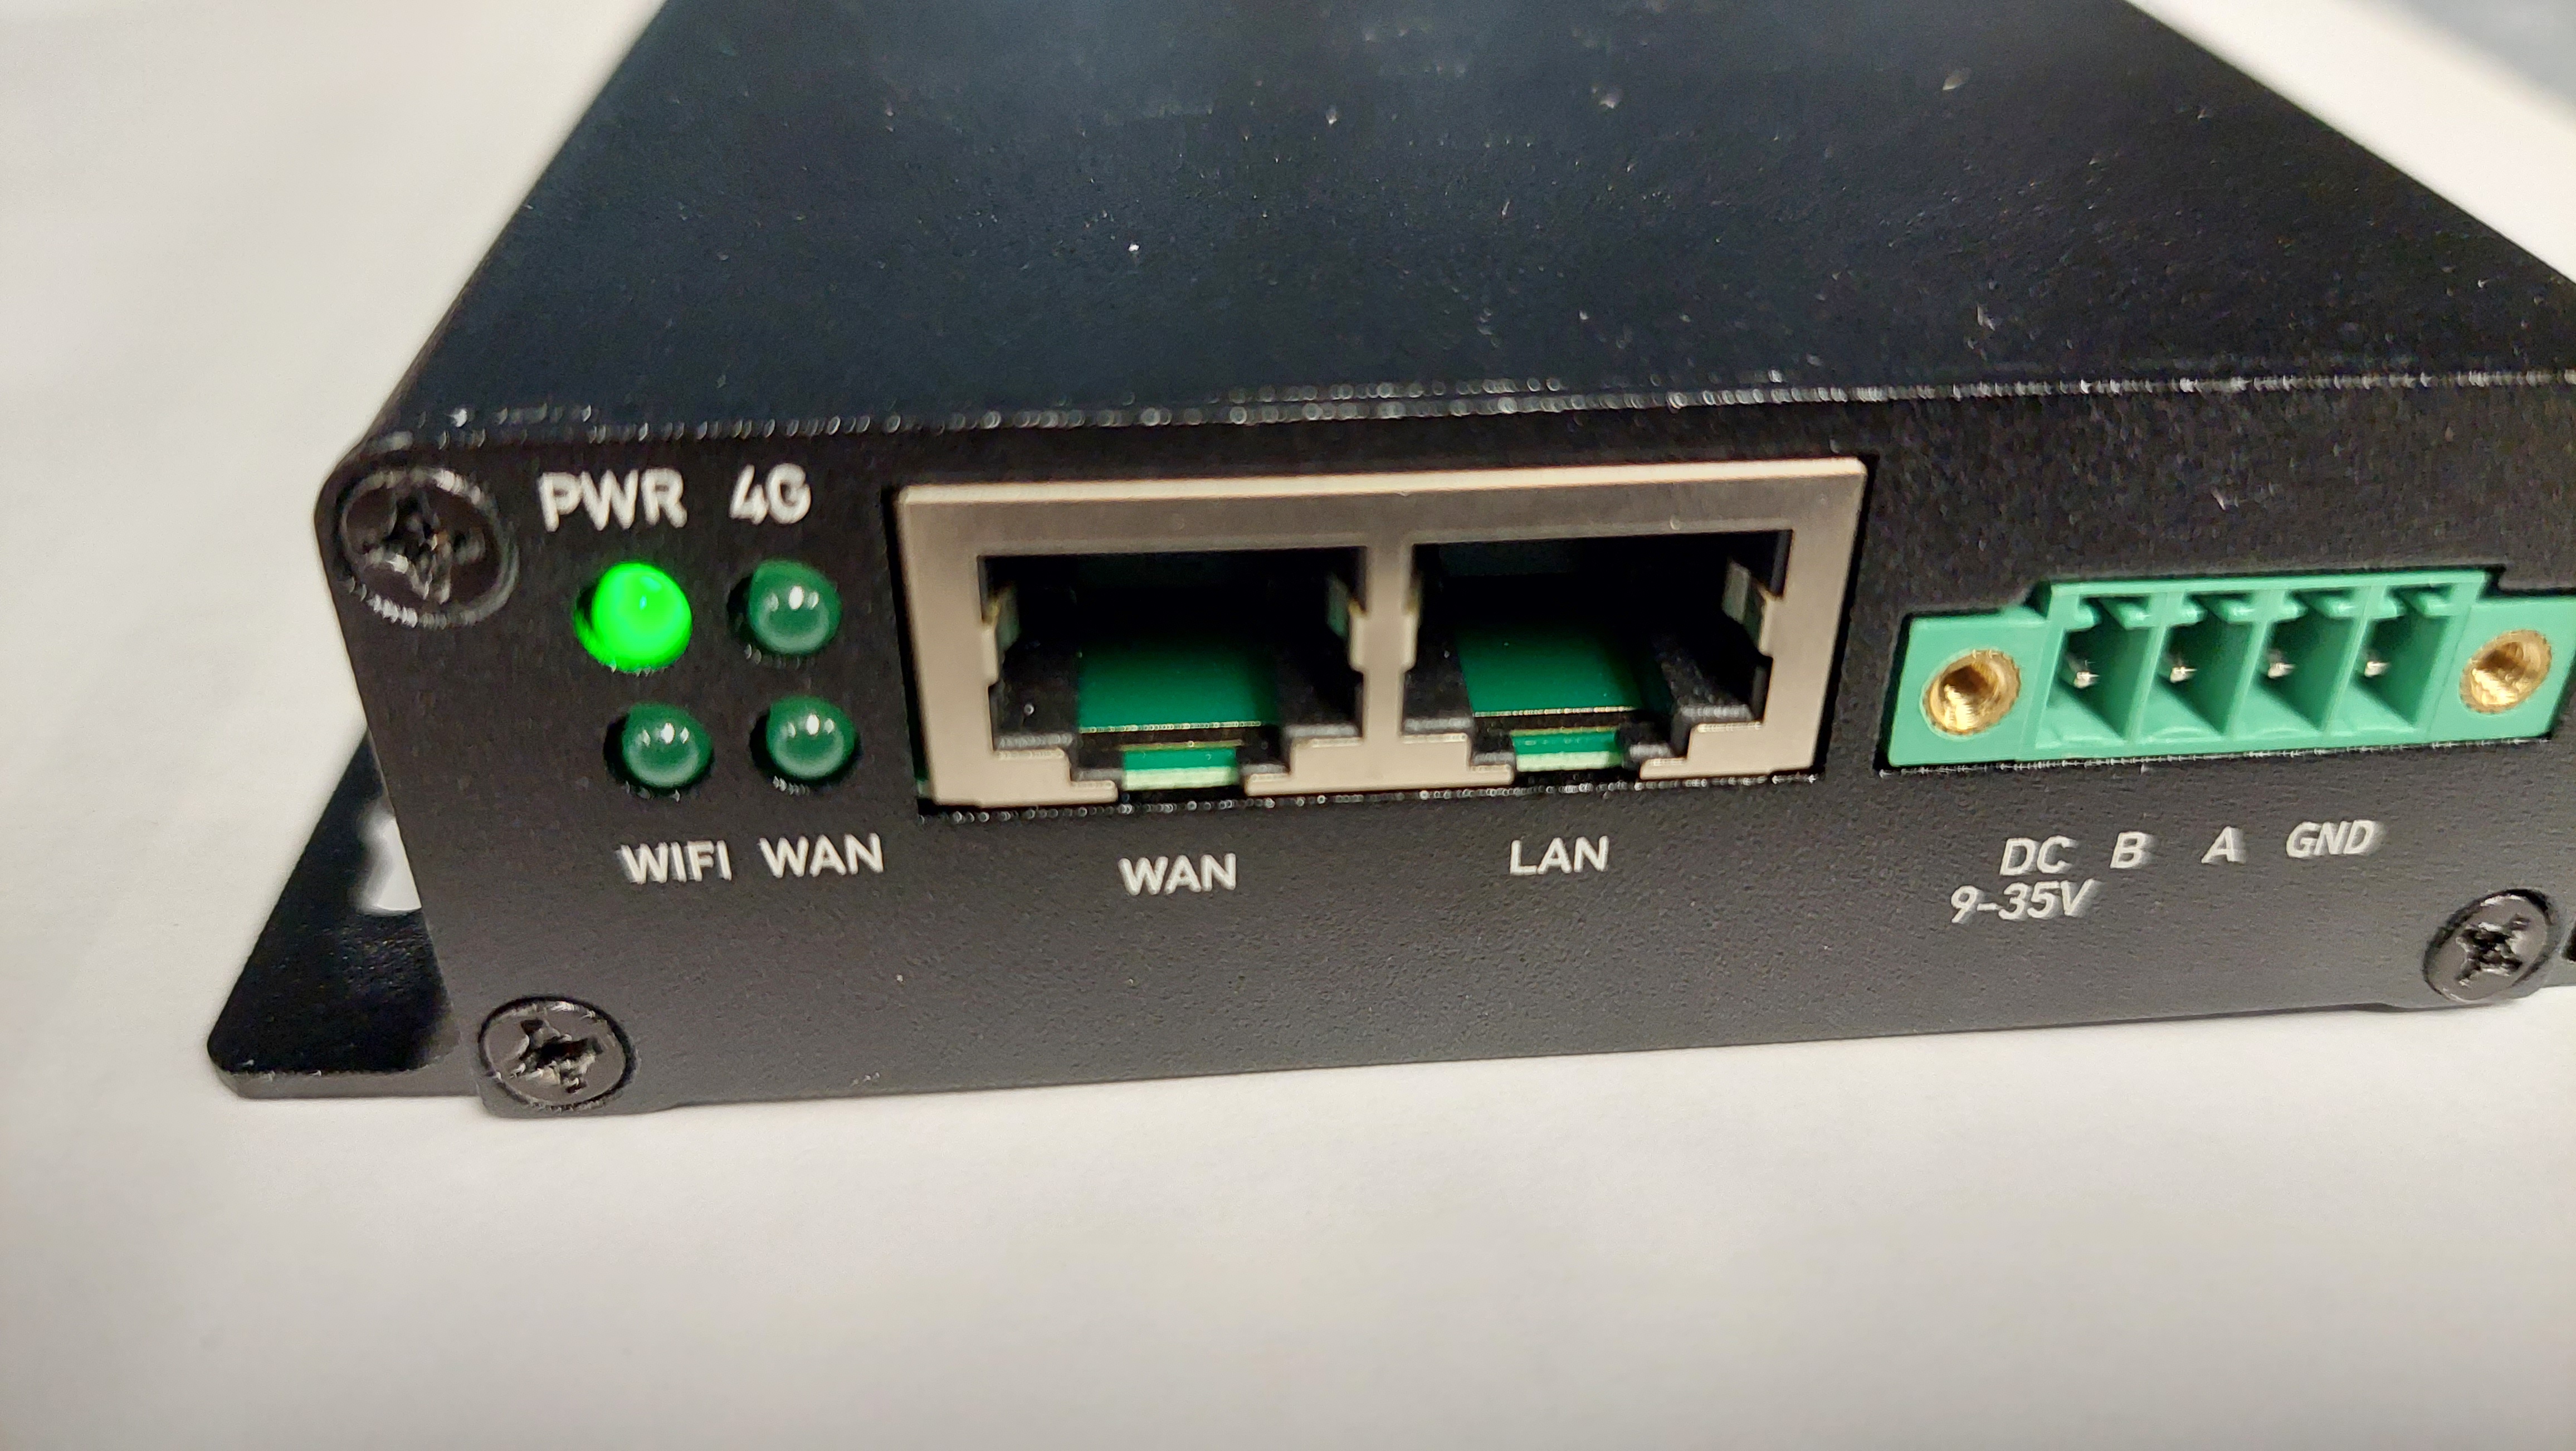
Cable Connection (DHCP)
This is the quickest way to get your gateway up and running. All that is needed is:
-
Connect ethernet cable to WAN port on gateway.
-
Connect other end to Switch/Router.
-
Power on gateway.
-
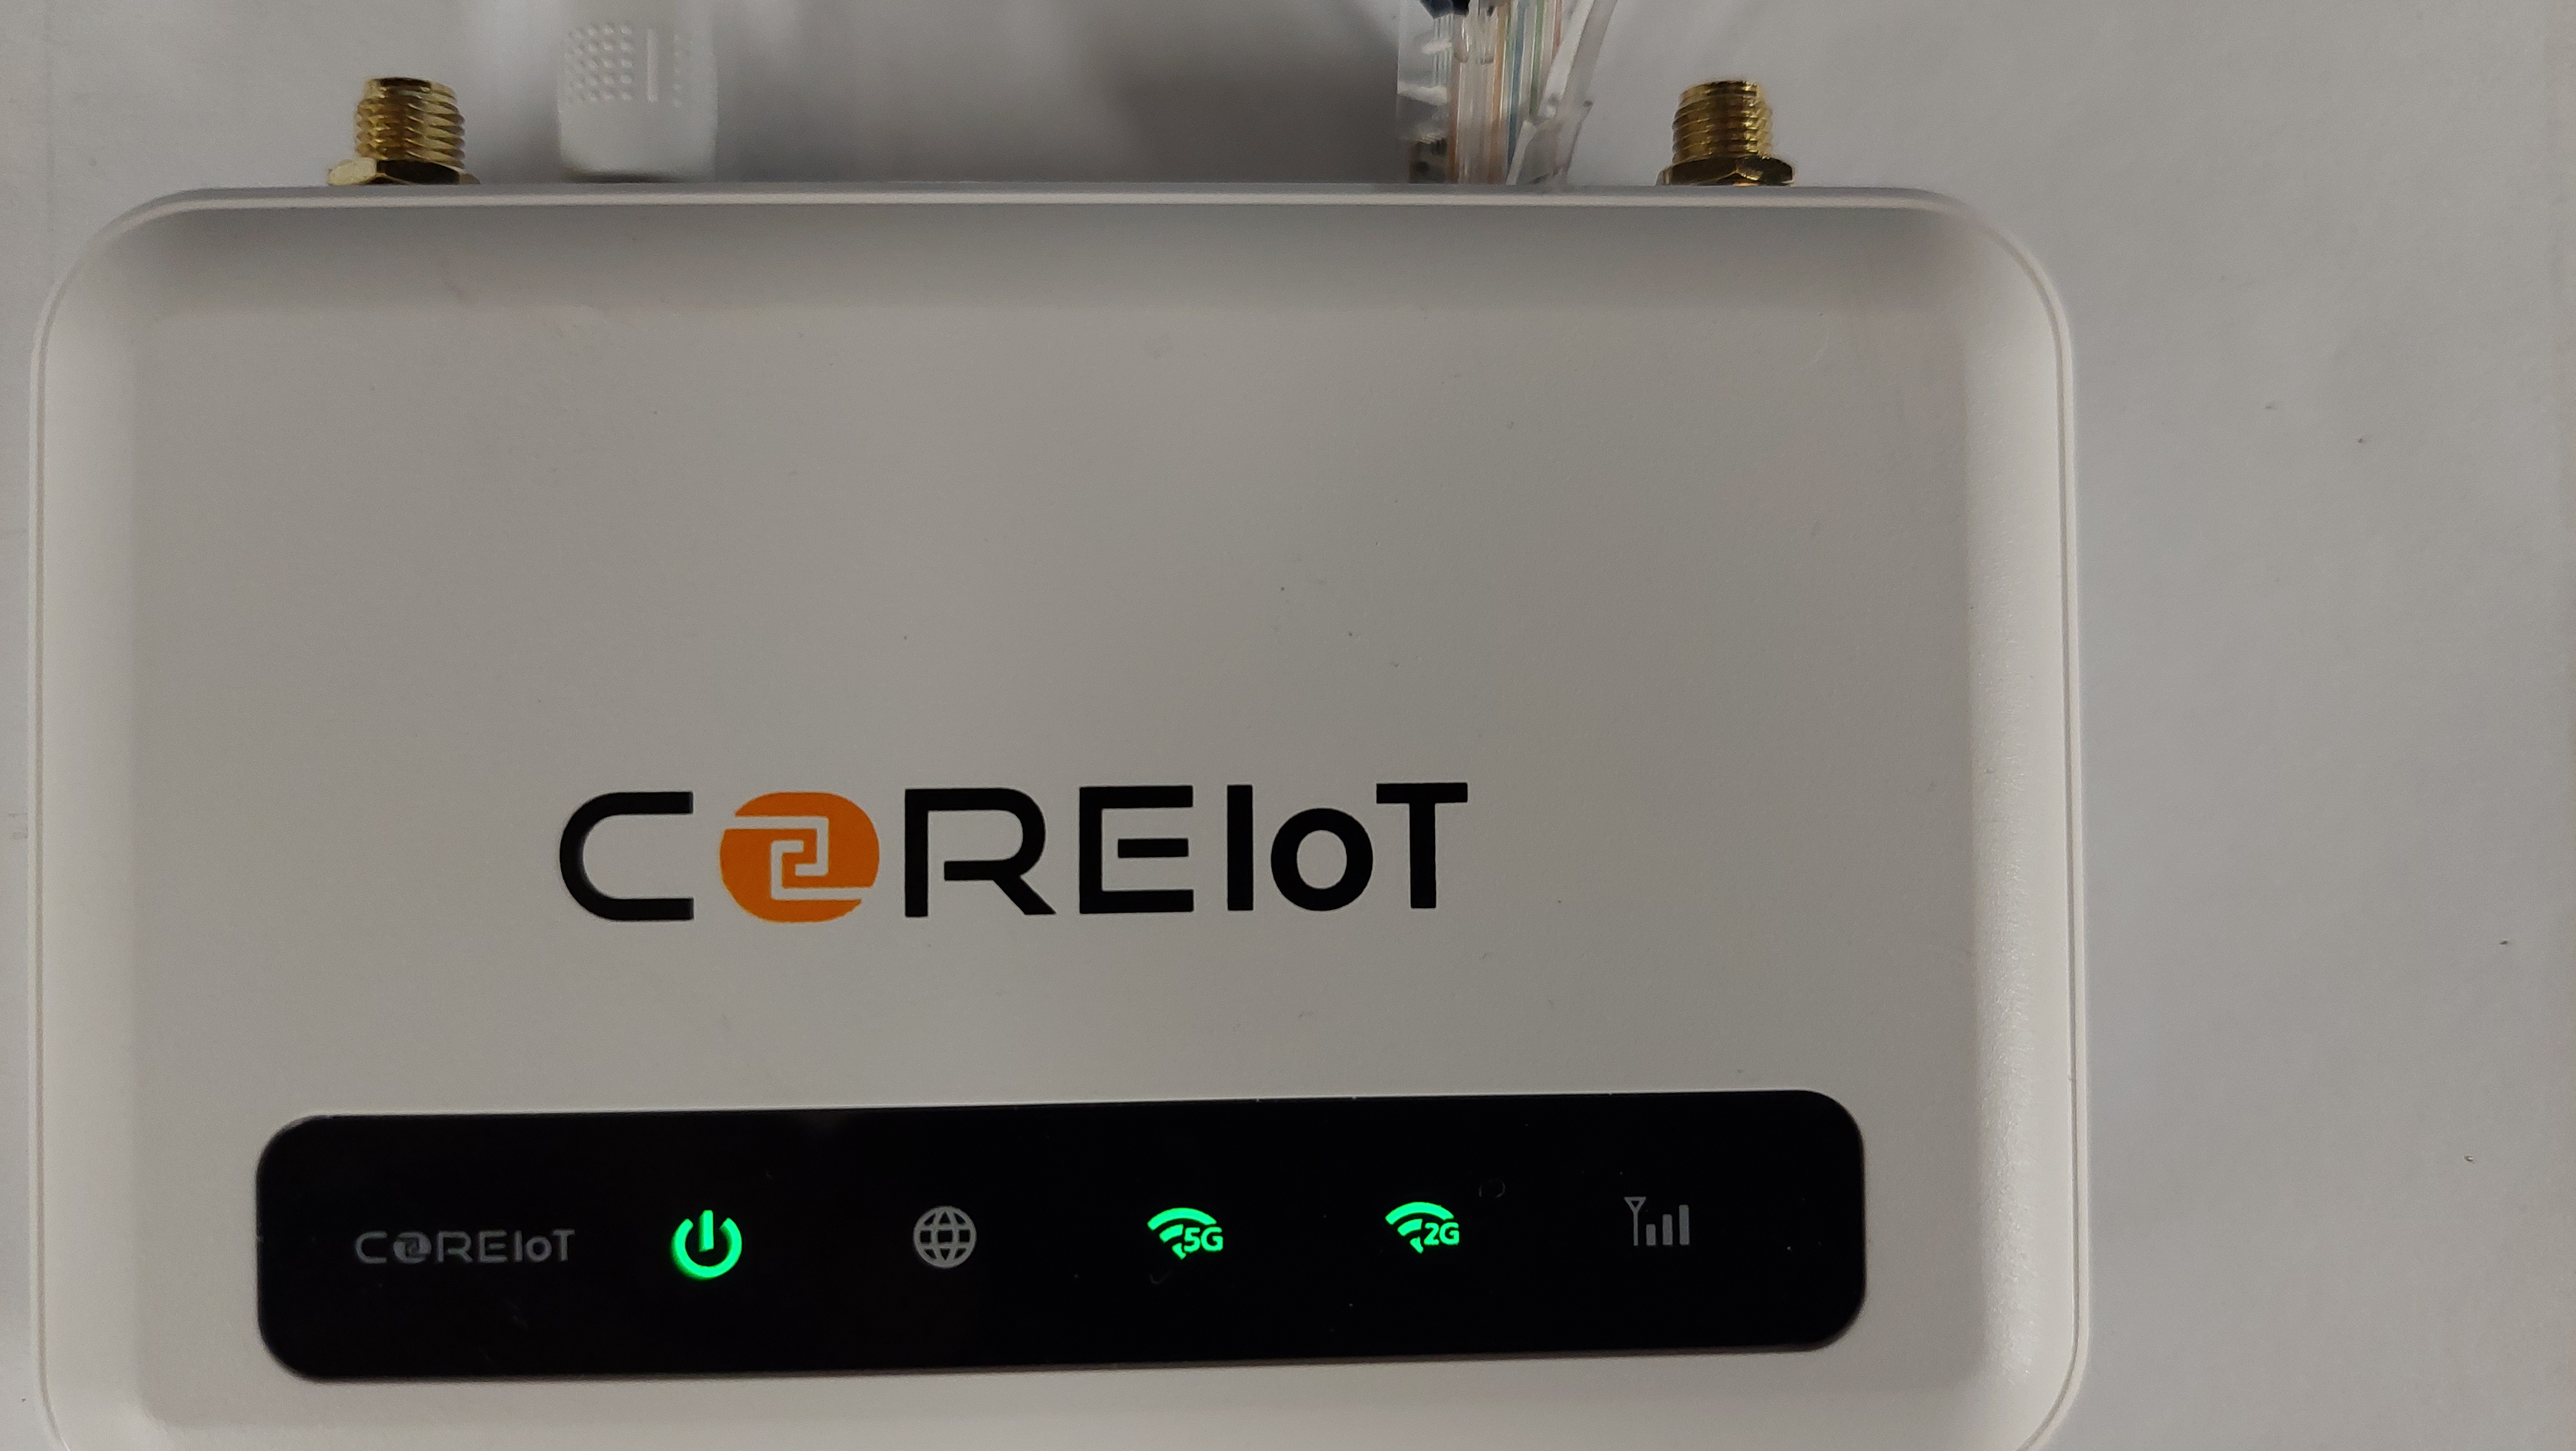
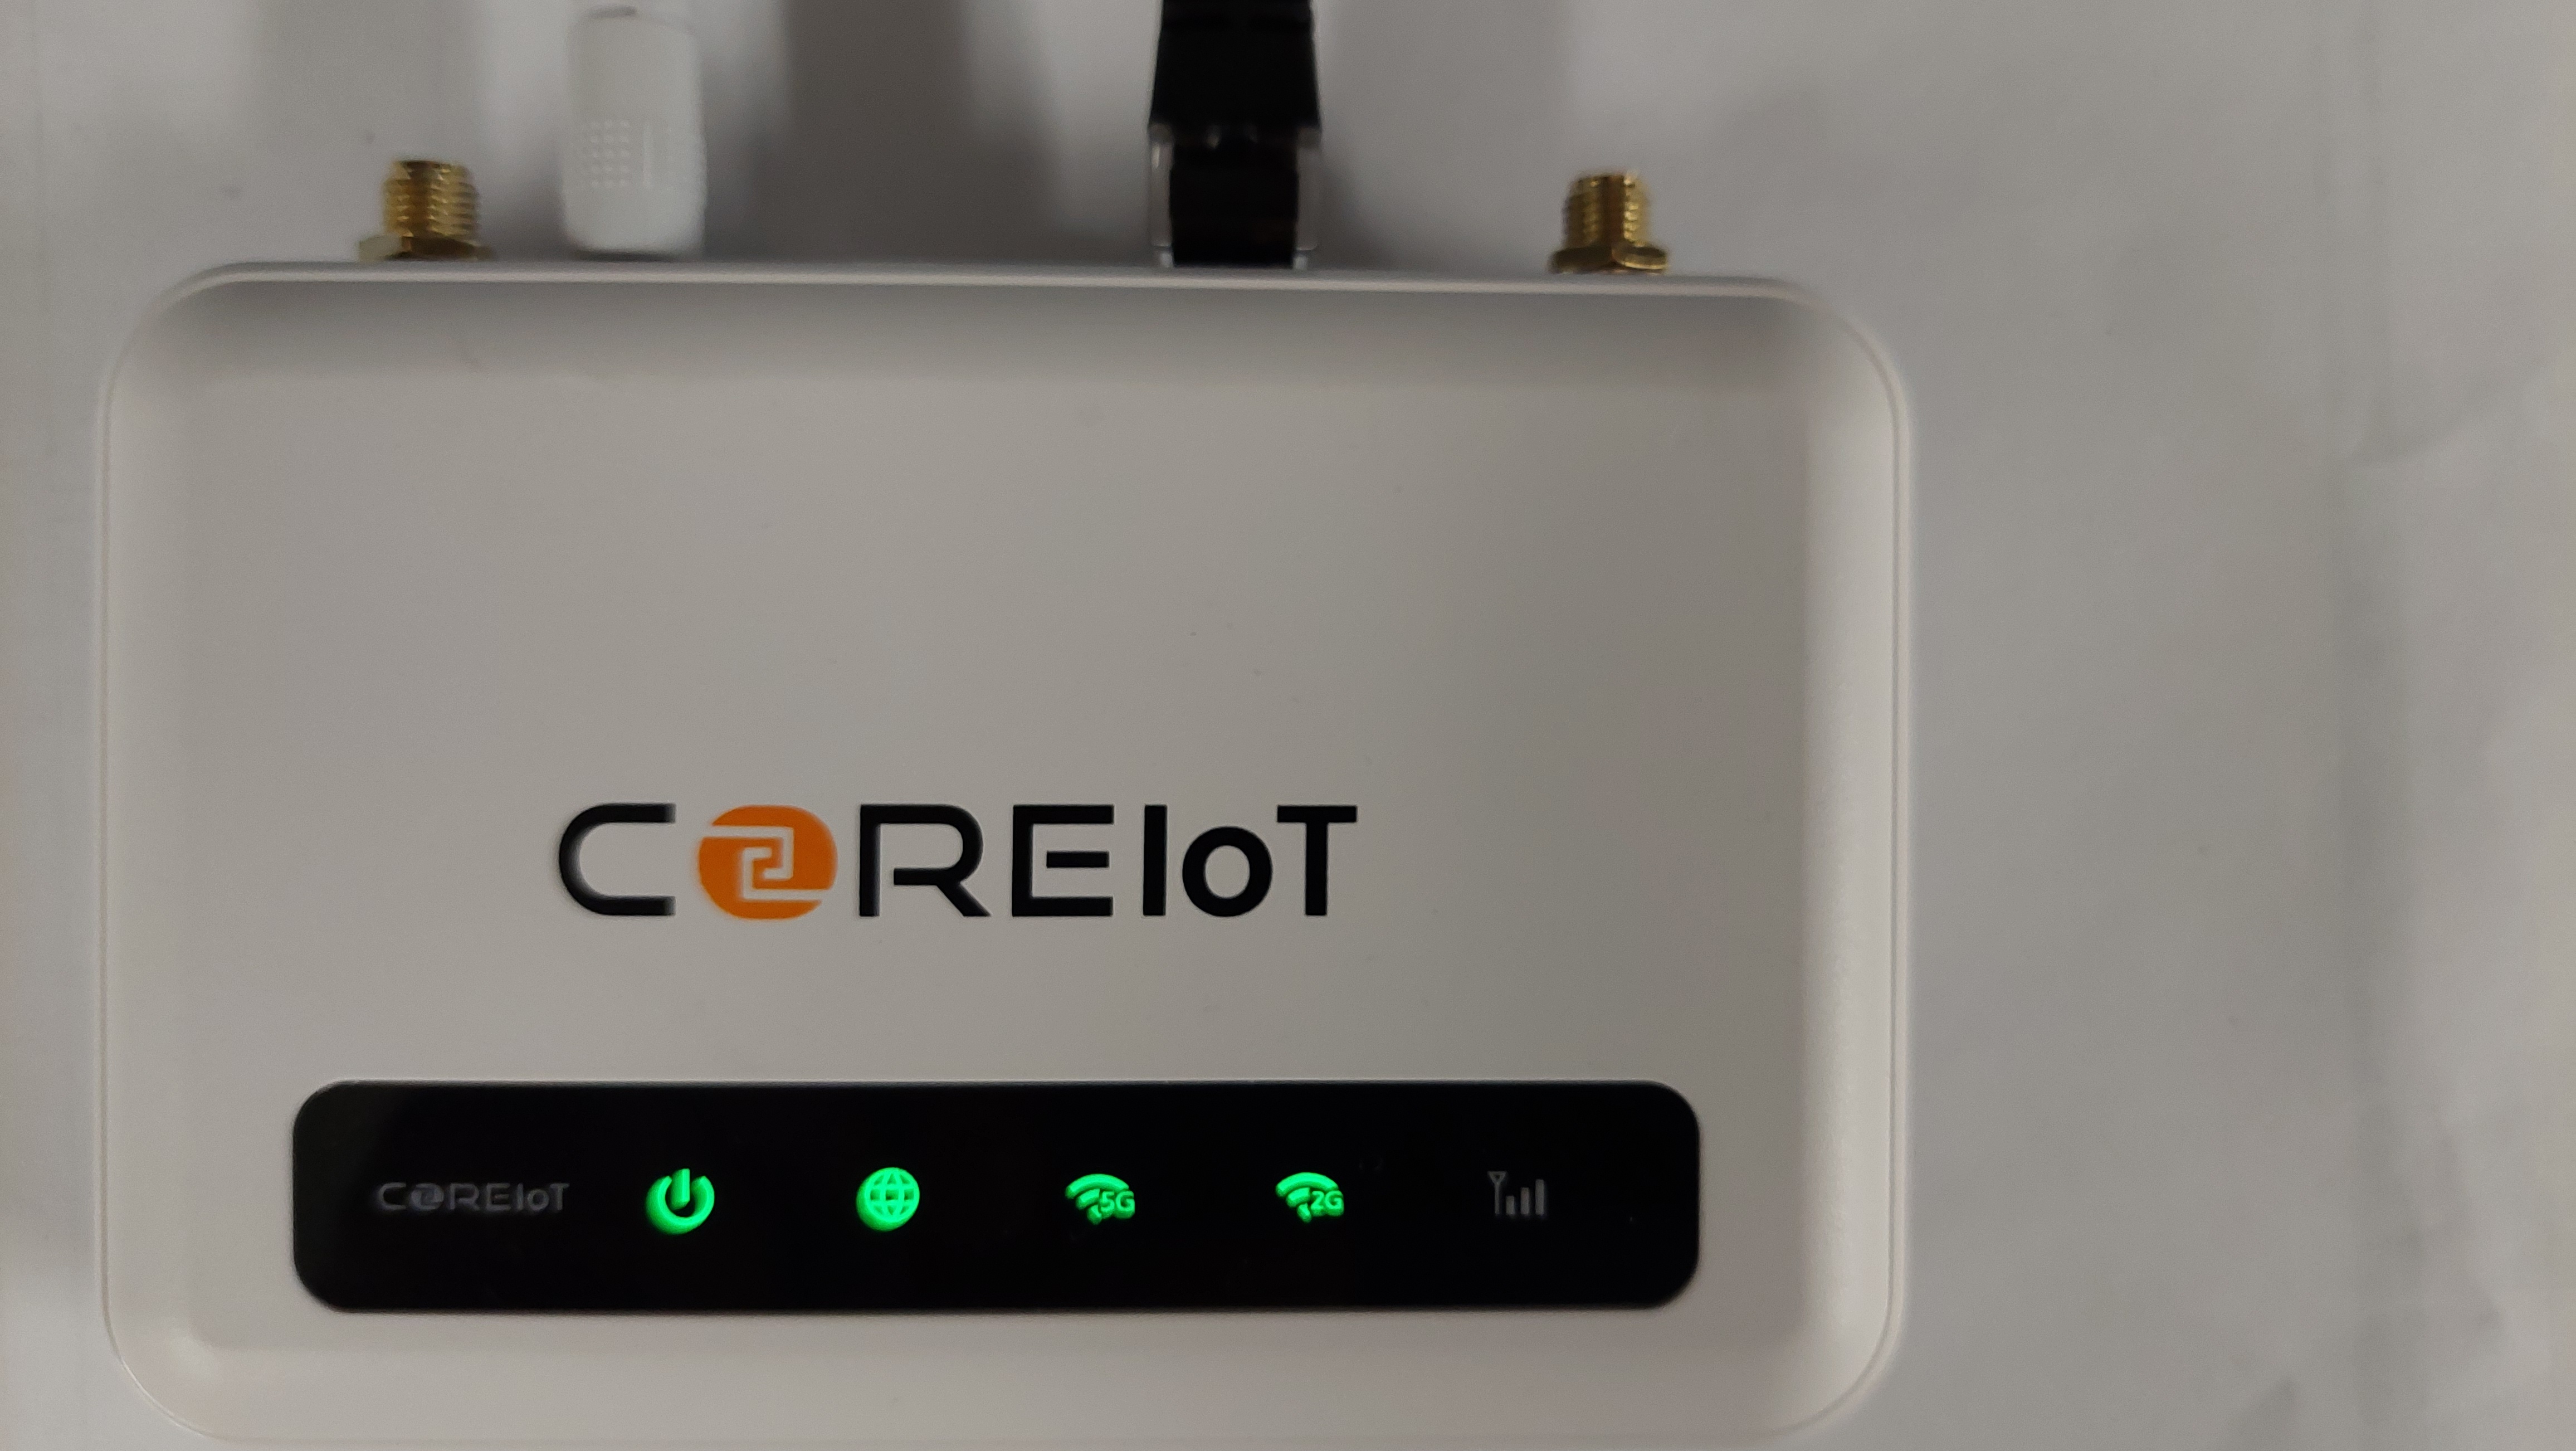
Once your gateway is assigned an IP address the WAN light of your gateway will be illuminated.
WiFi Connection
To connect to your local WiFi you will need to connect to the gateway via the LAN port.
-
Power on your gateway.
-
Wait 5 minutes.
-
Connect you computer to the LAN port of the gateway.
-
Wait for you computer to be assigned an IP from the gateway.
-
In your browser navigate to 192.168.8.1
-
Login with:
- user: root
- password: {{NEED to CONFIRM}}
- Navigate to Network -> WiFi
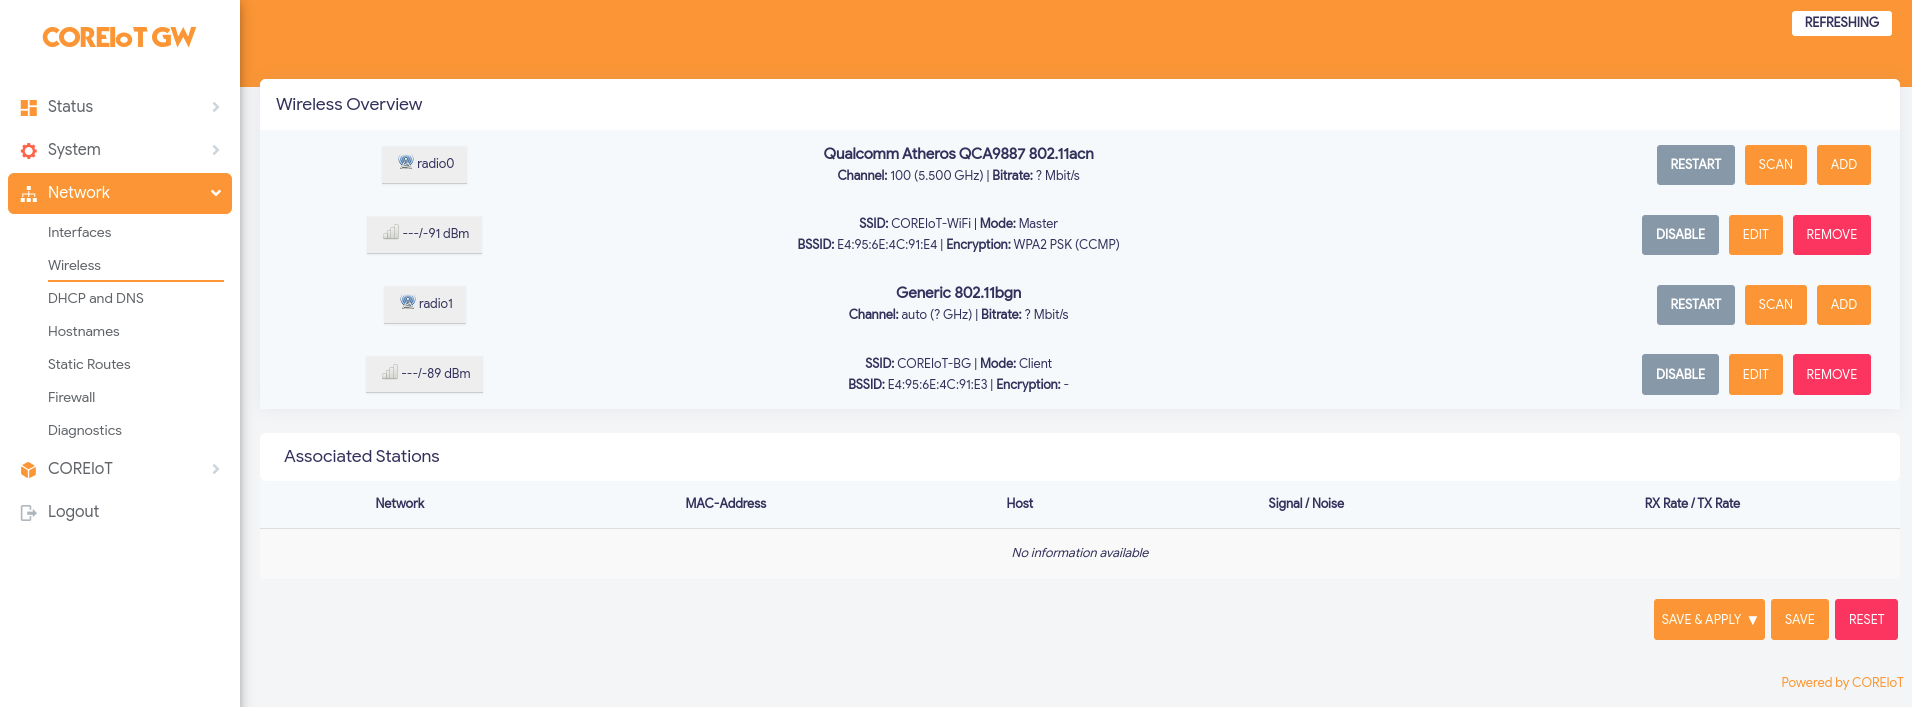
- Select Scan.

- Select Join Network for you WiFi network.

- Check 'Replace wireless configuration'.
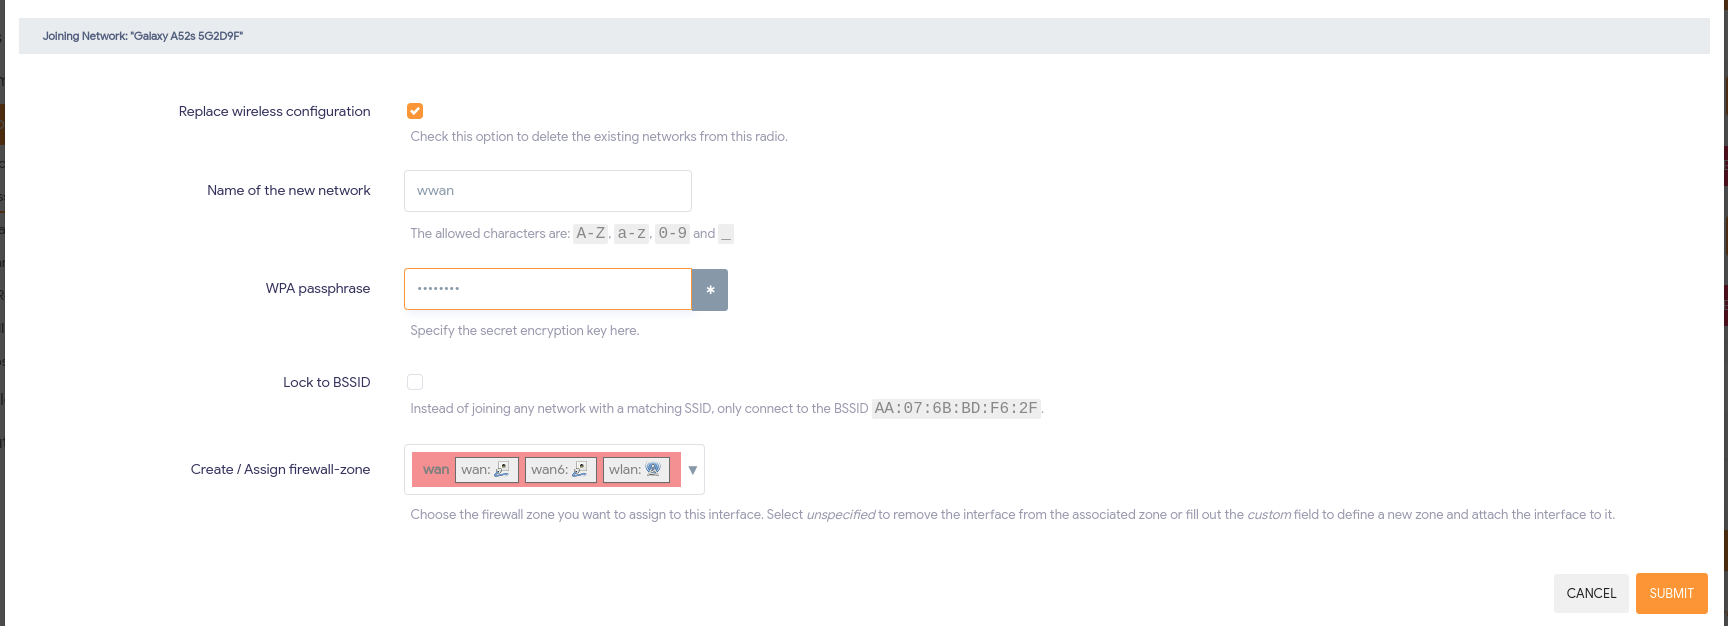
- Enter your WiFi password.

- Select Submit
- Adjust Maximum Transmit power to the following:

- Scroll down and select Save.
- Select Save & Apply
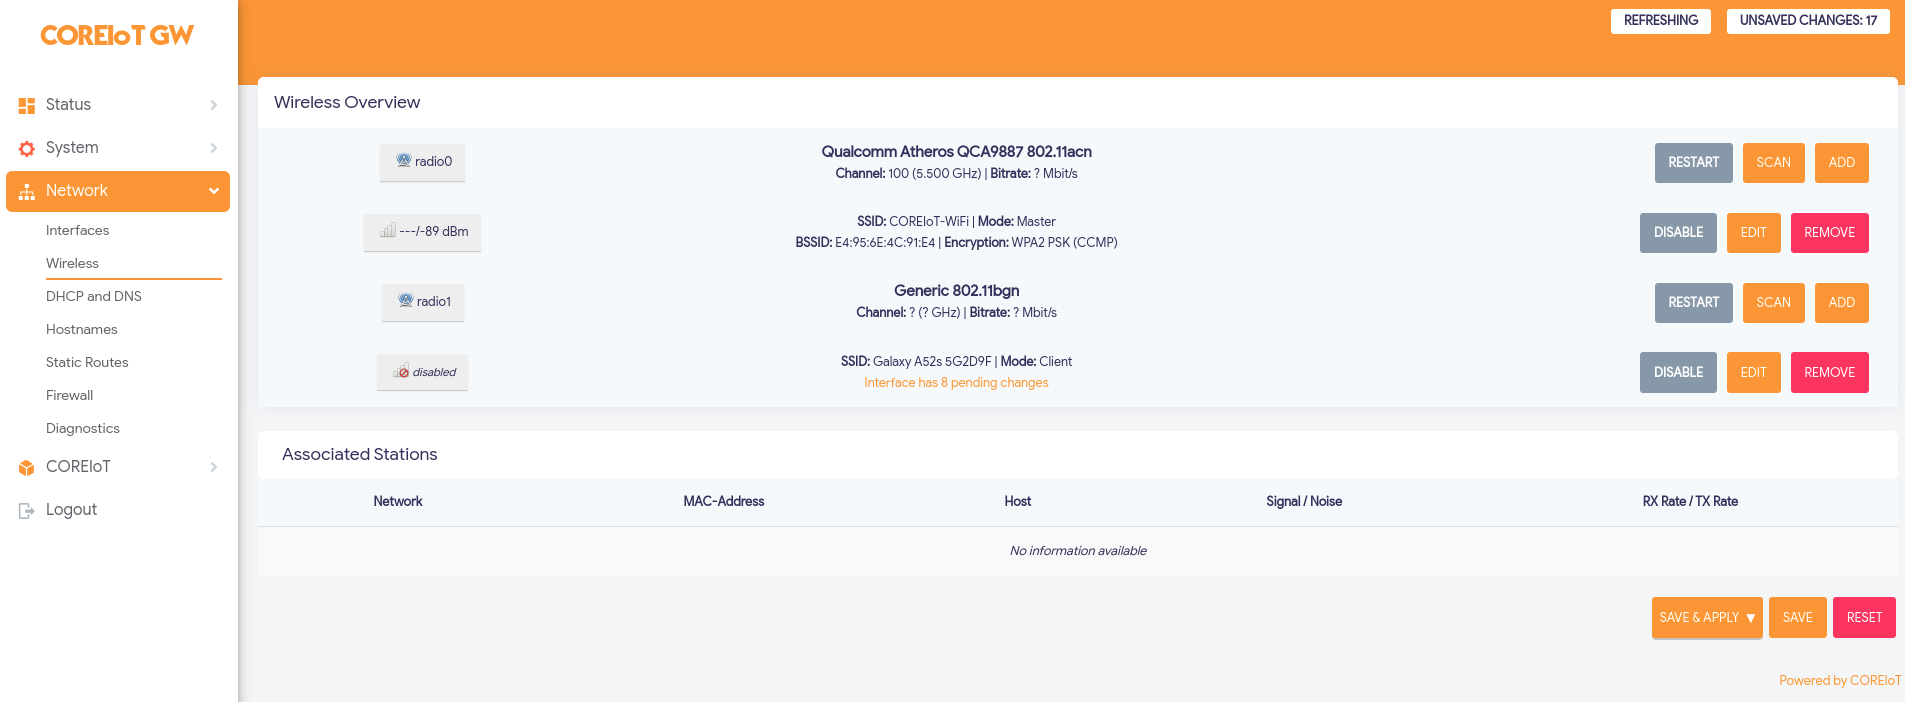
- Wait for configuration to be applied.

- If the WiFi password was correct and using DHCP you should now be connected.

- If Static ip is needed follow Static IP Address section below.
- If you gateway has two radio ensure that you remove any WiFi access configurations that will not be used. By slecting remove to the right of it.
4G Connection
Another is the setup alternative is to use a 4G connection.
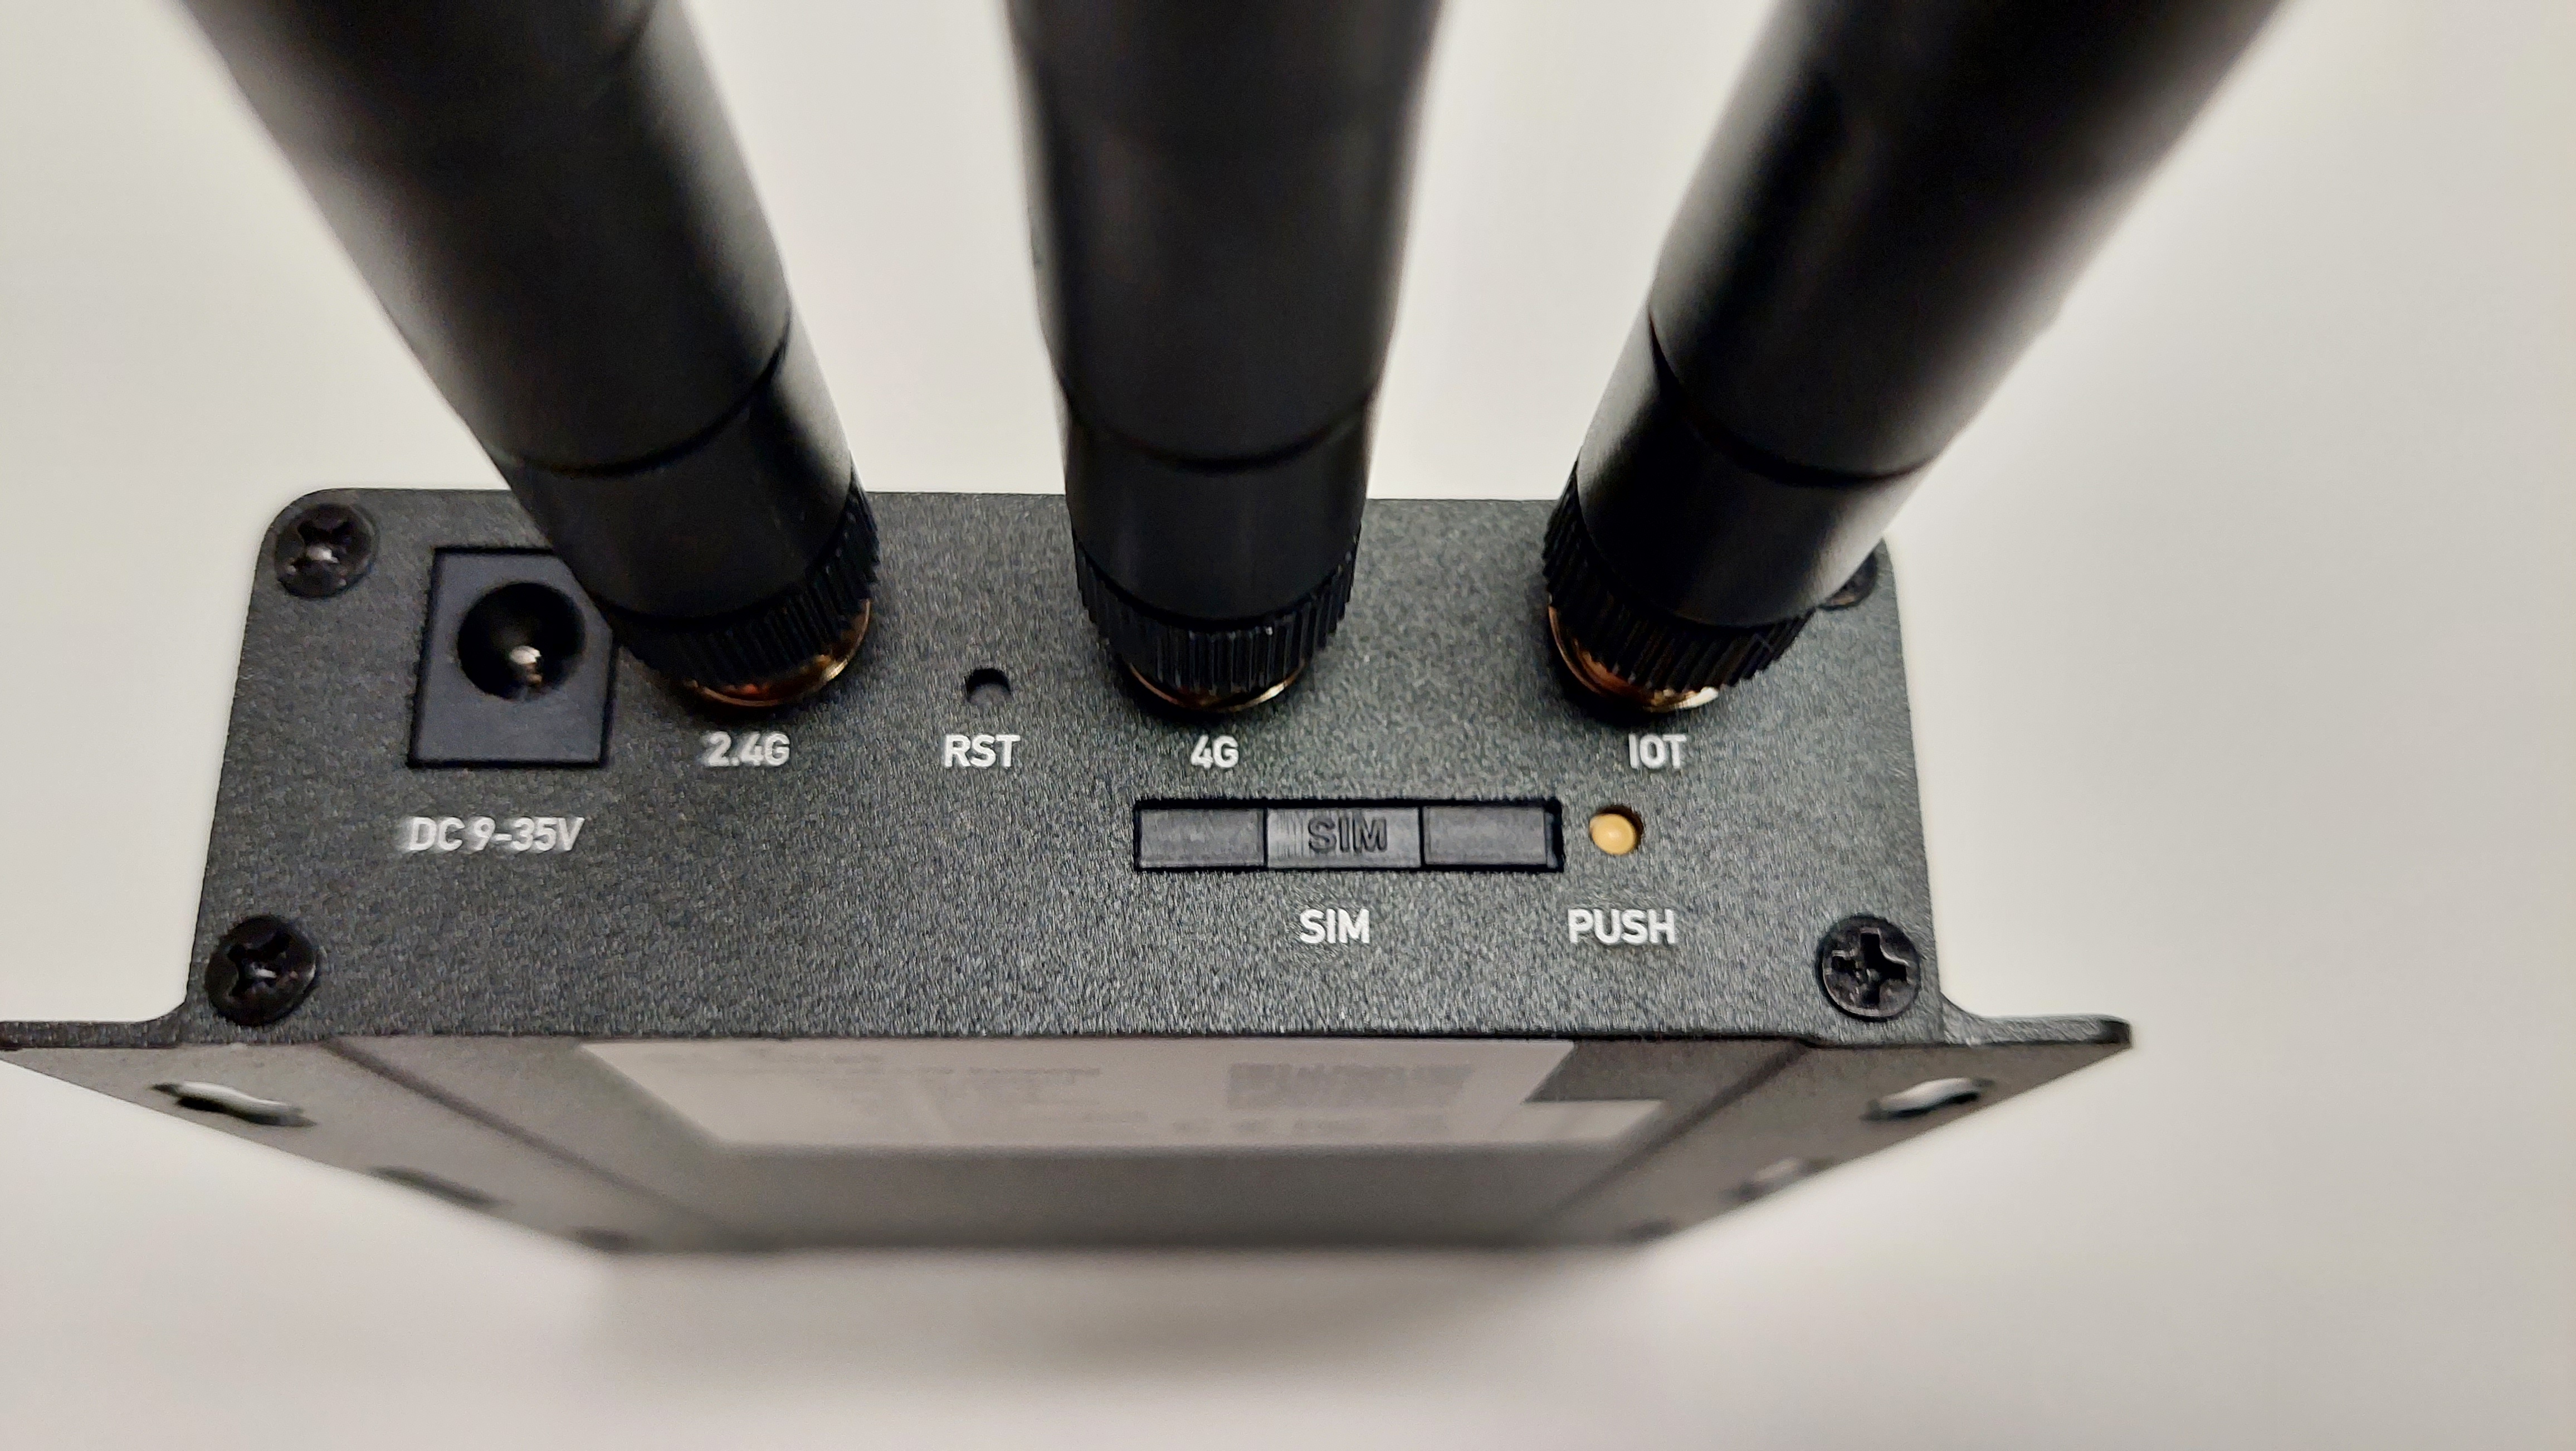
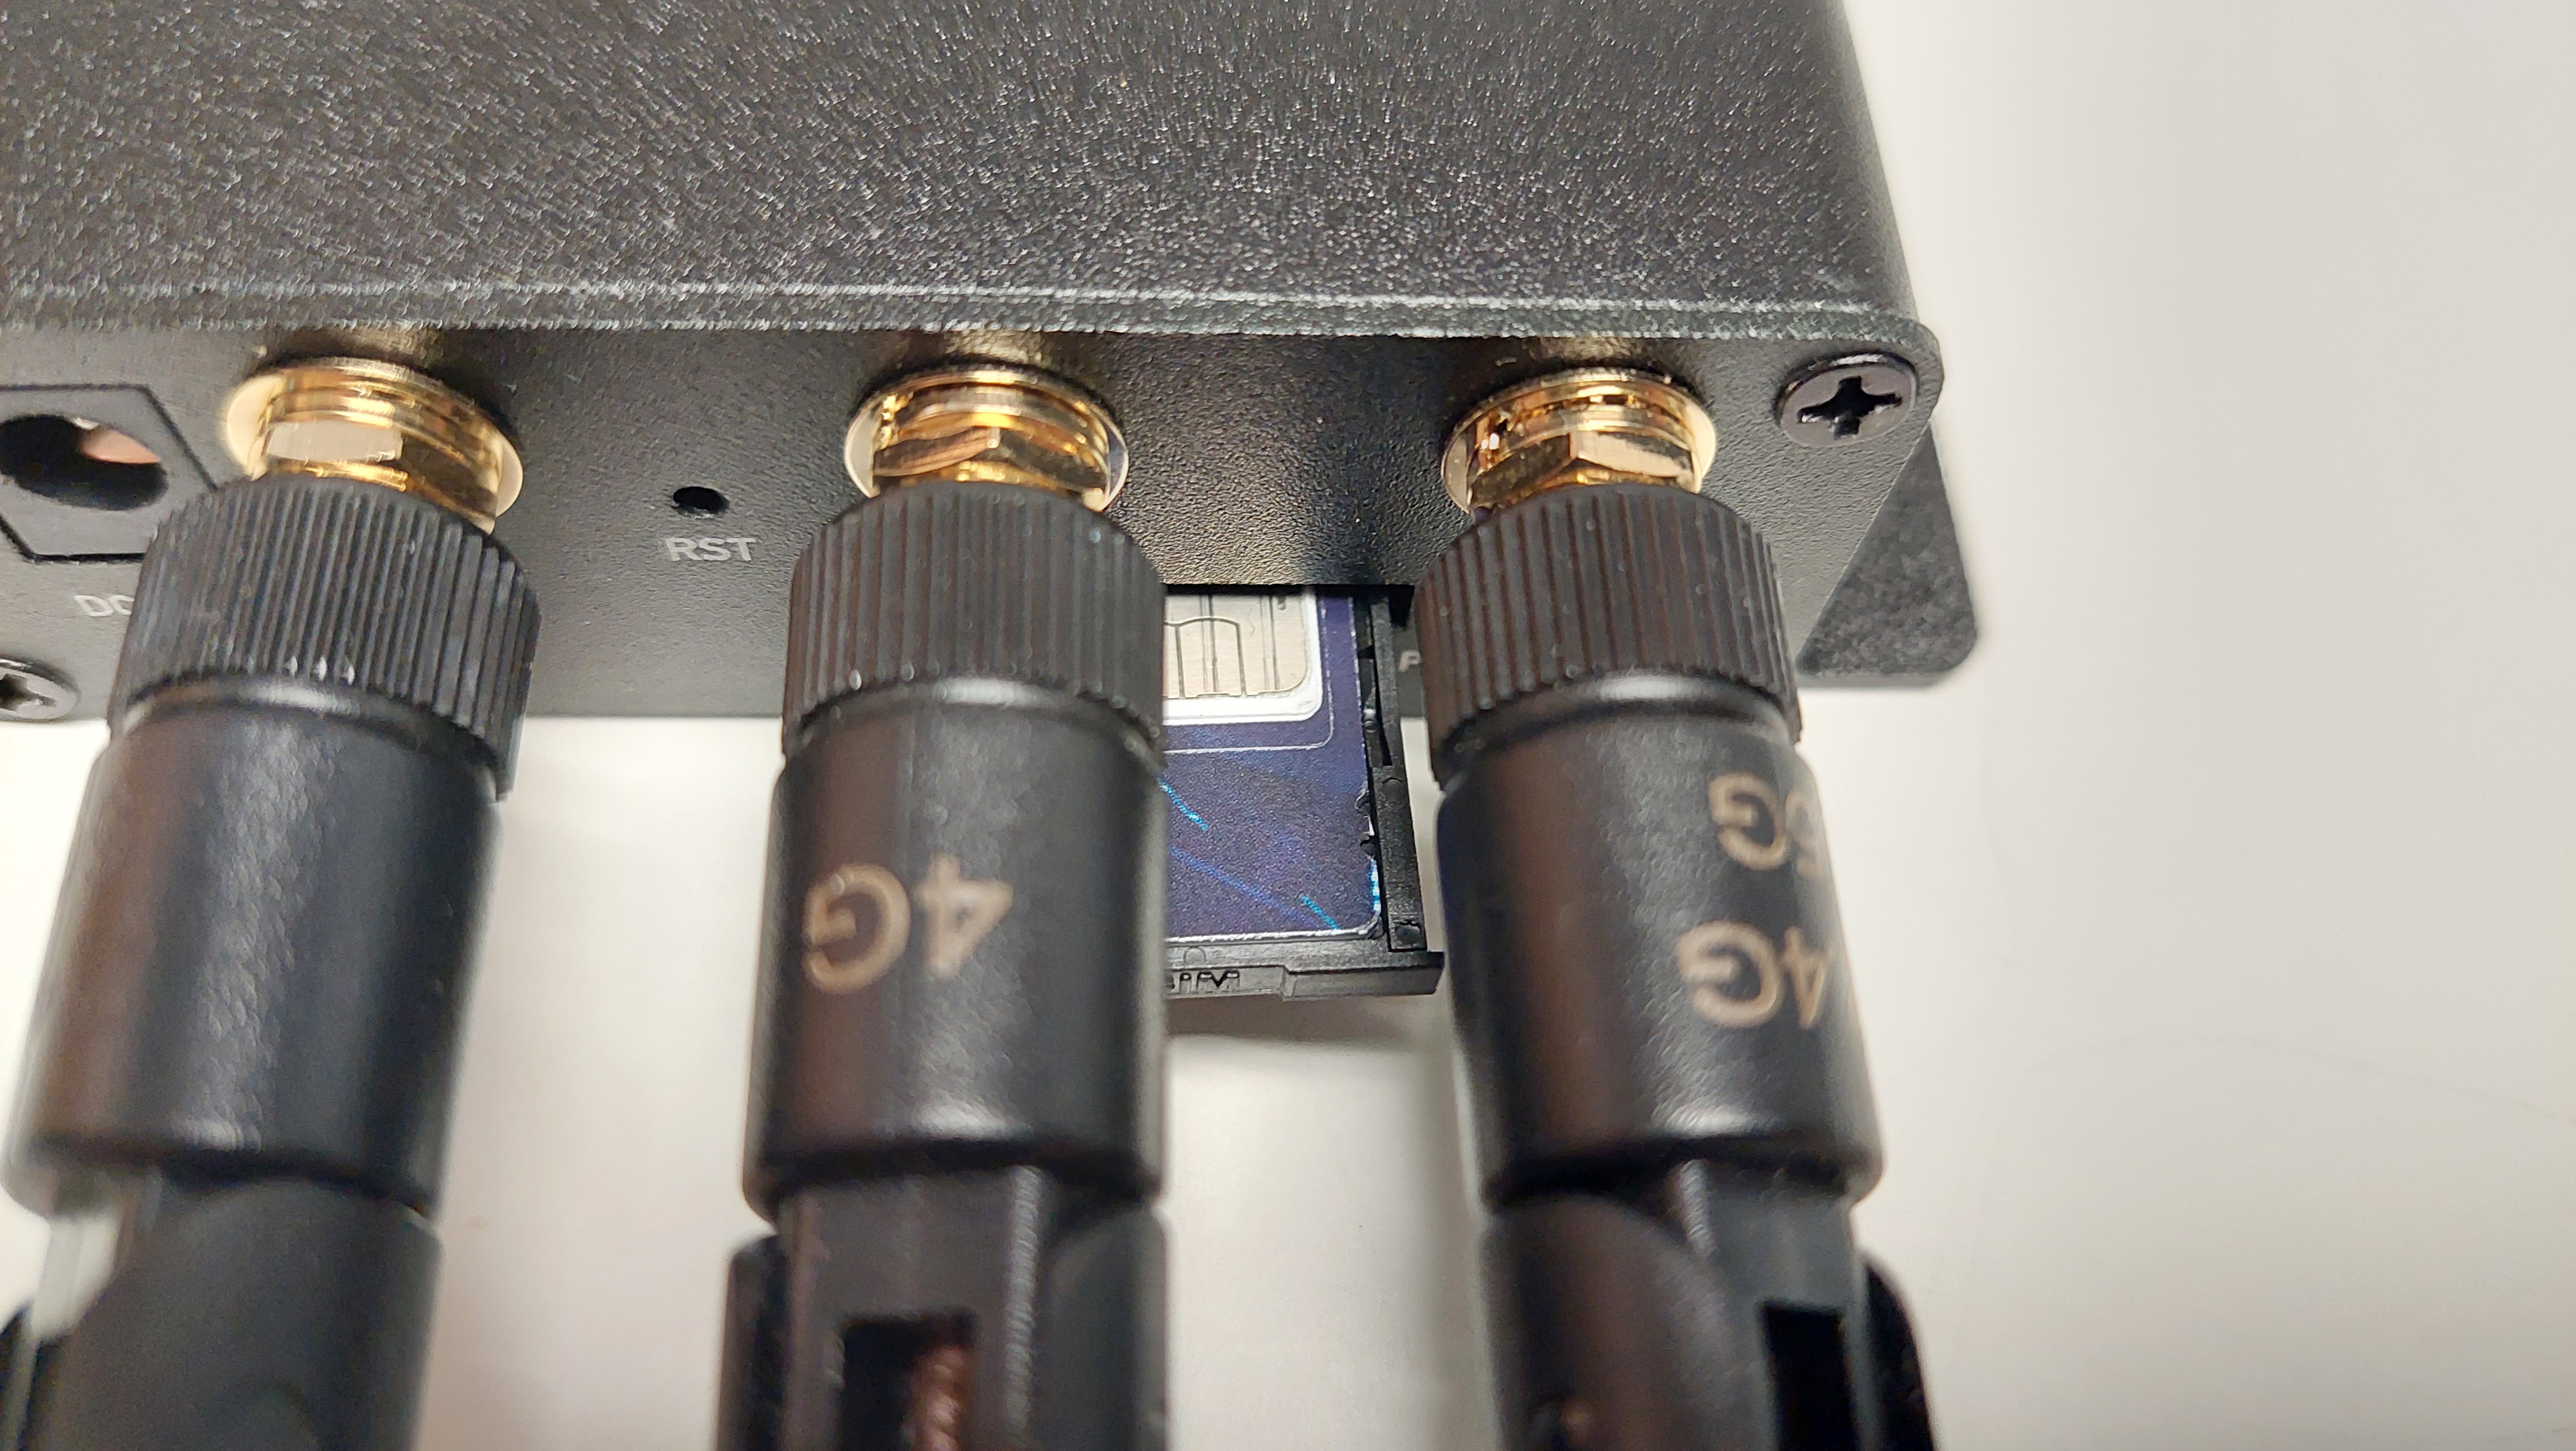
- Ensure your gateway is powered down.
- Ensure the antennas are installed.
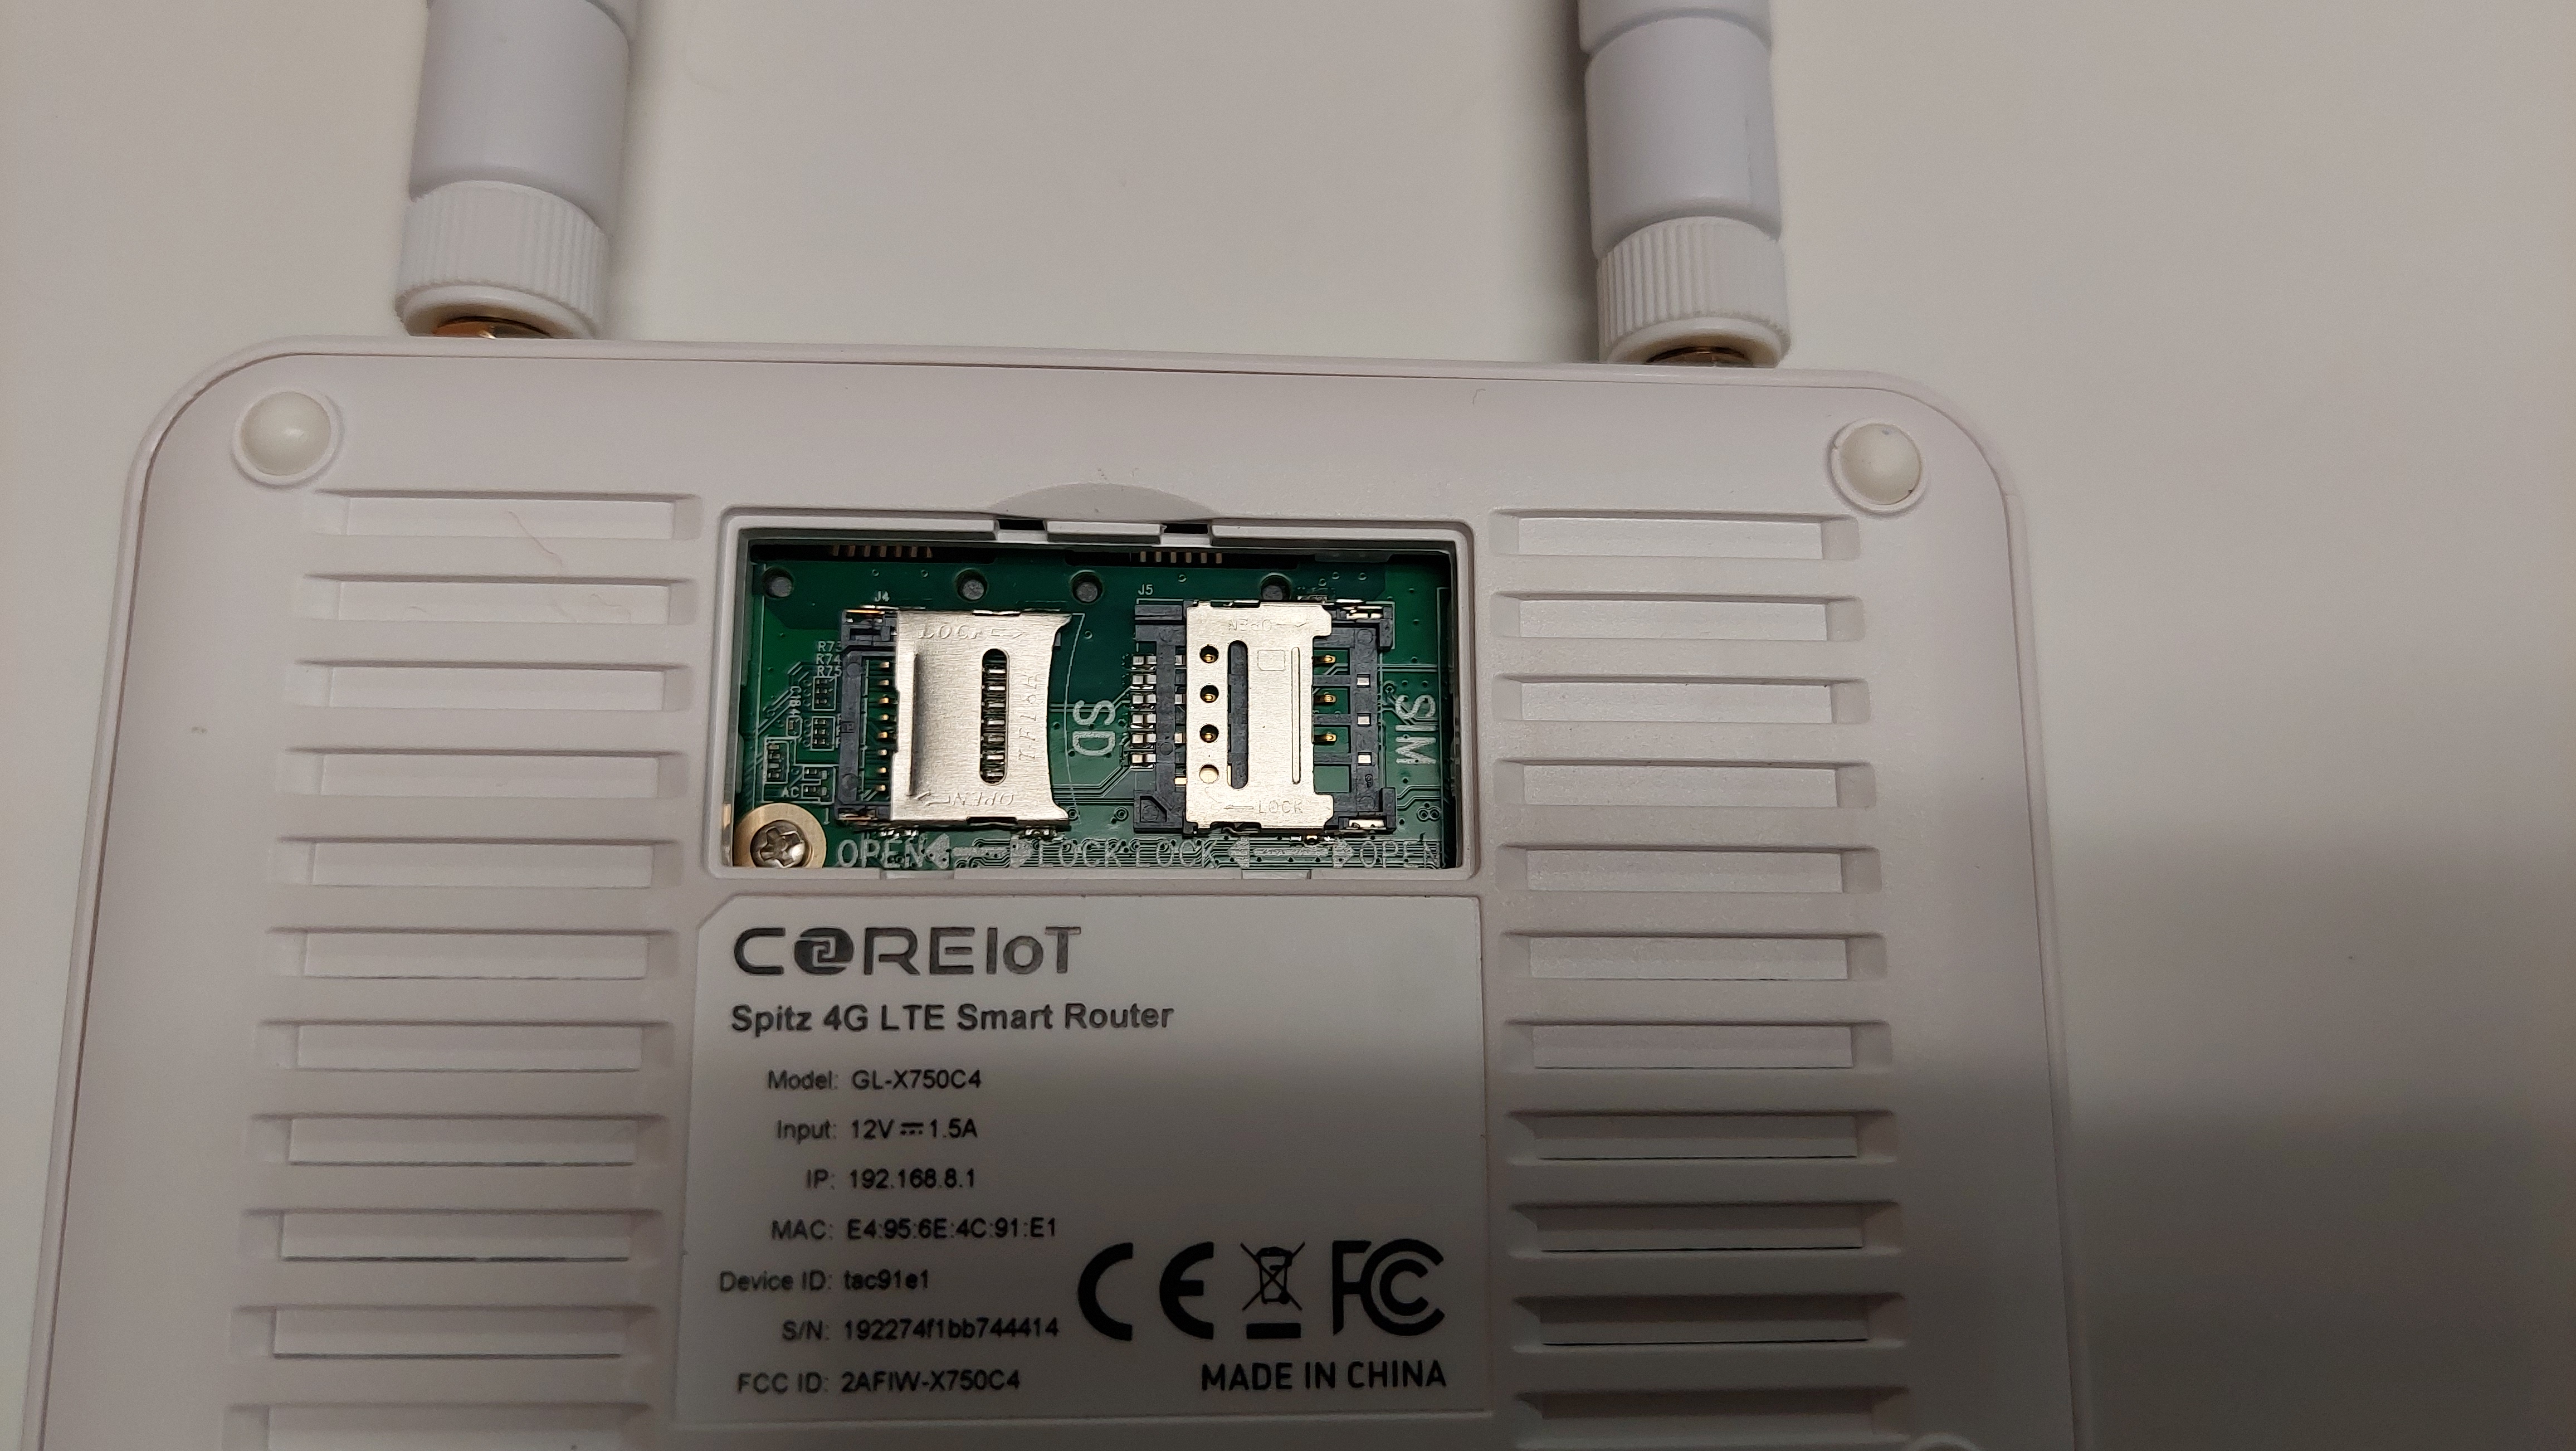
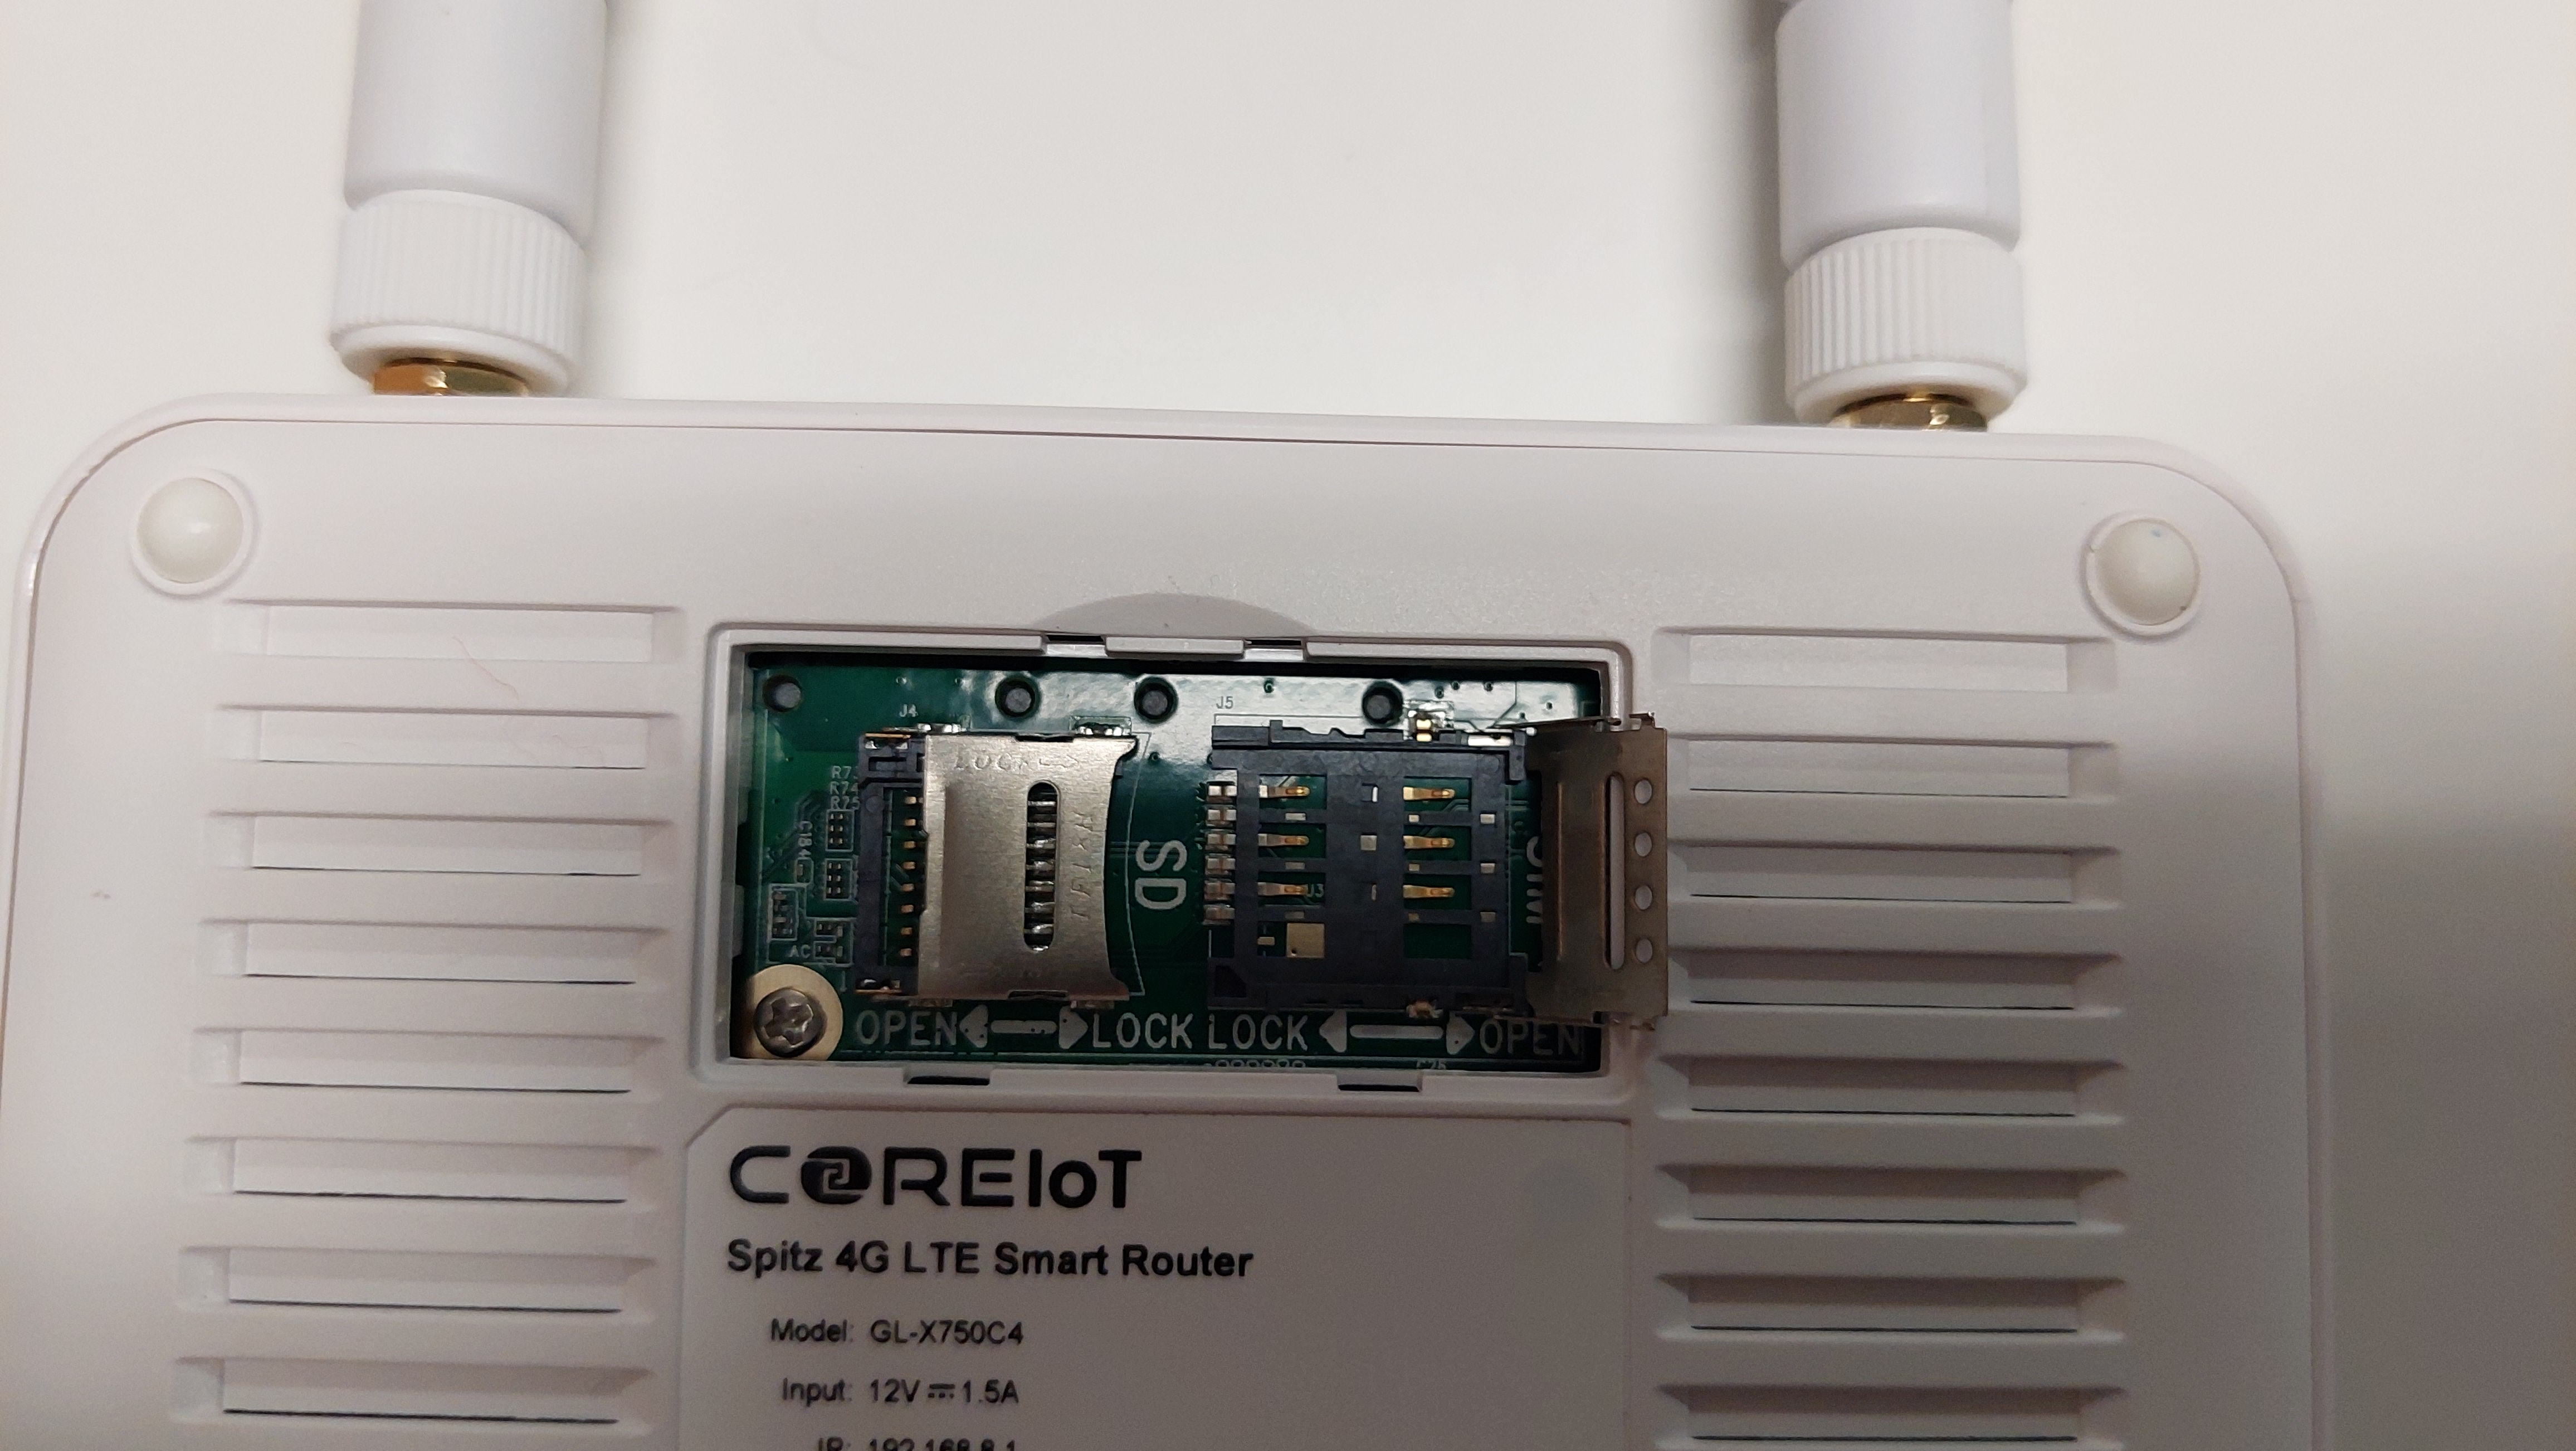
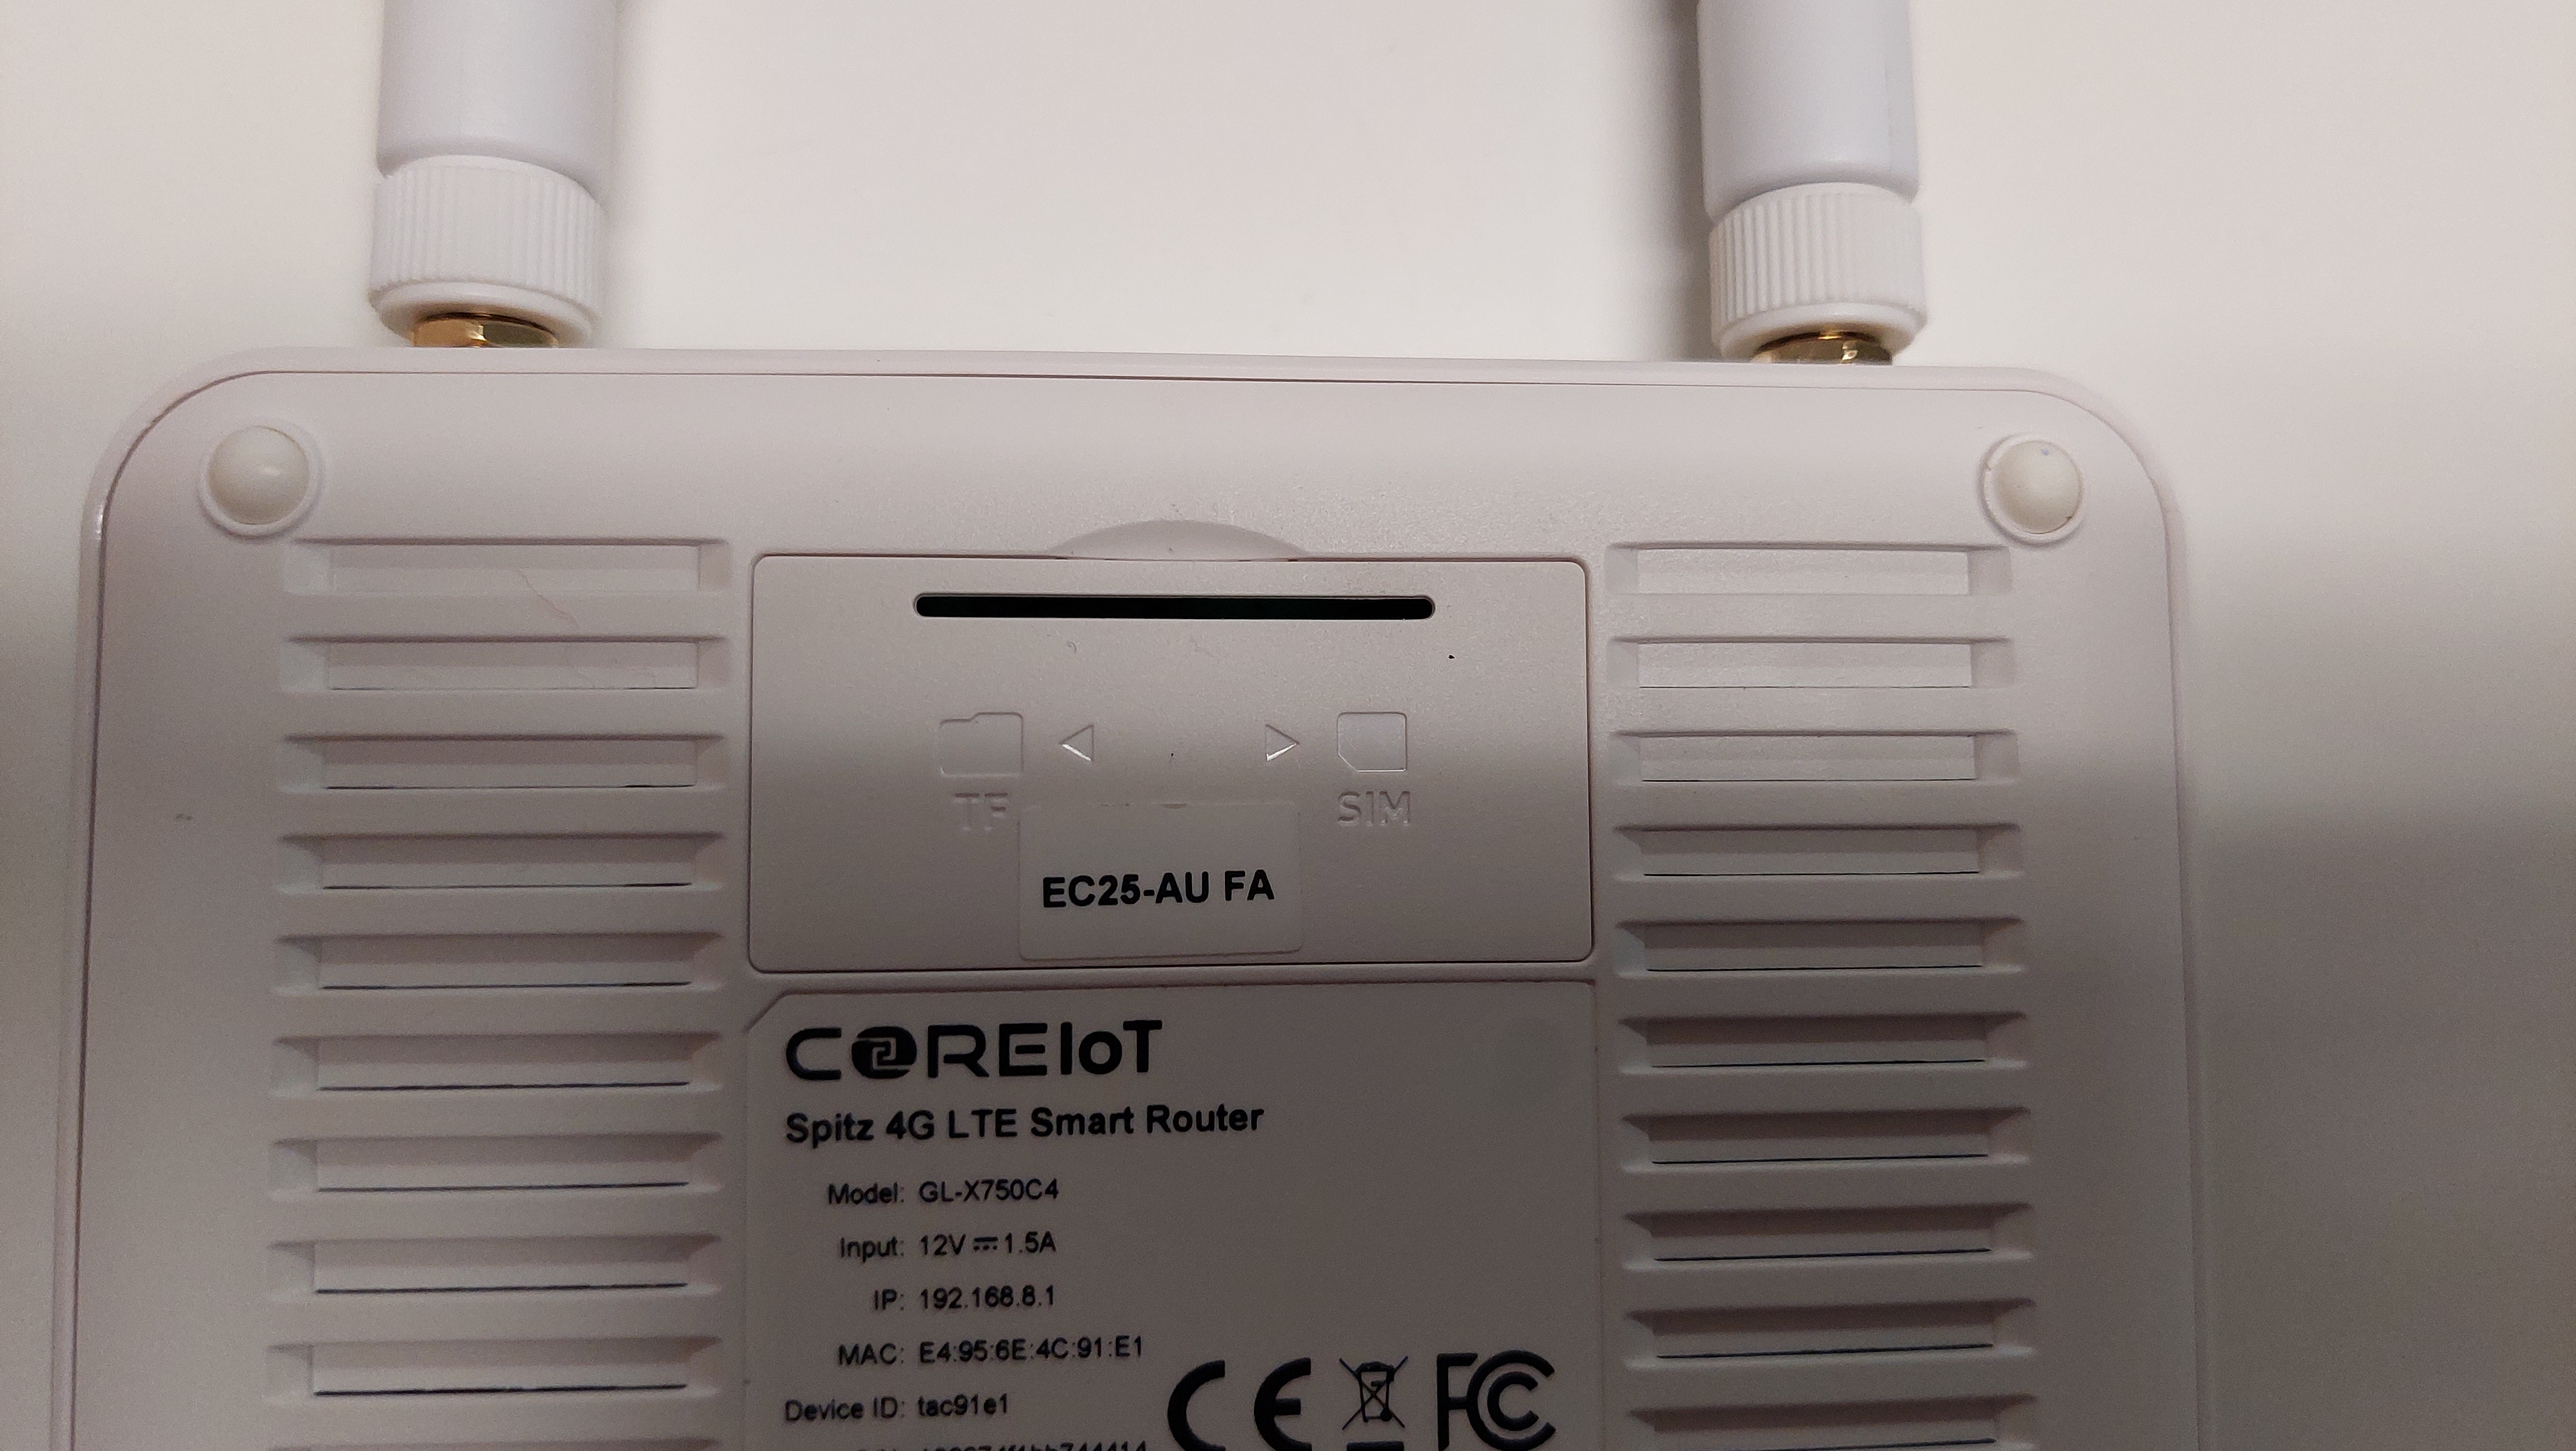
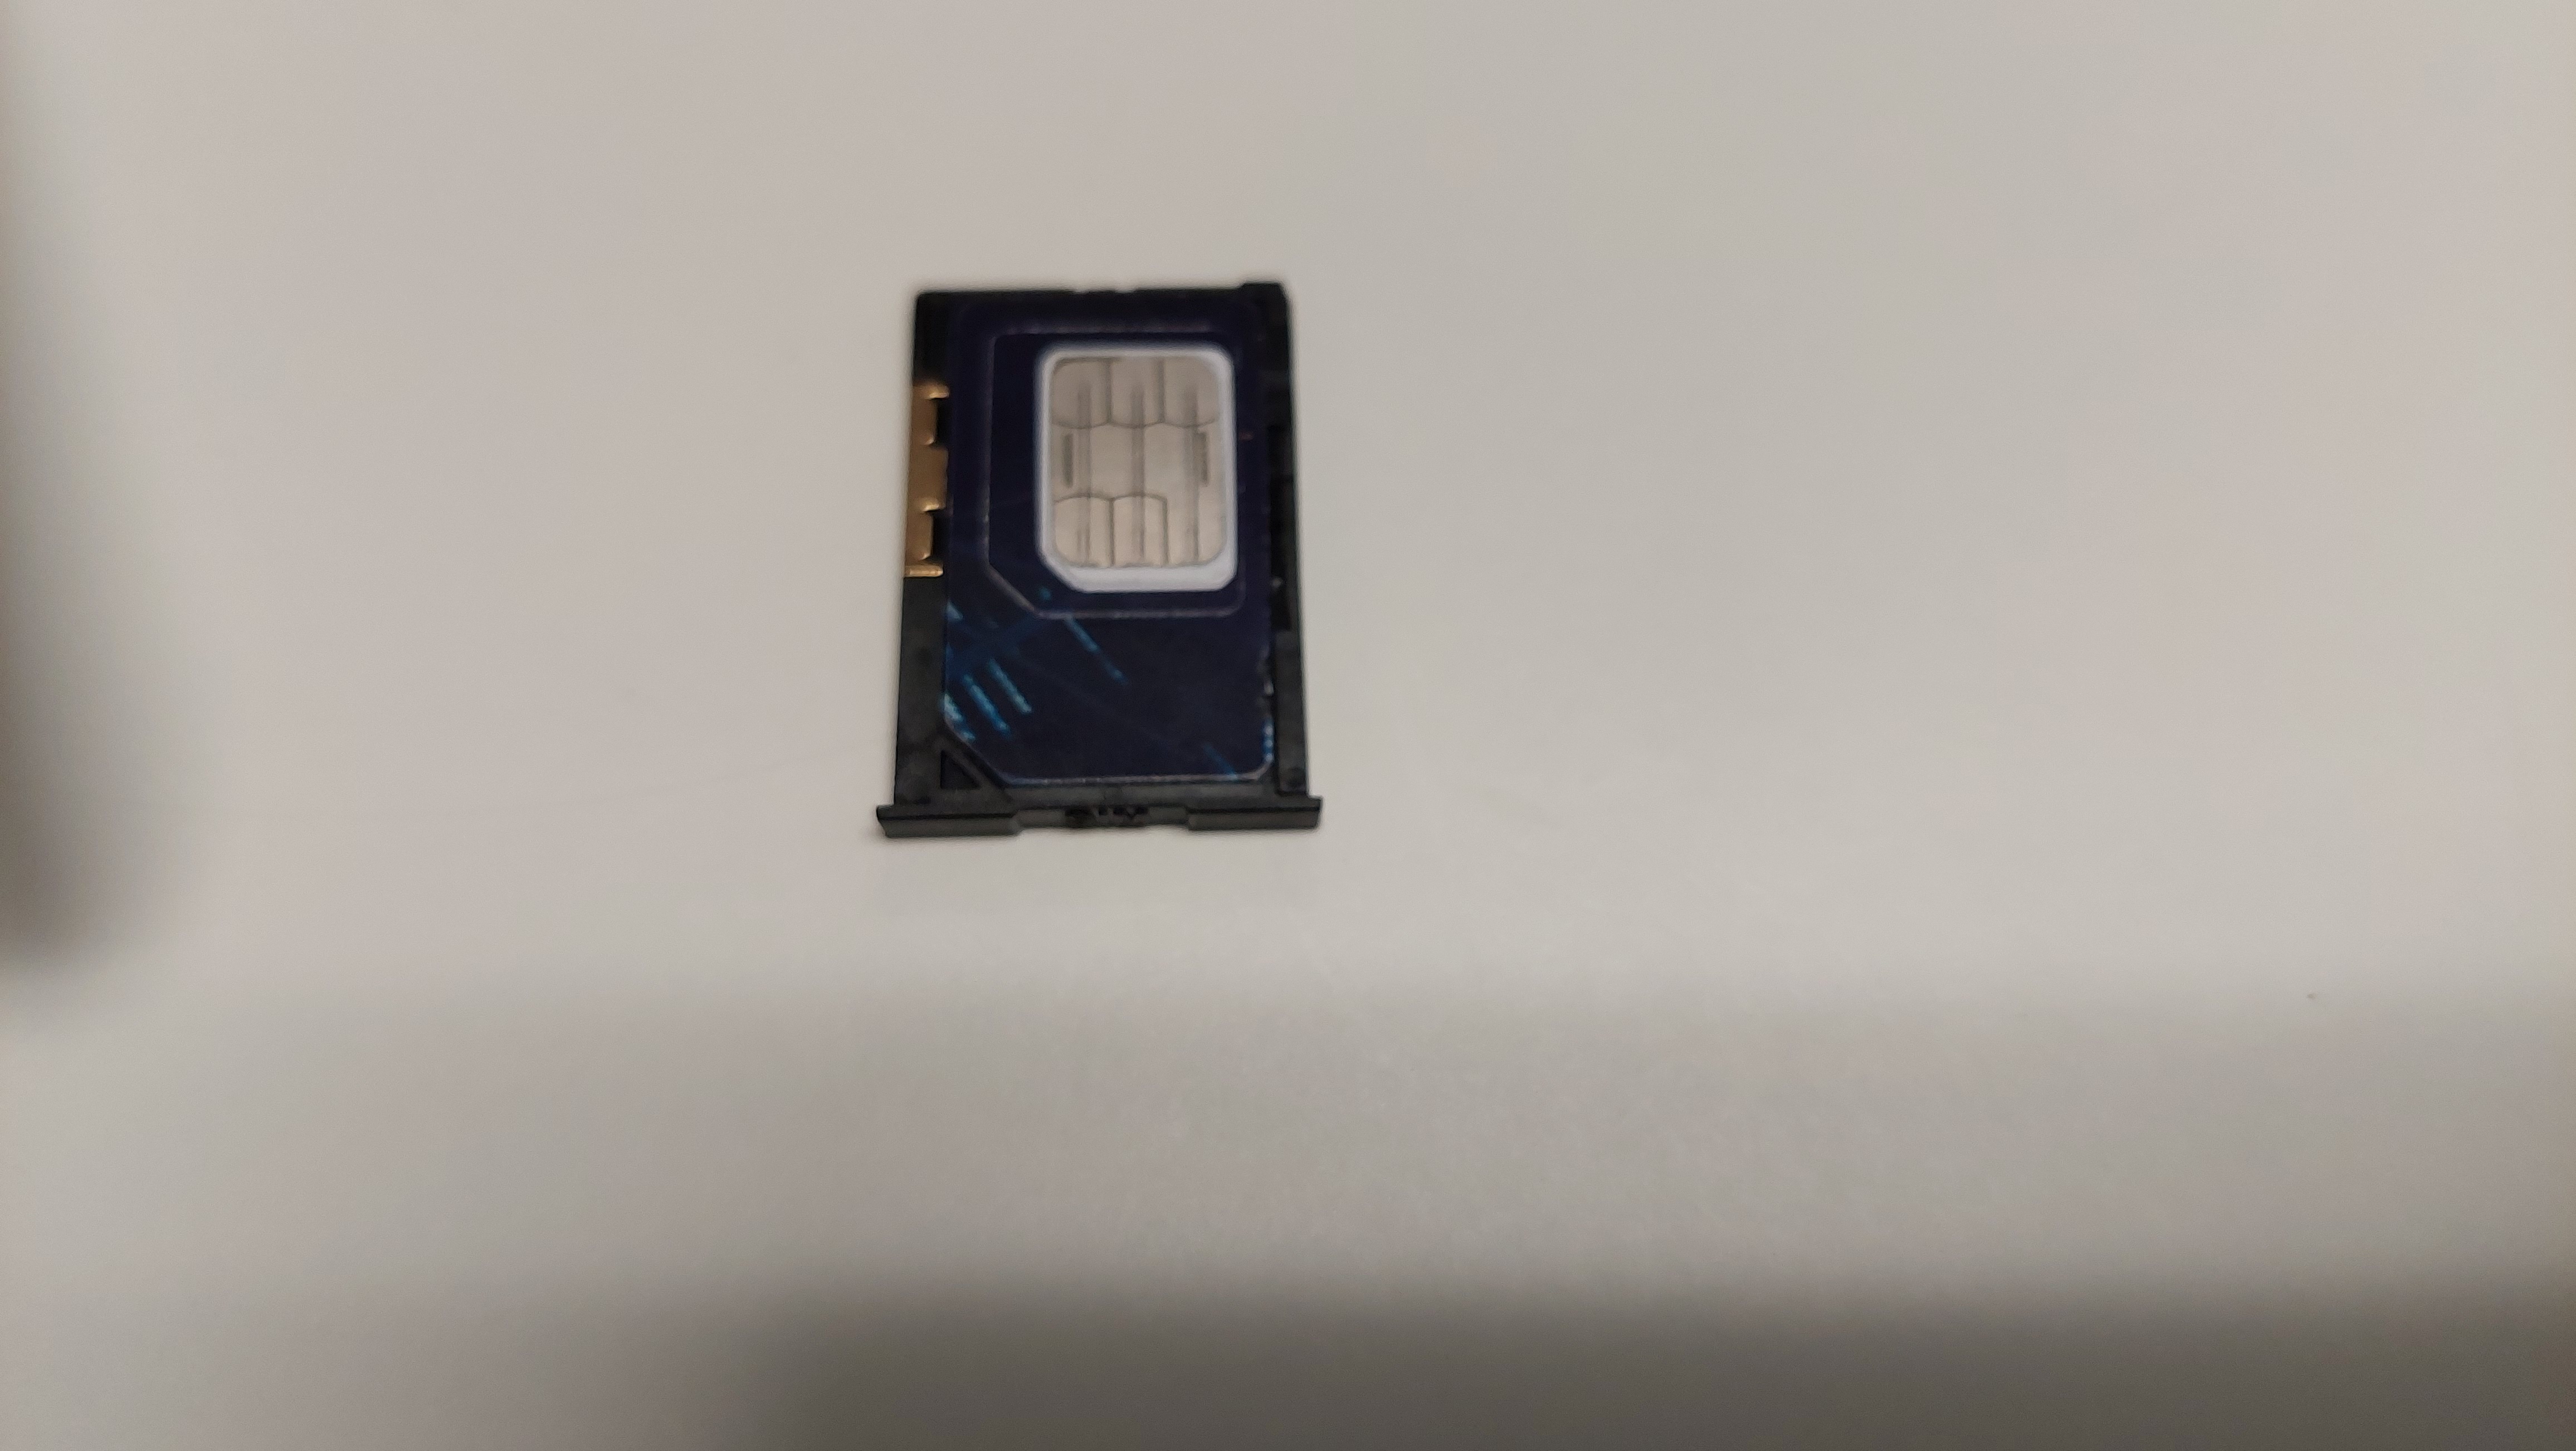
- Install the sim card.


- Power on gateway.
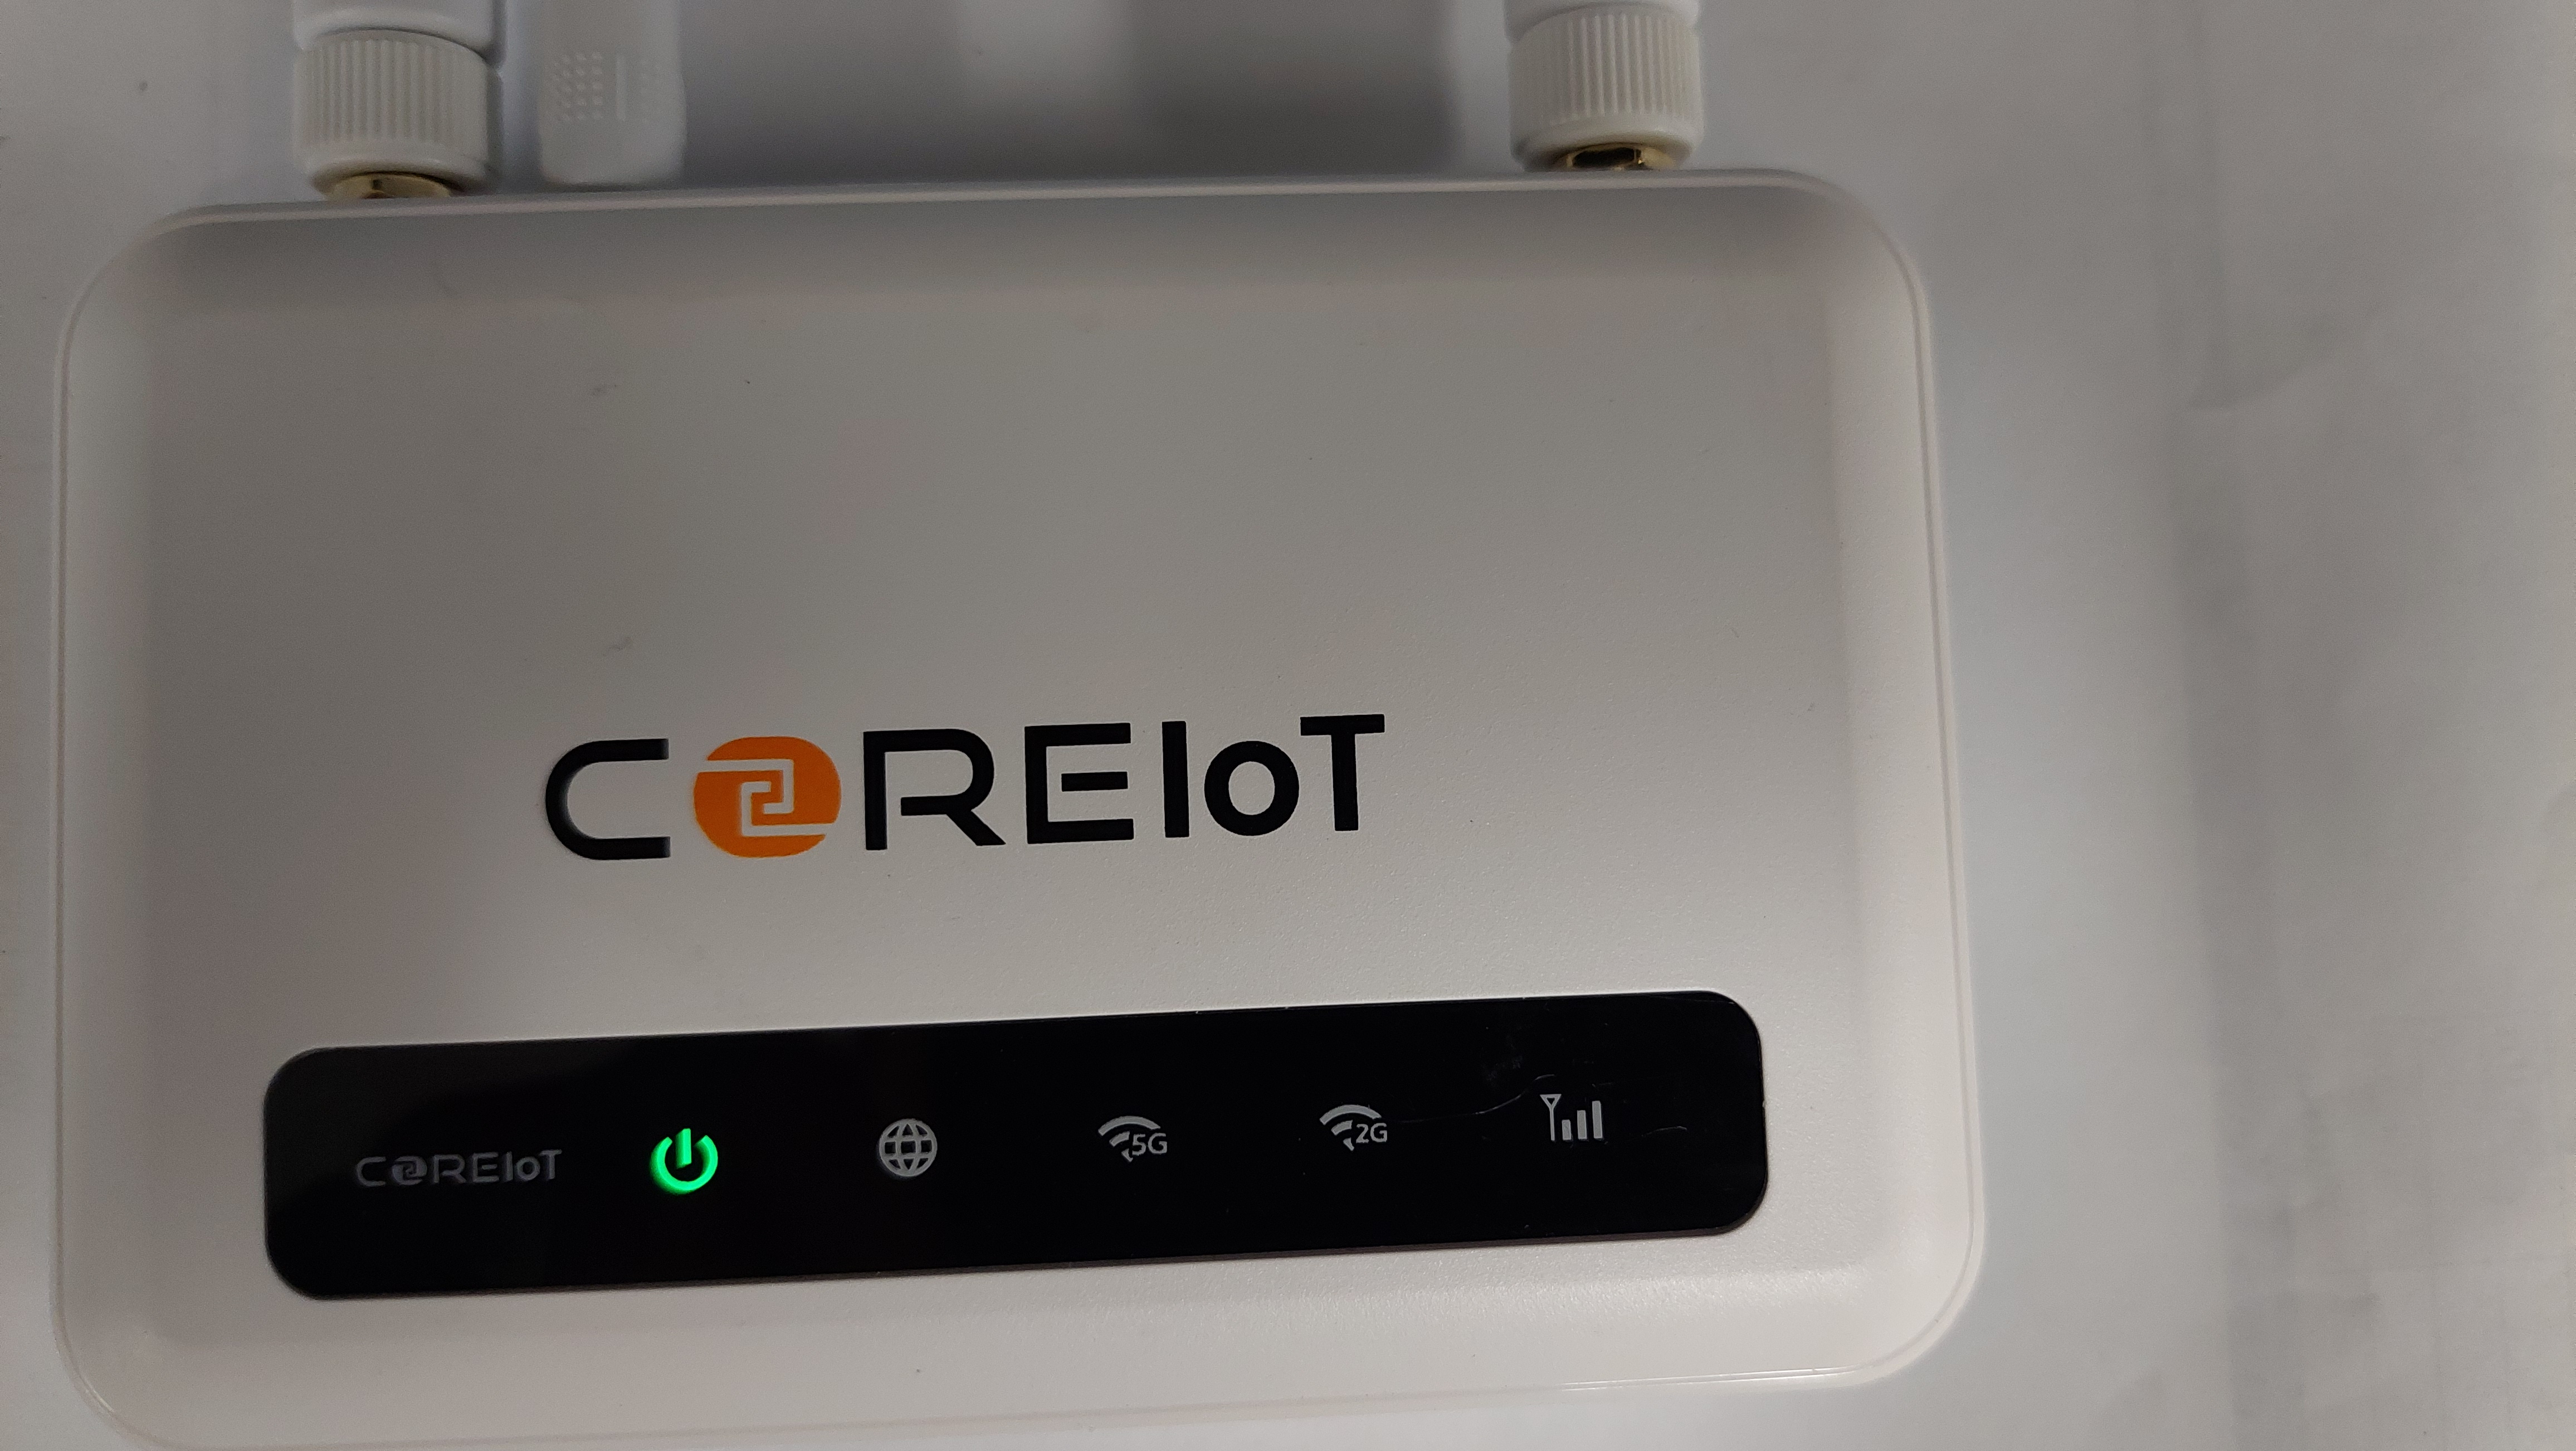
- Wait 5 minutes for the connection to be made.
- The 4g LED will now be illuminated.


Static IP Address
-
Follow either Cable connection or WiFI connection above.
-
Connect you computer to the LAN port of the gateway.
-
In your browser navigate to 192.168.8.1
-
Login with:
- user: root
- password: {{NEED to CONFIRM}}
- Navigate to Network -> Interfaces
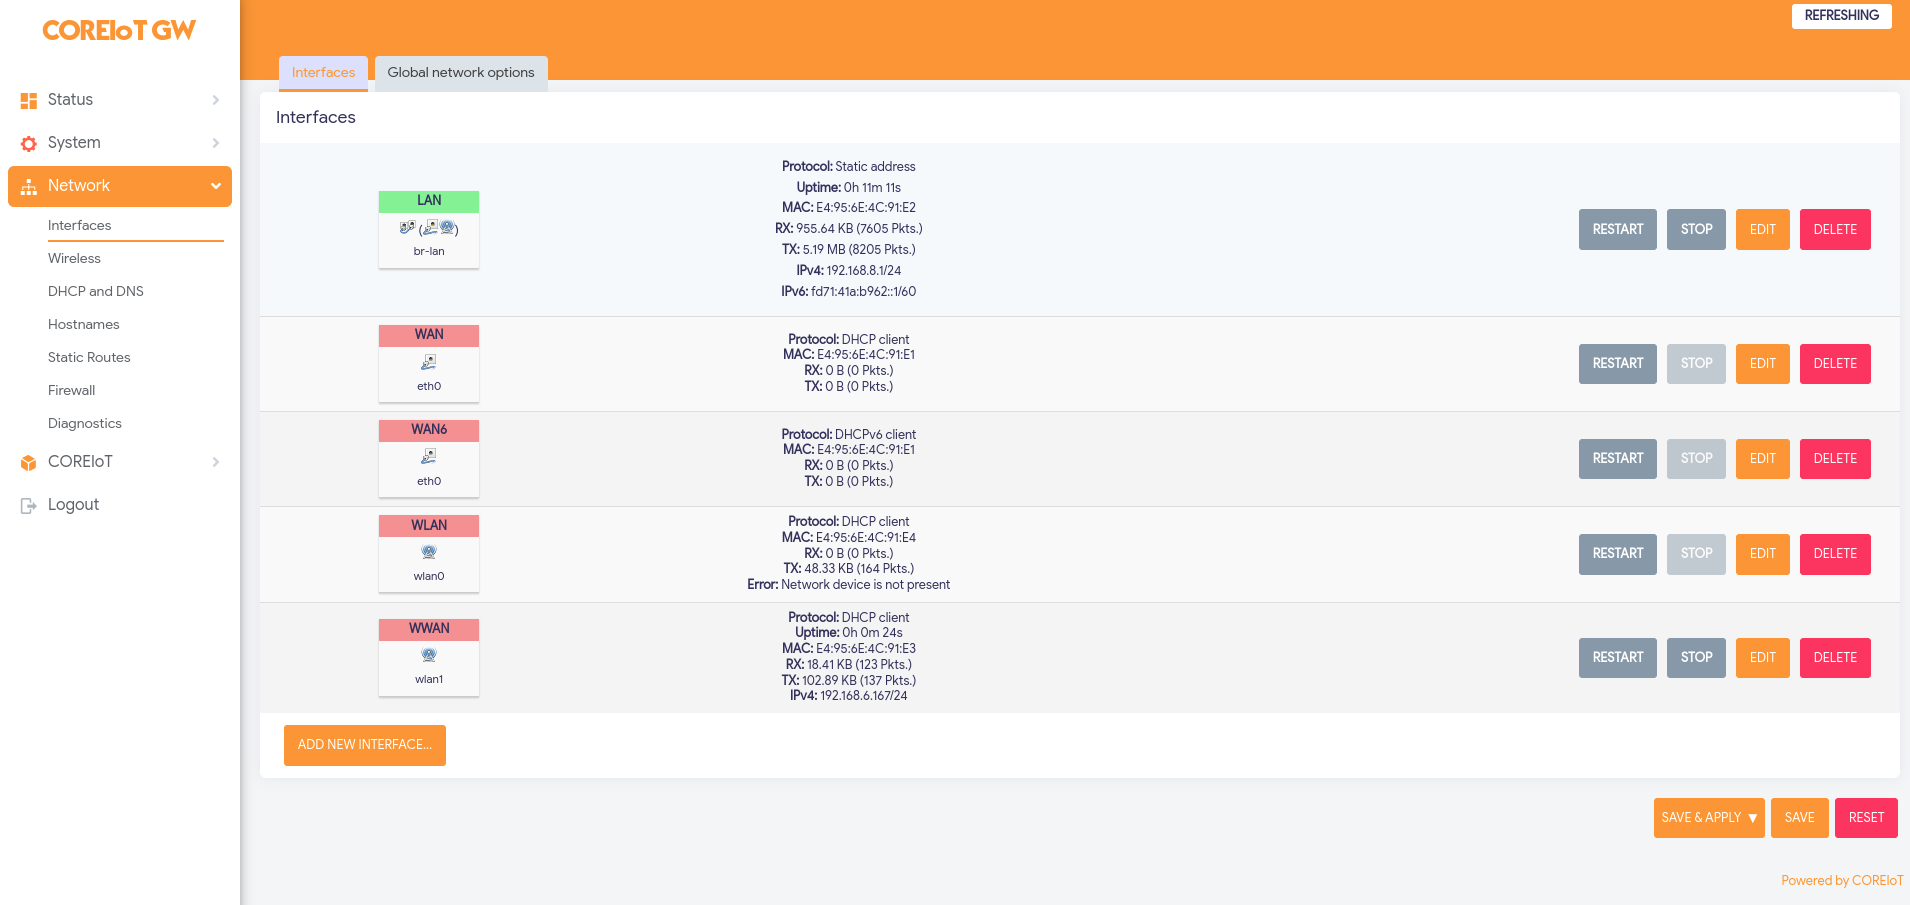
- Select edit on the network that is being used.

- Change Protocol from DHCP to Static IP
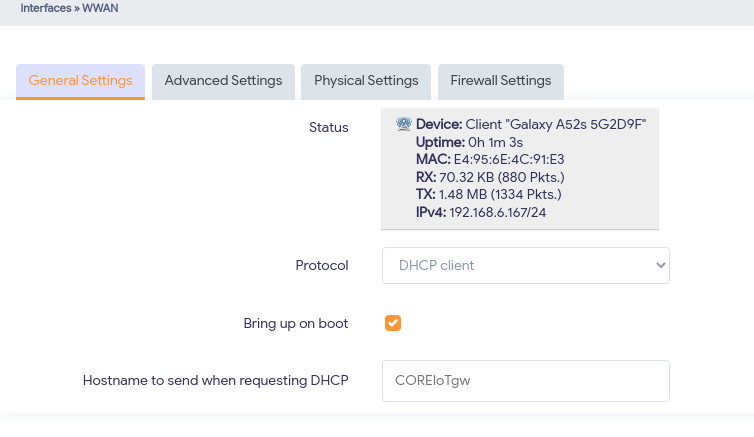

- Select Switch Protocol. Wait for window to refresh.
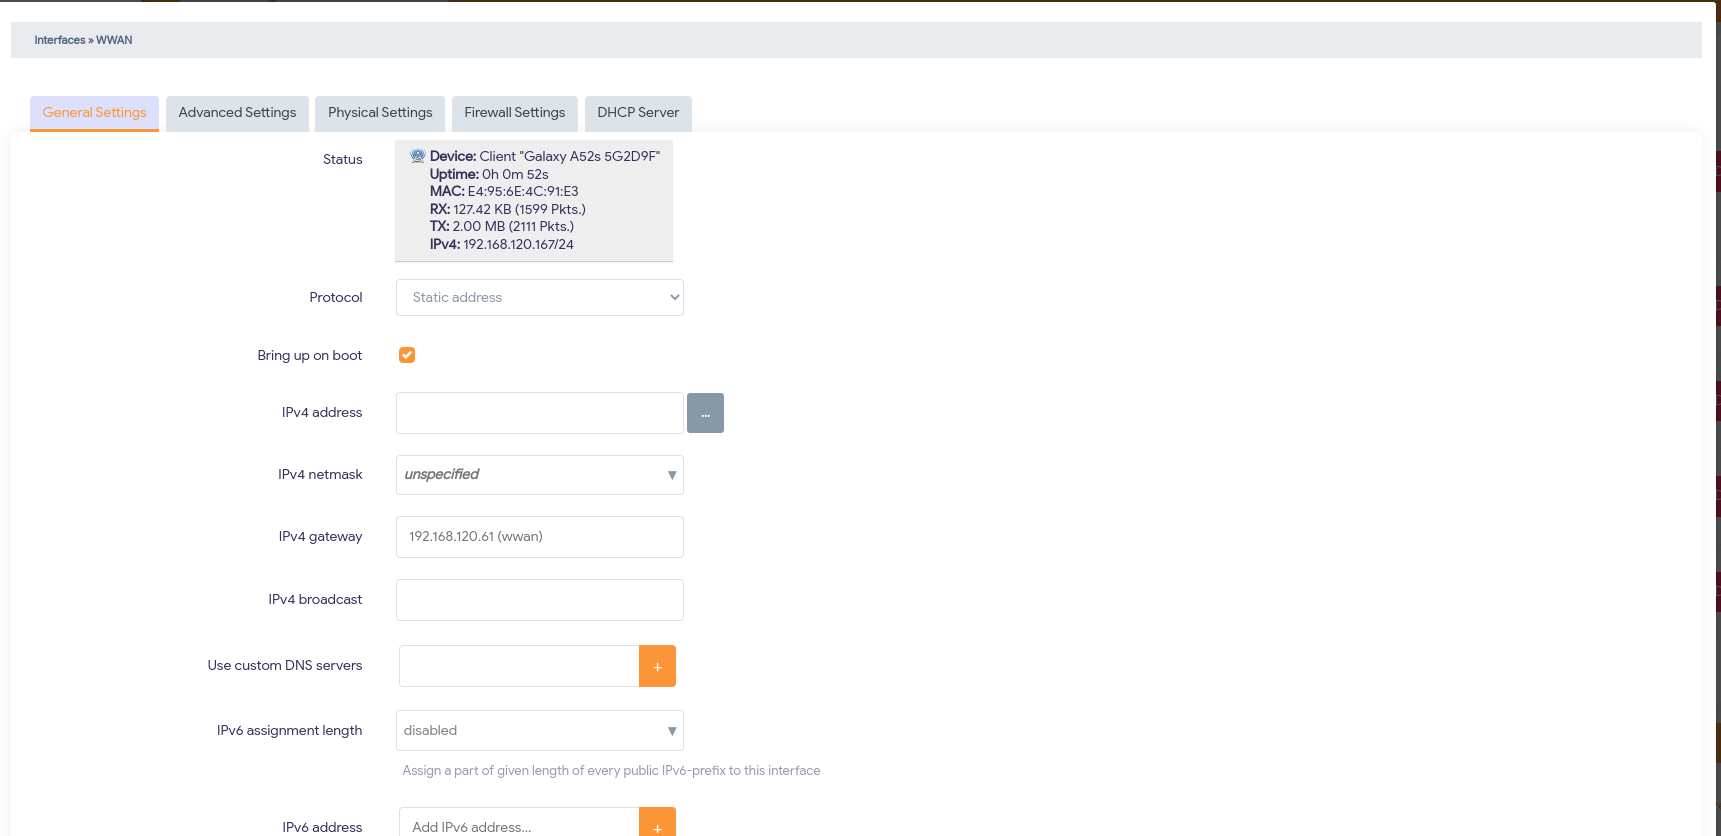
- Enter your required IP information.
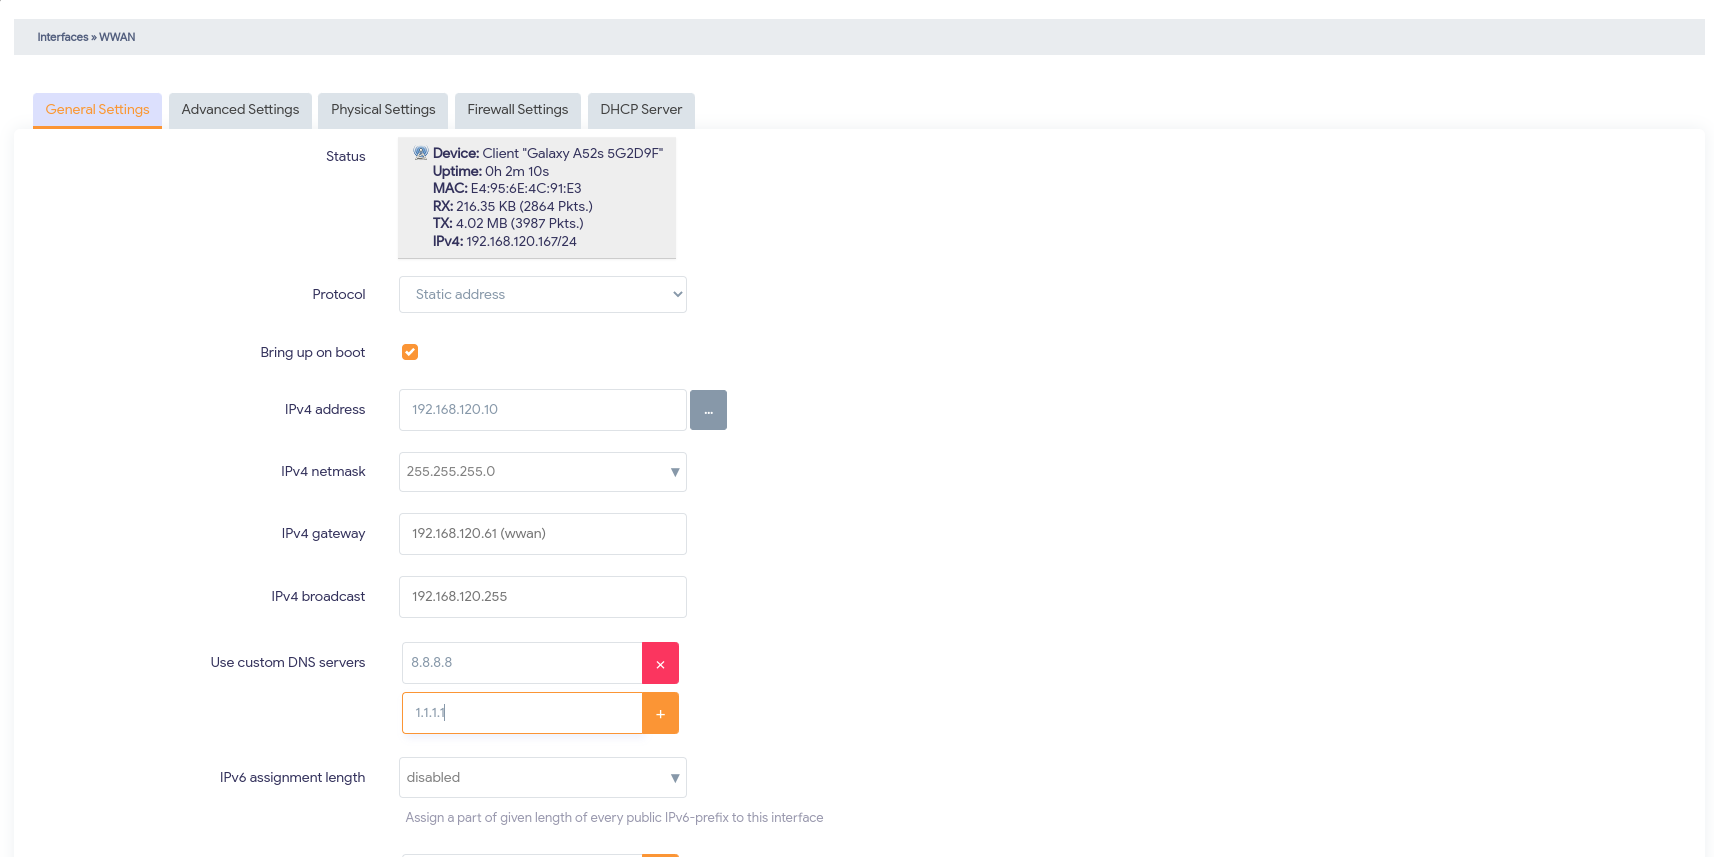
- Scroll down and select Save.
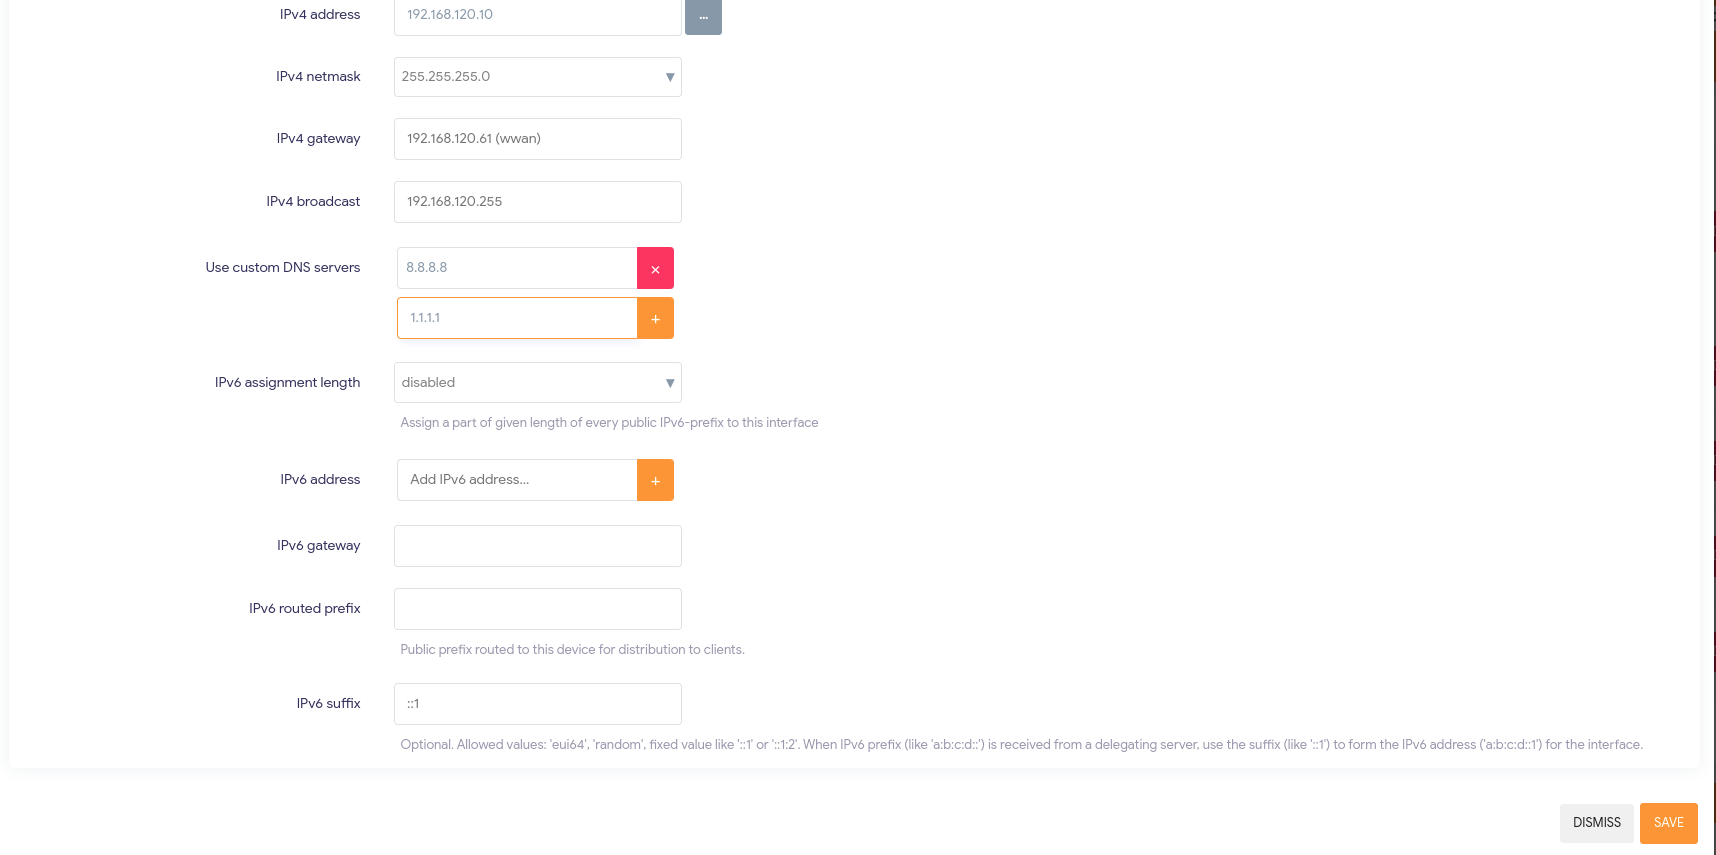
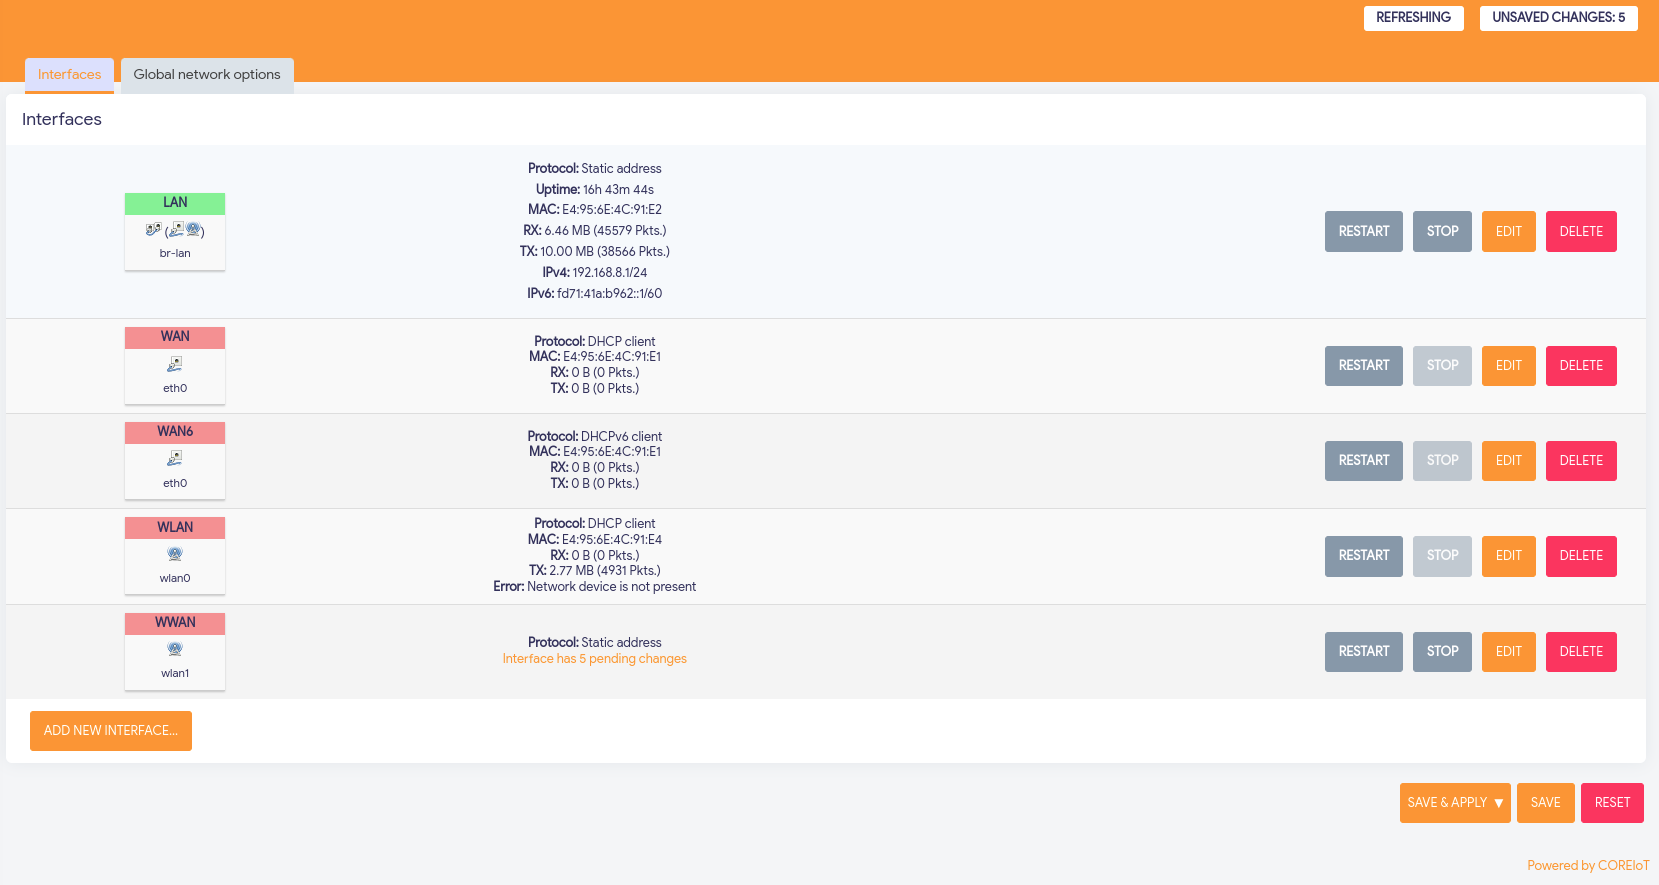
- The changes will be pending. Select Save and Apply.

Confirm Connection
Diagnostic Tools
To confirm the gateway is connected to the internet the built in Diagnostics tools can be used.
- Navigate to Network → Diagnostics
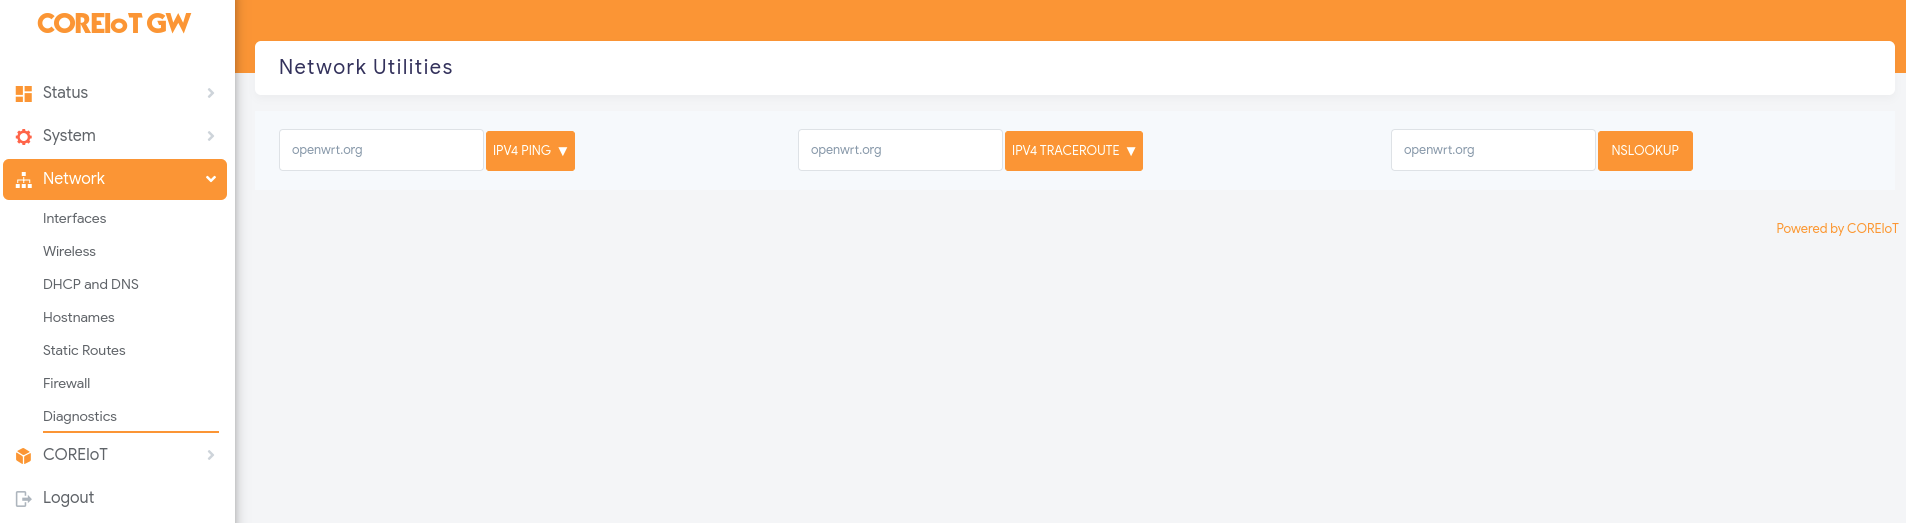
- Three tools are available.
- Ping
- Traceroute
- NS Lookup
- Select the IPv4 Ping button.
- If successful the following should be displayed.
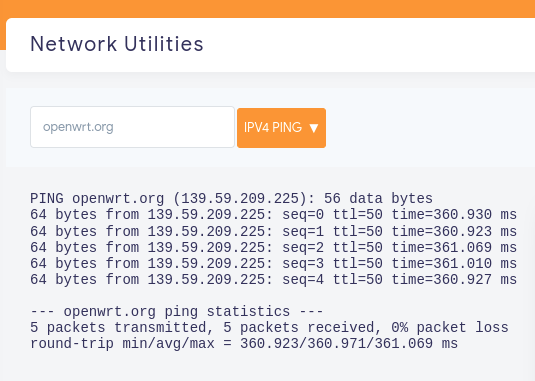
- If it fails you should ensure that your gateway is assigned an IP address and the required ports have been configured.
Portal Confirmation
If the setup is complete and your gateway is connected to your portal you will be able check if the gateway is online.
-
Navigate to your portal URL.
-
Login
-
Go to:
-
Your gateway status is indicated by the coloured circle. Green for online and red for offline.