Andon Light Installation
Installation Prerequisites
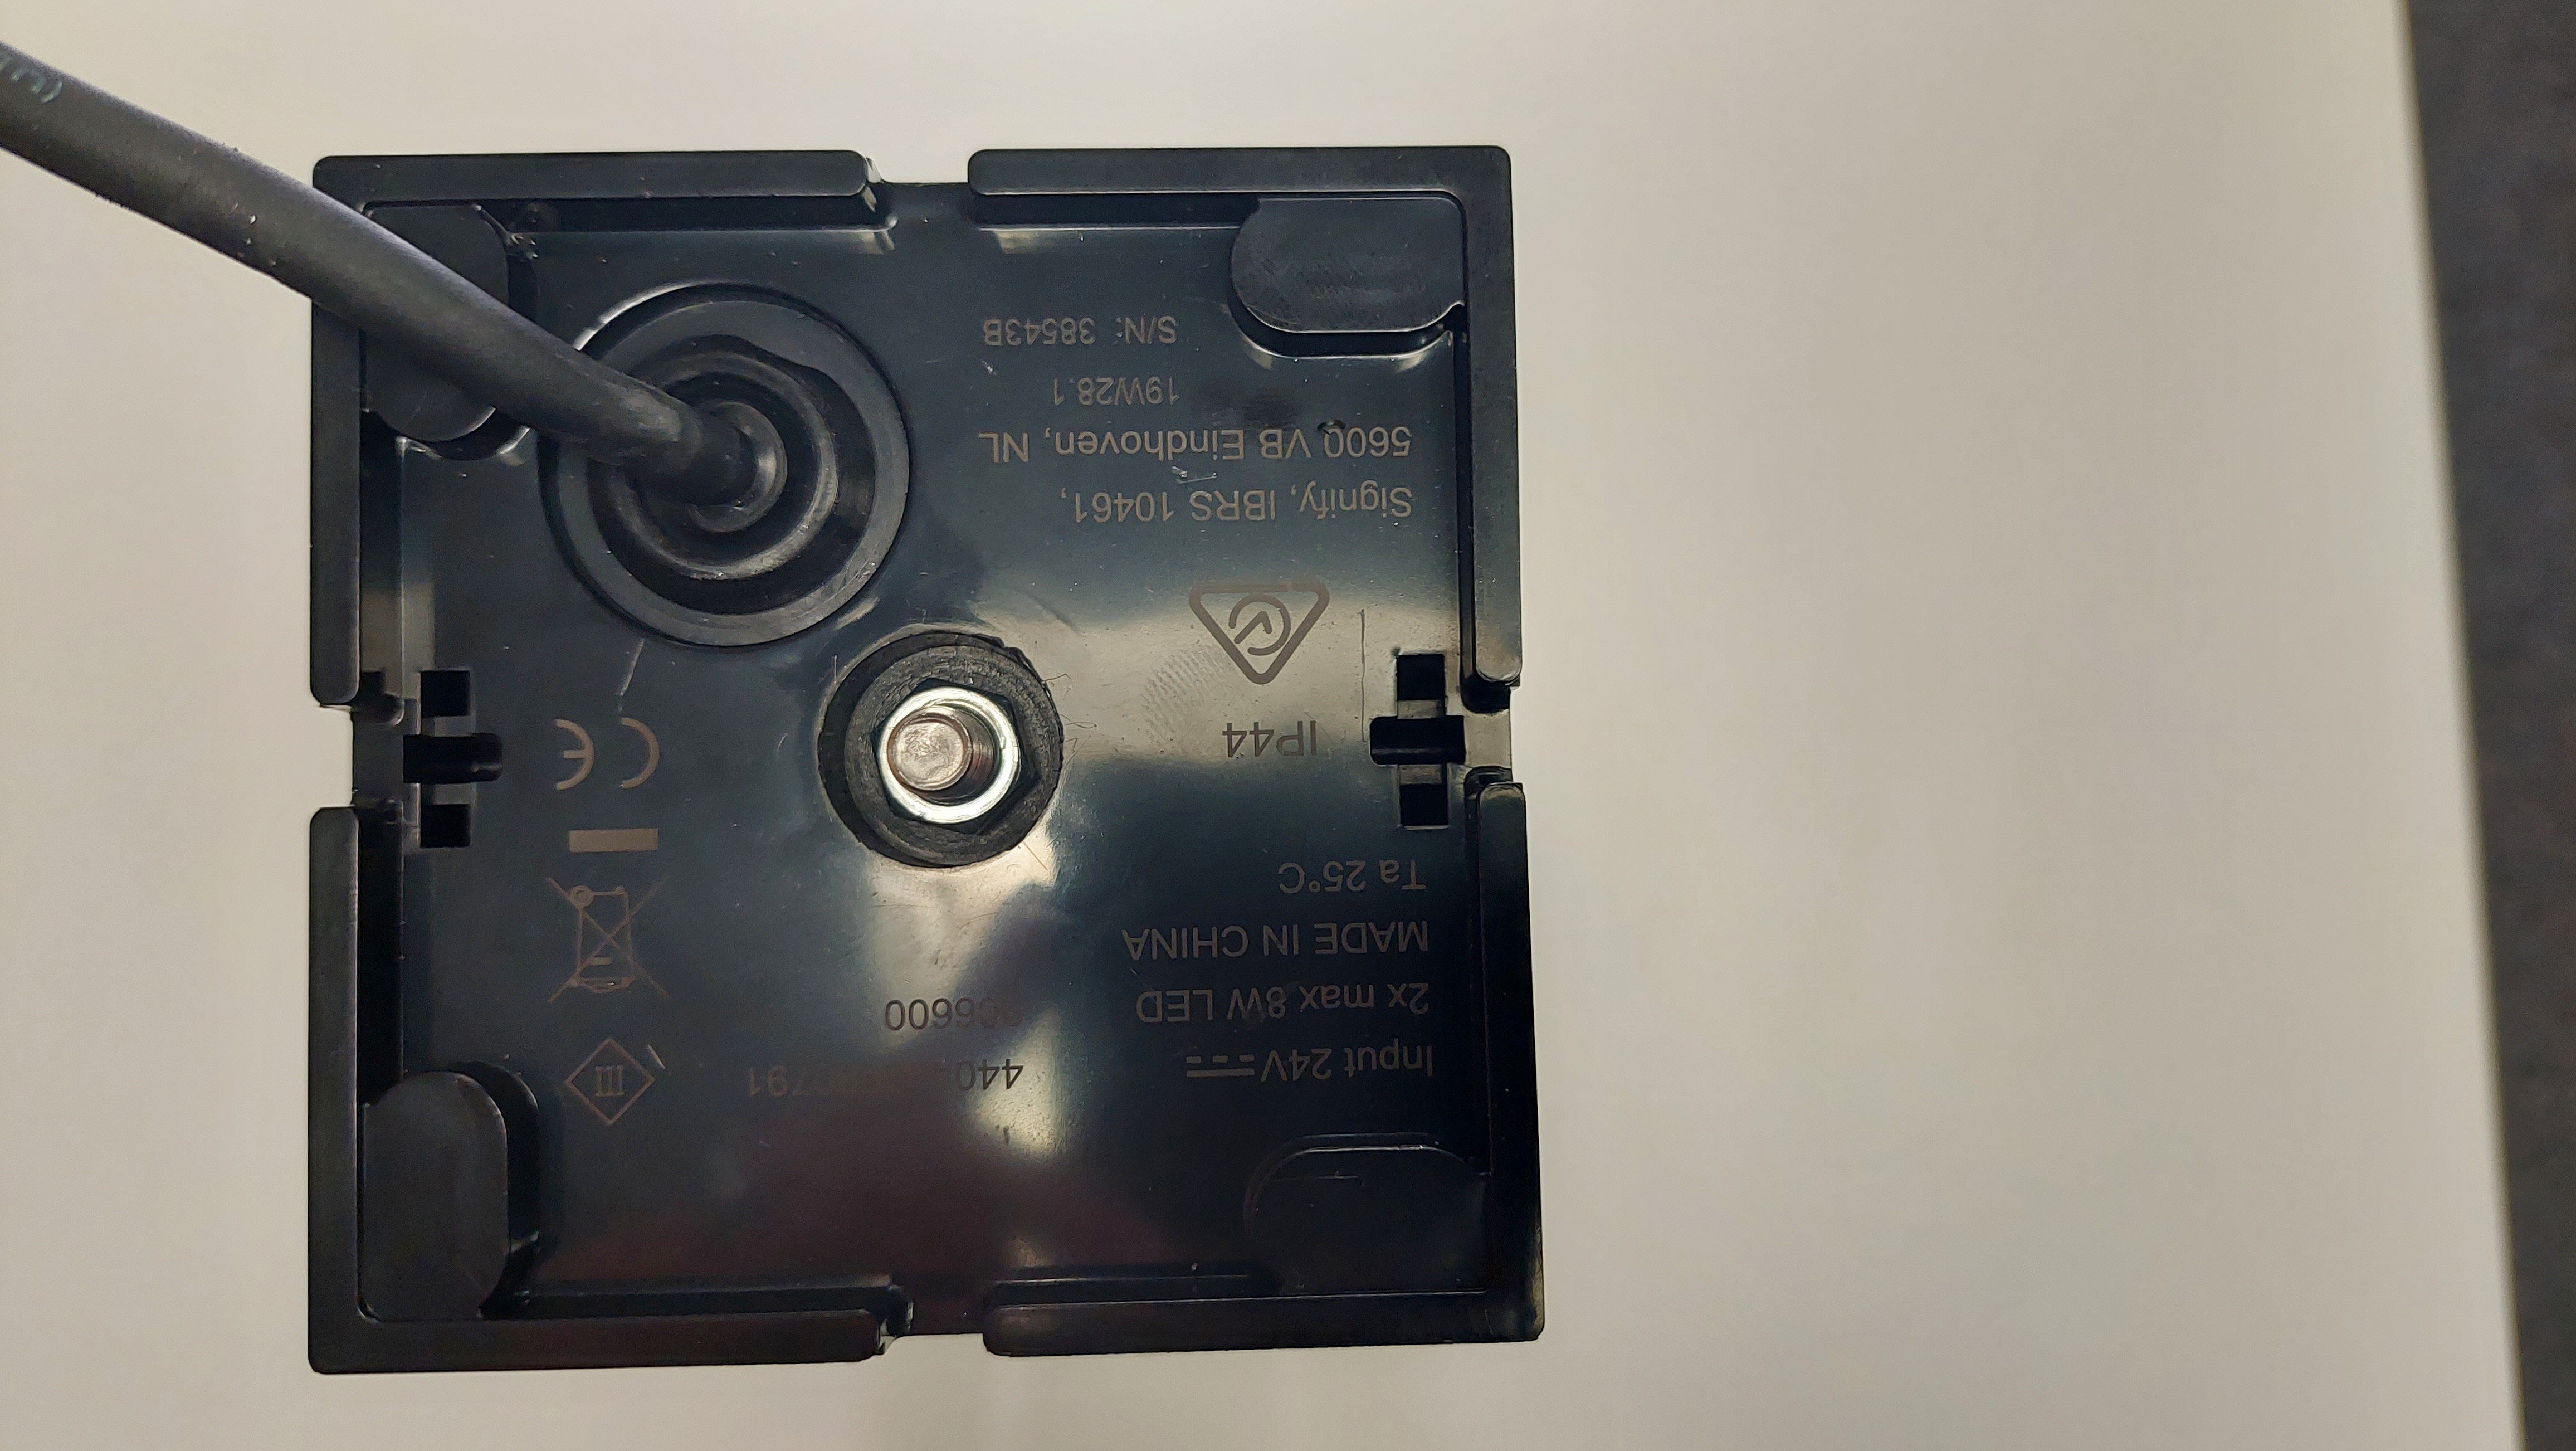
Machine Setup in portal {Add image summary page}{Add image of machine details}
1. Record Machine Name
The machine name that the andon light will be installed on is very important and will be used in the setup process in your portal.
2. Recommended Installation
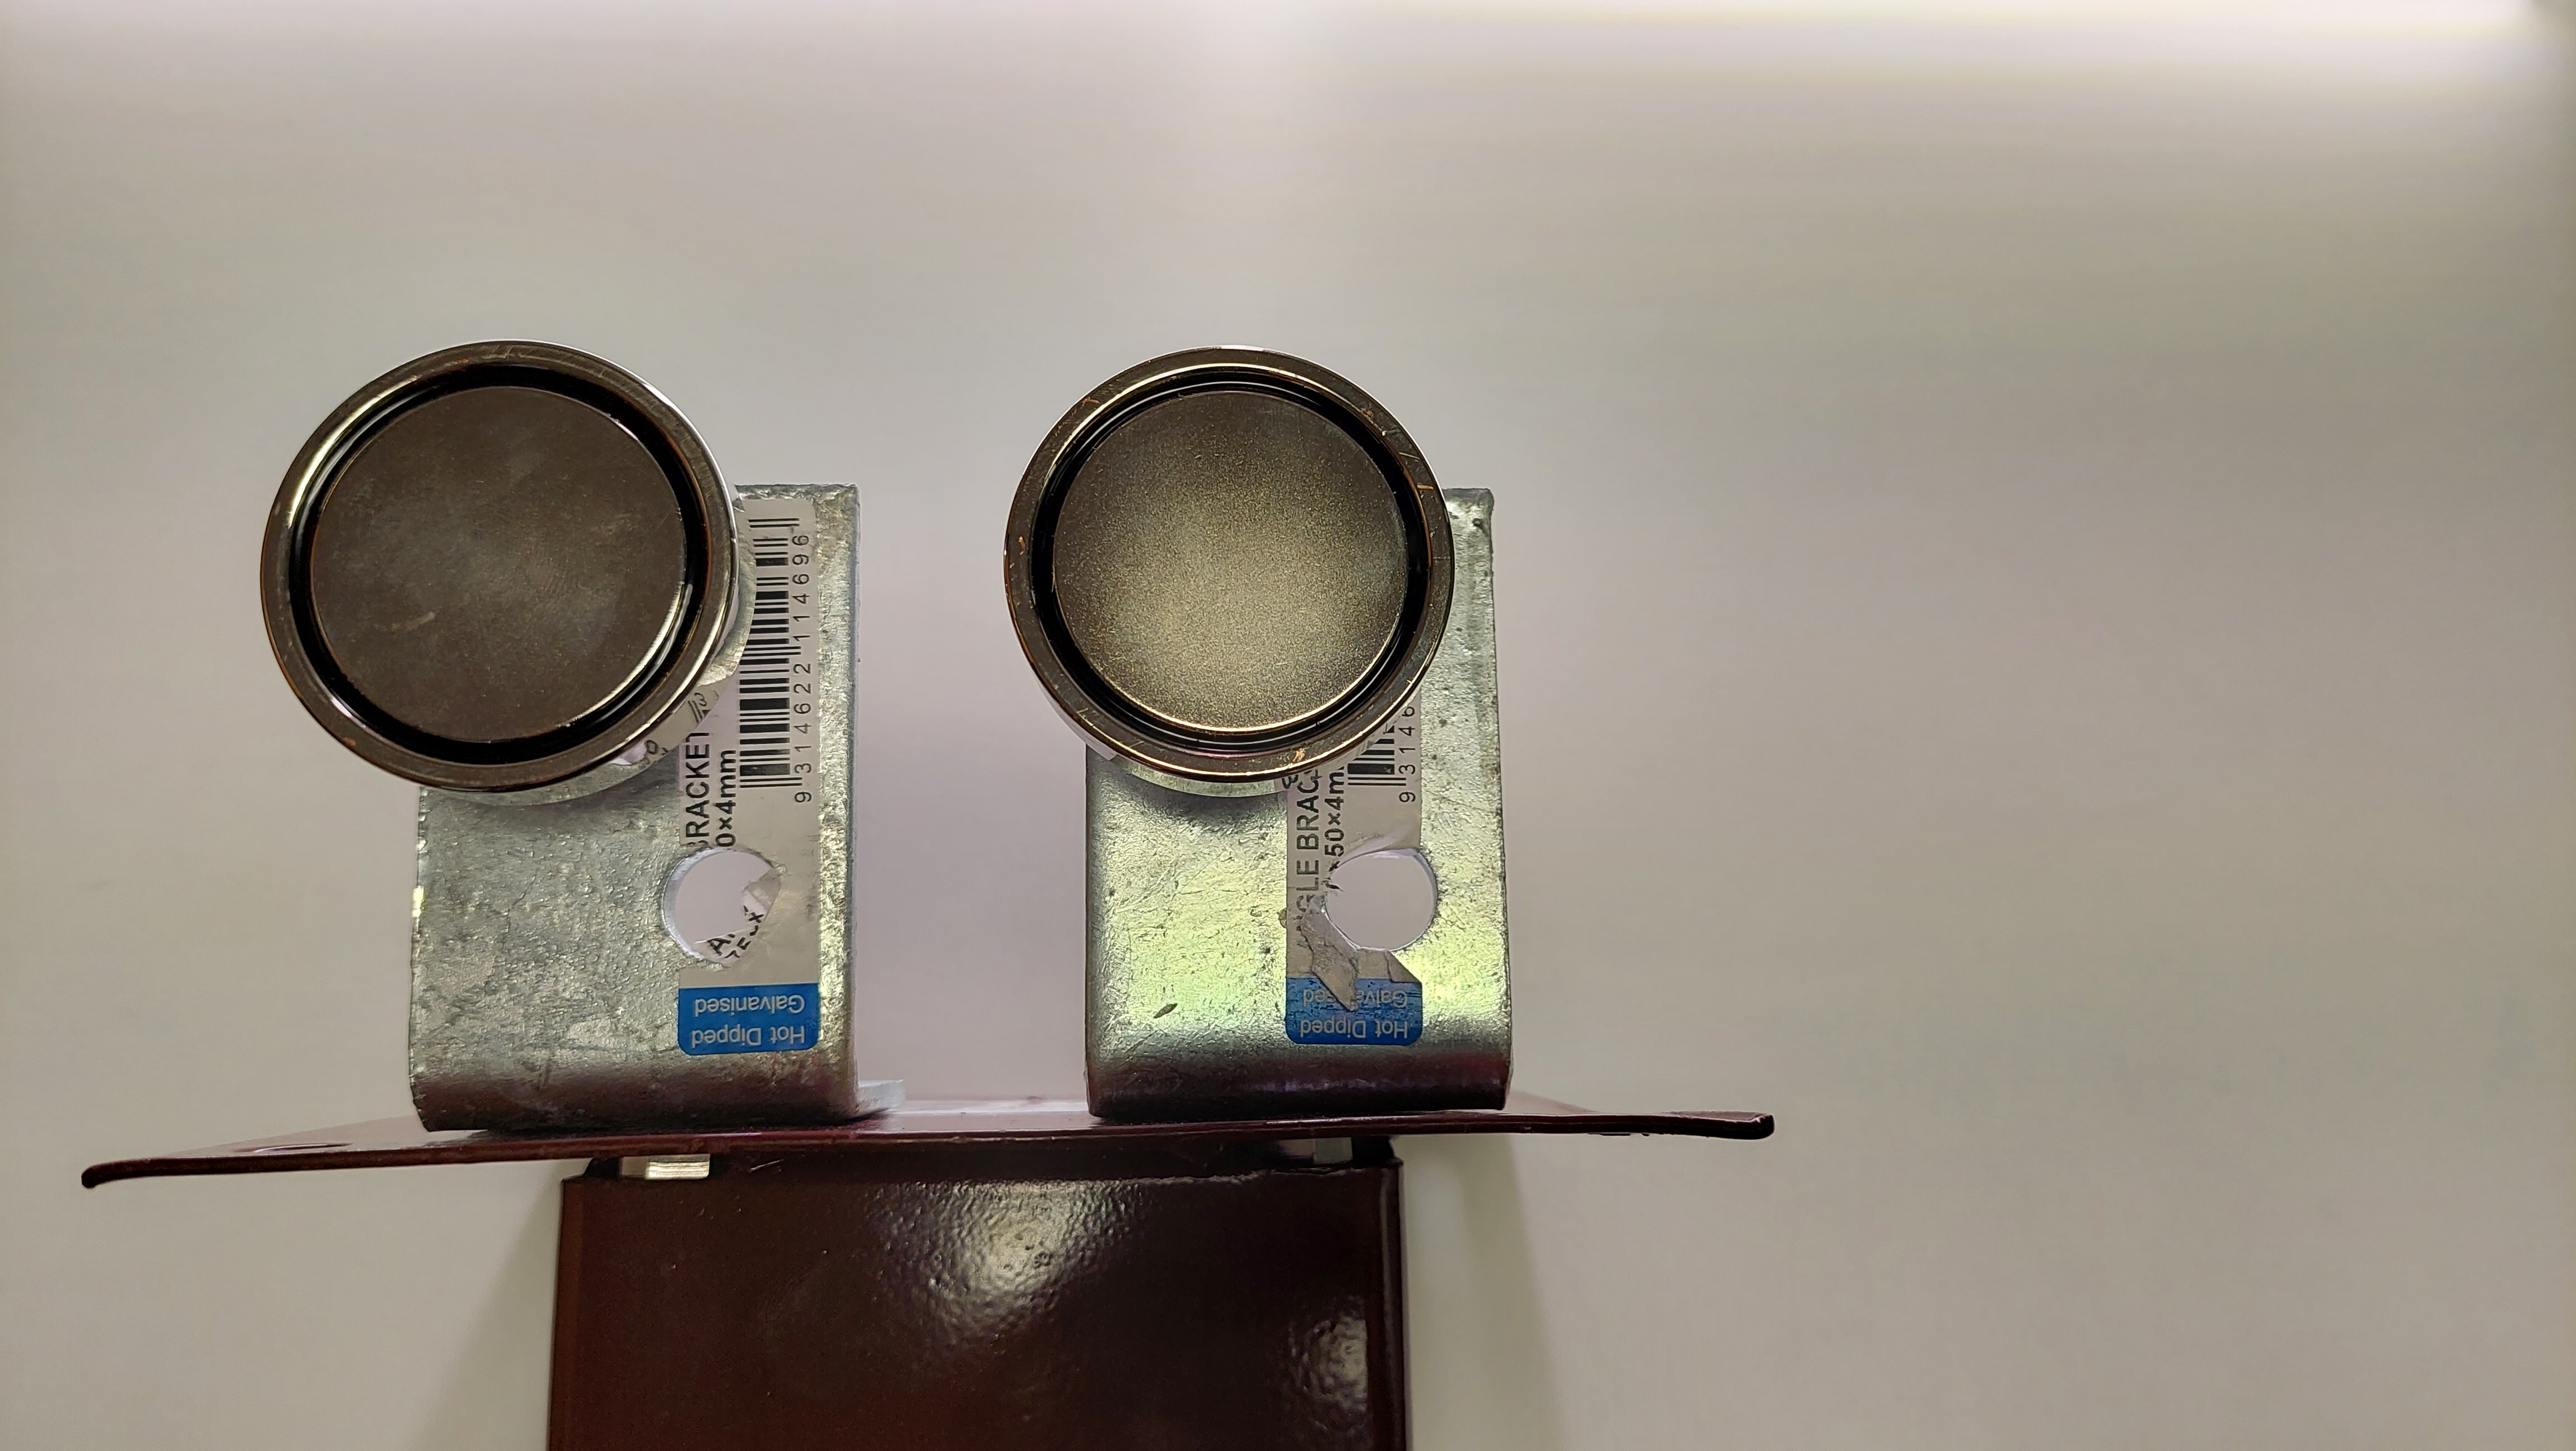
To ensure the Andon Light is mounted securely we recommend placing the light into a pole mount. The following one fits the light correctly:
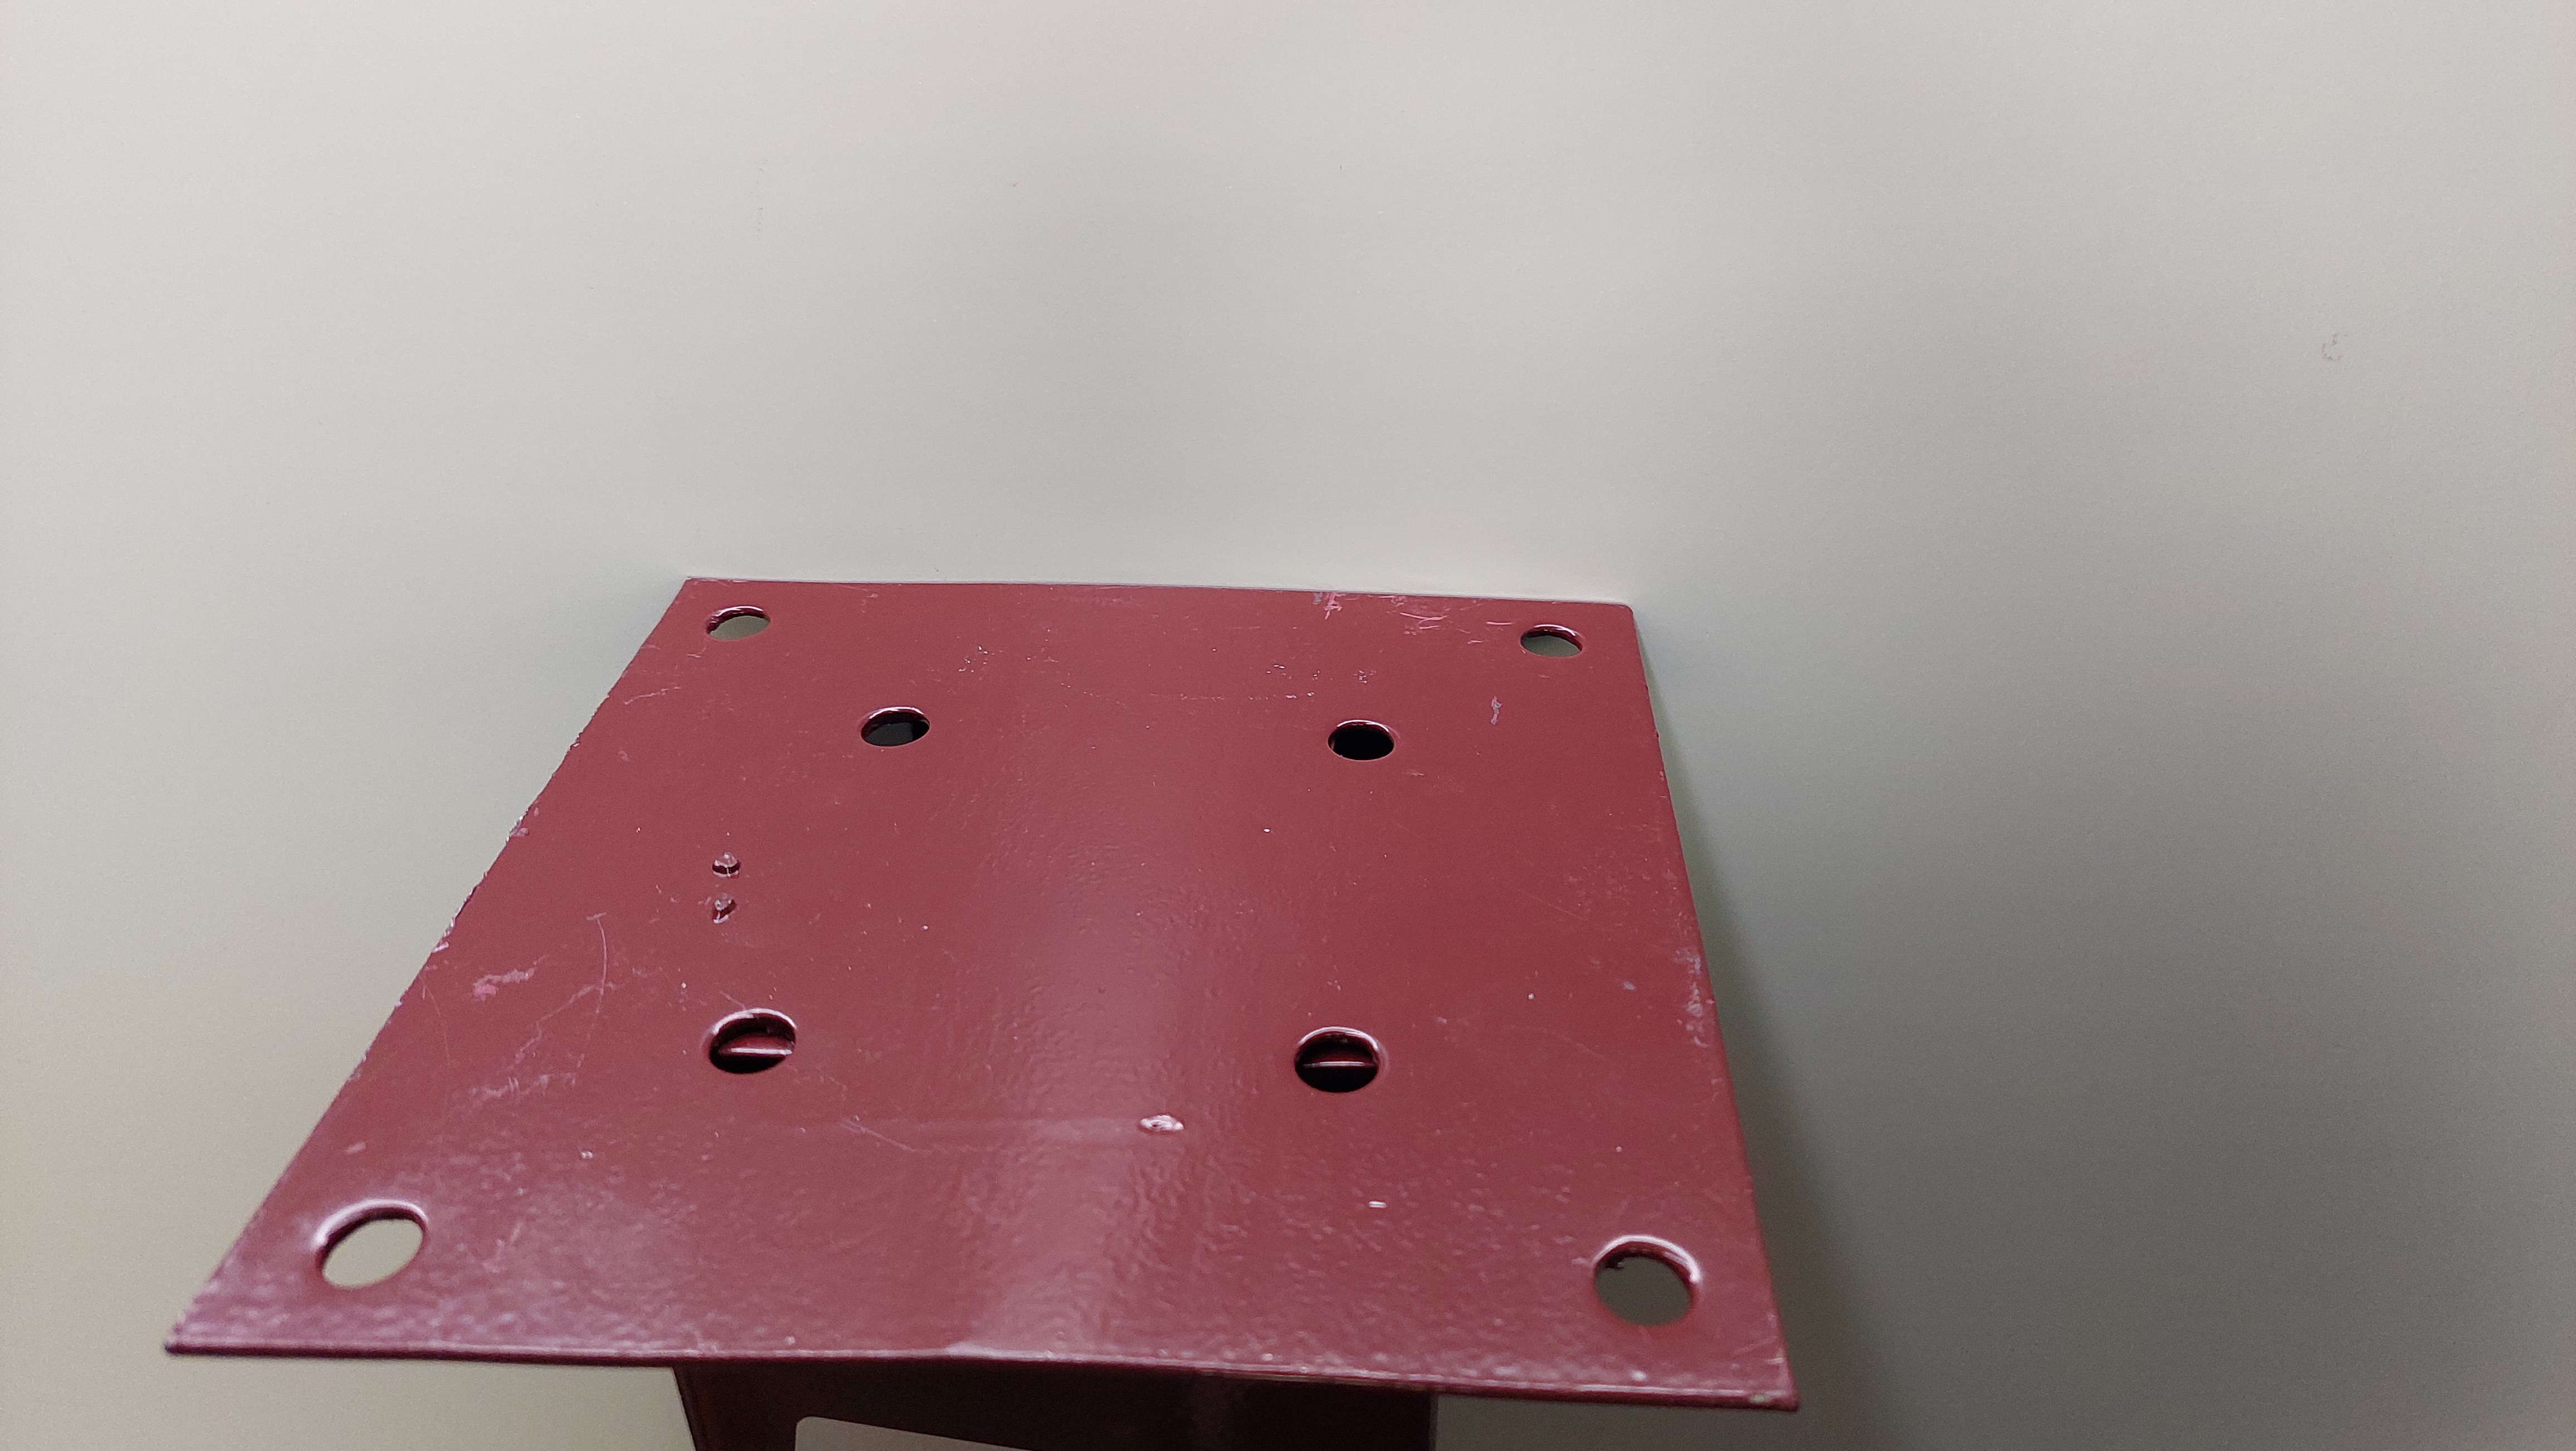
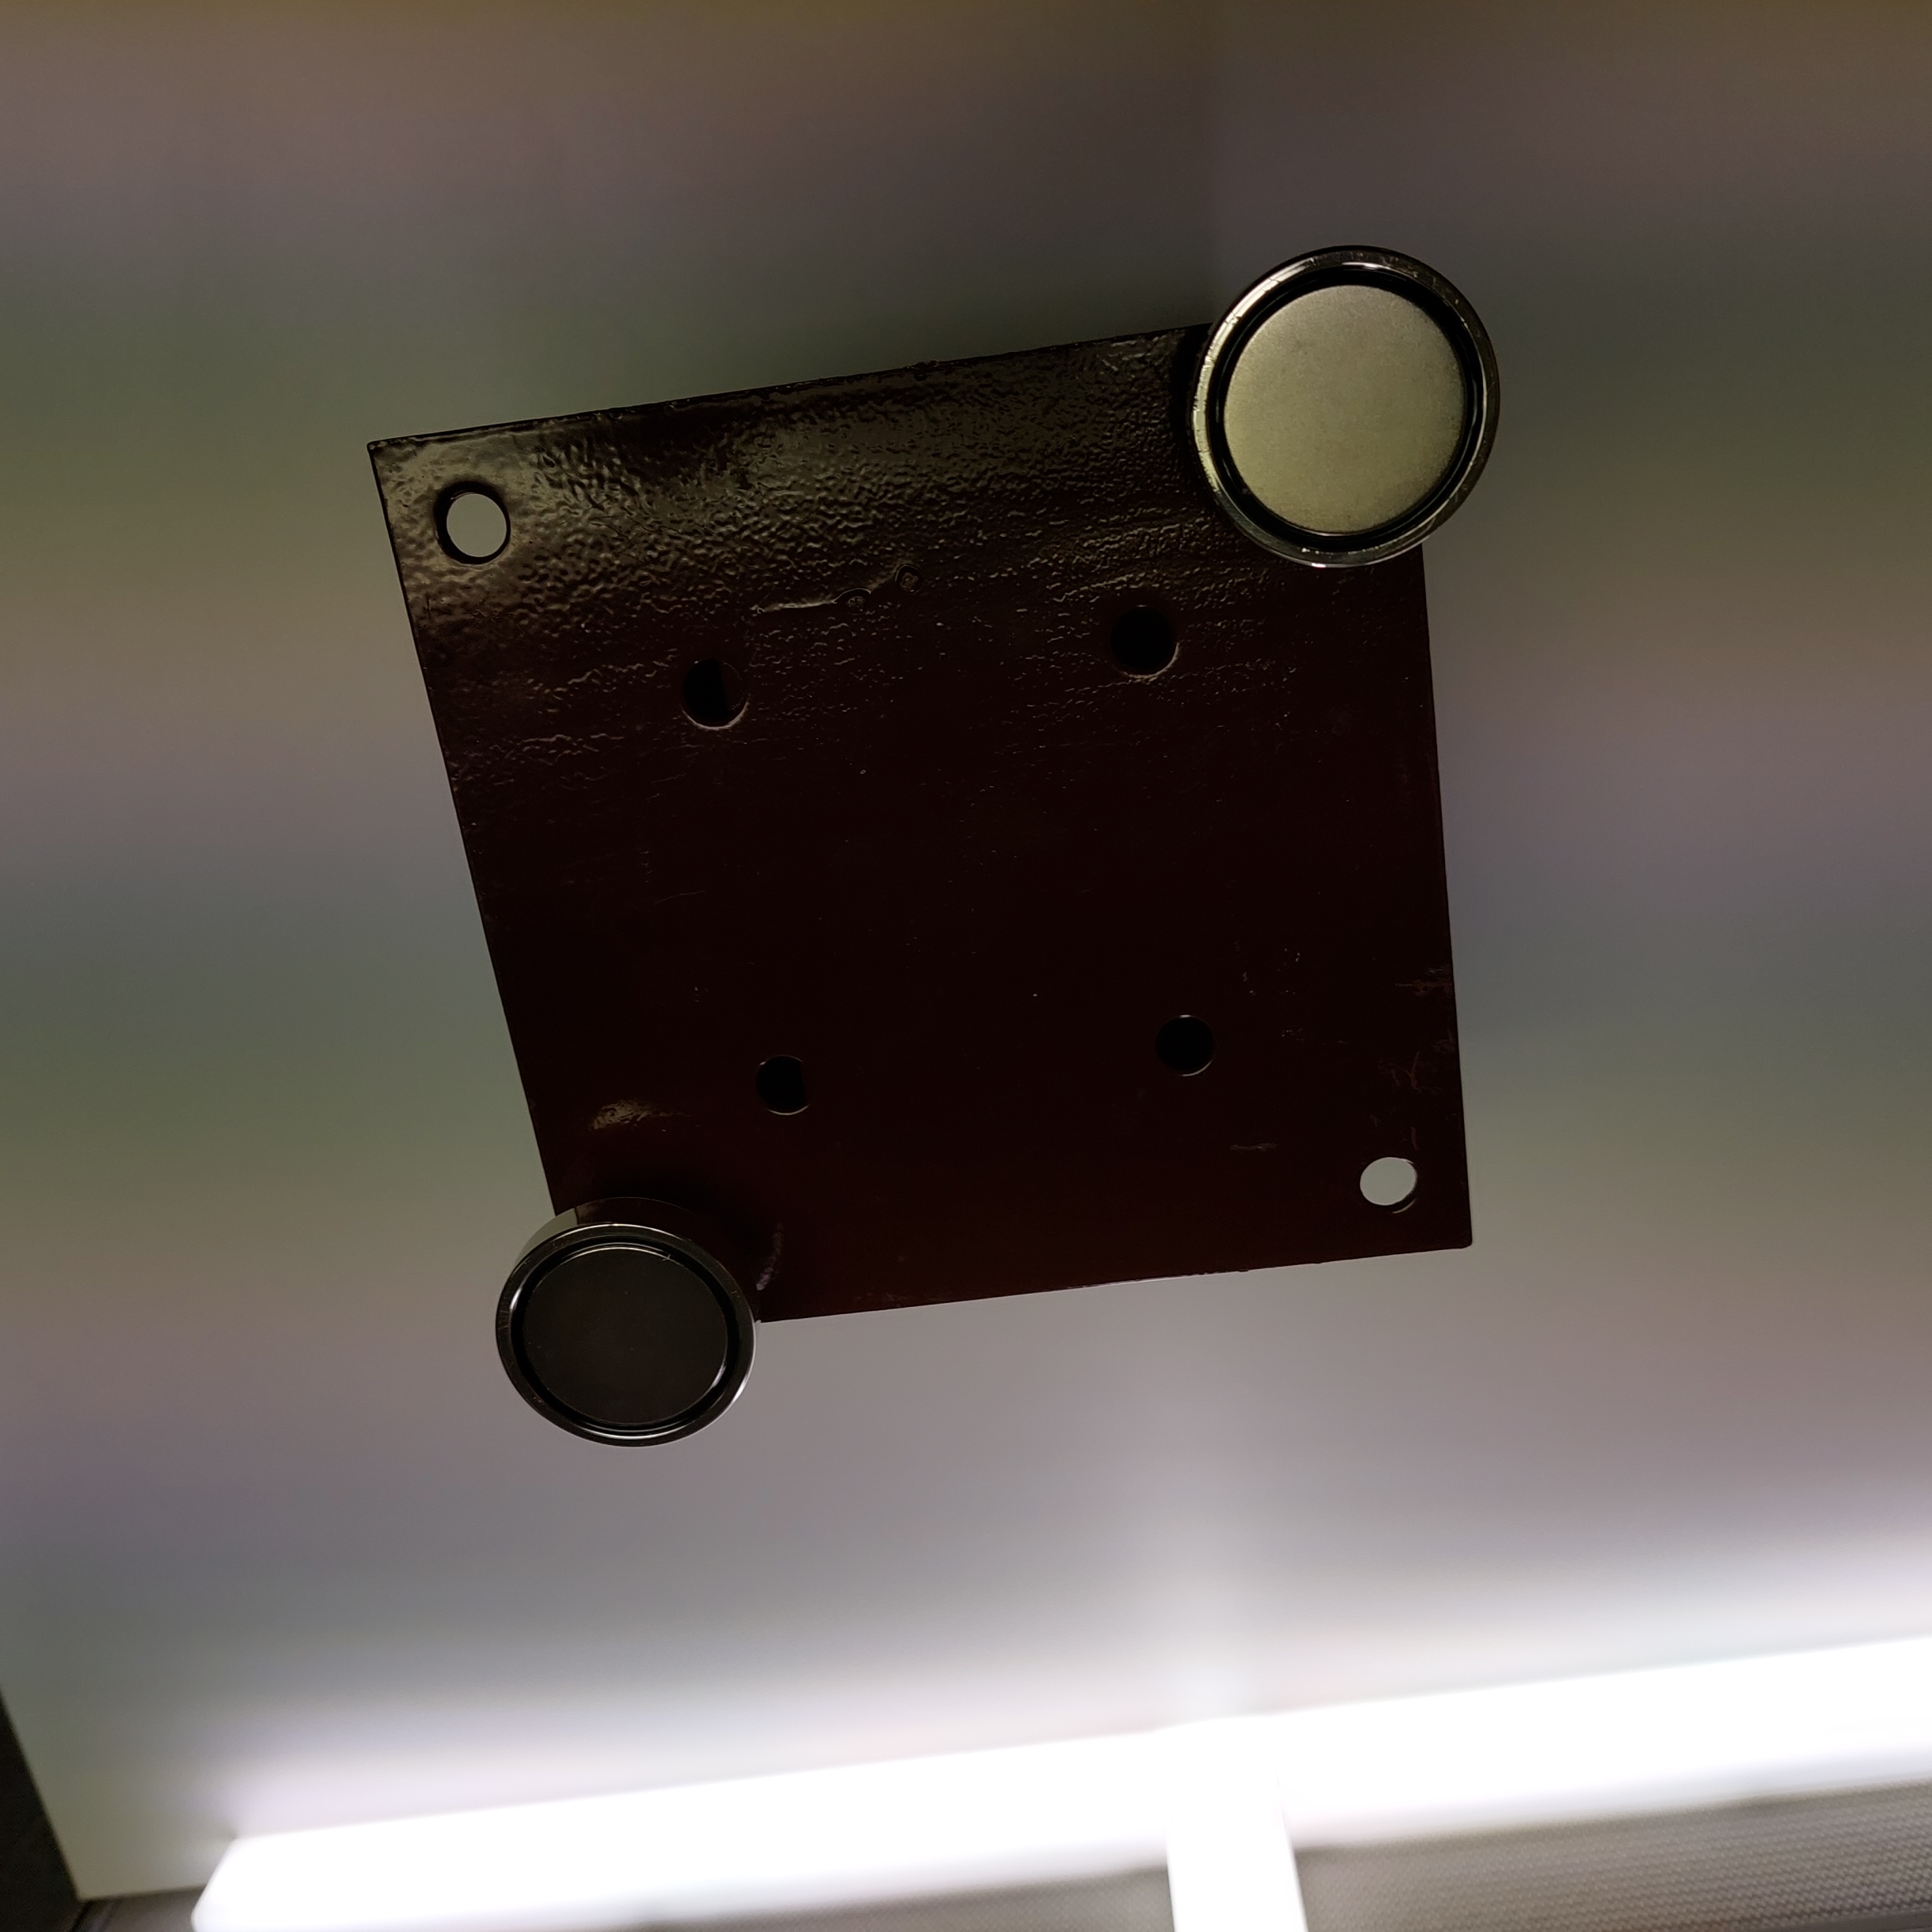
Once the pole mount is installed the light can either be bolted into the required position or magnets fitted to easily install onto a steel i-beam for example.

The following hardware can be used to install the light via magnets.
Required Tools
-
Screw driver
-
Socket Set
-
Adjustable Spanner
Safety Clothing
To ensure no injuries occur we recommend when handling strong magnets for the handler to wear:
-
Thick Gloves - To prevent pinching of skin
-
Safety Glasses - Magnet contact surface with excessive force and shatters.
Horizontal Installation
Steps
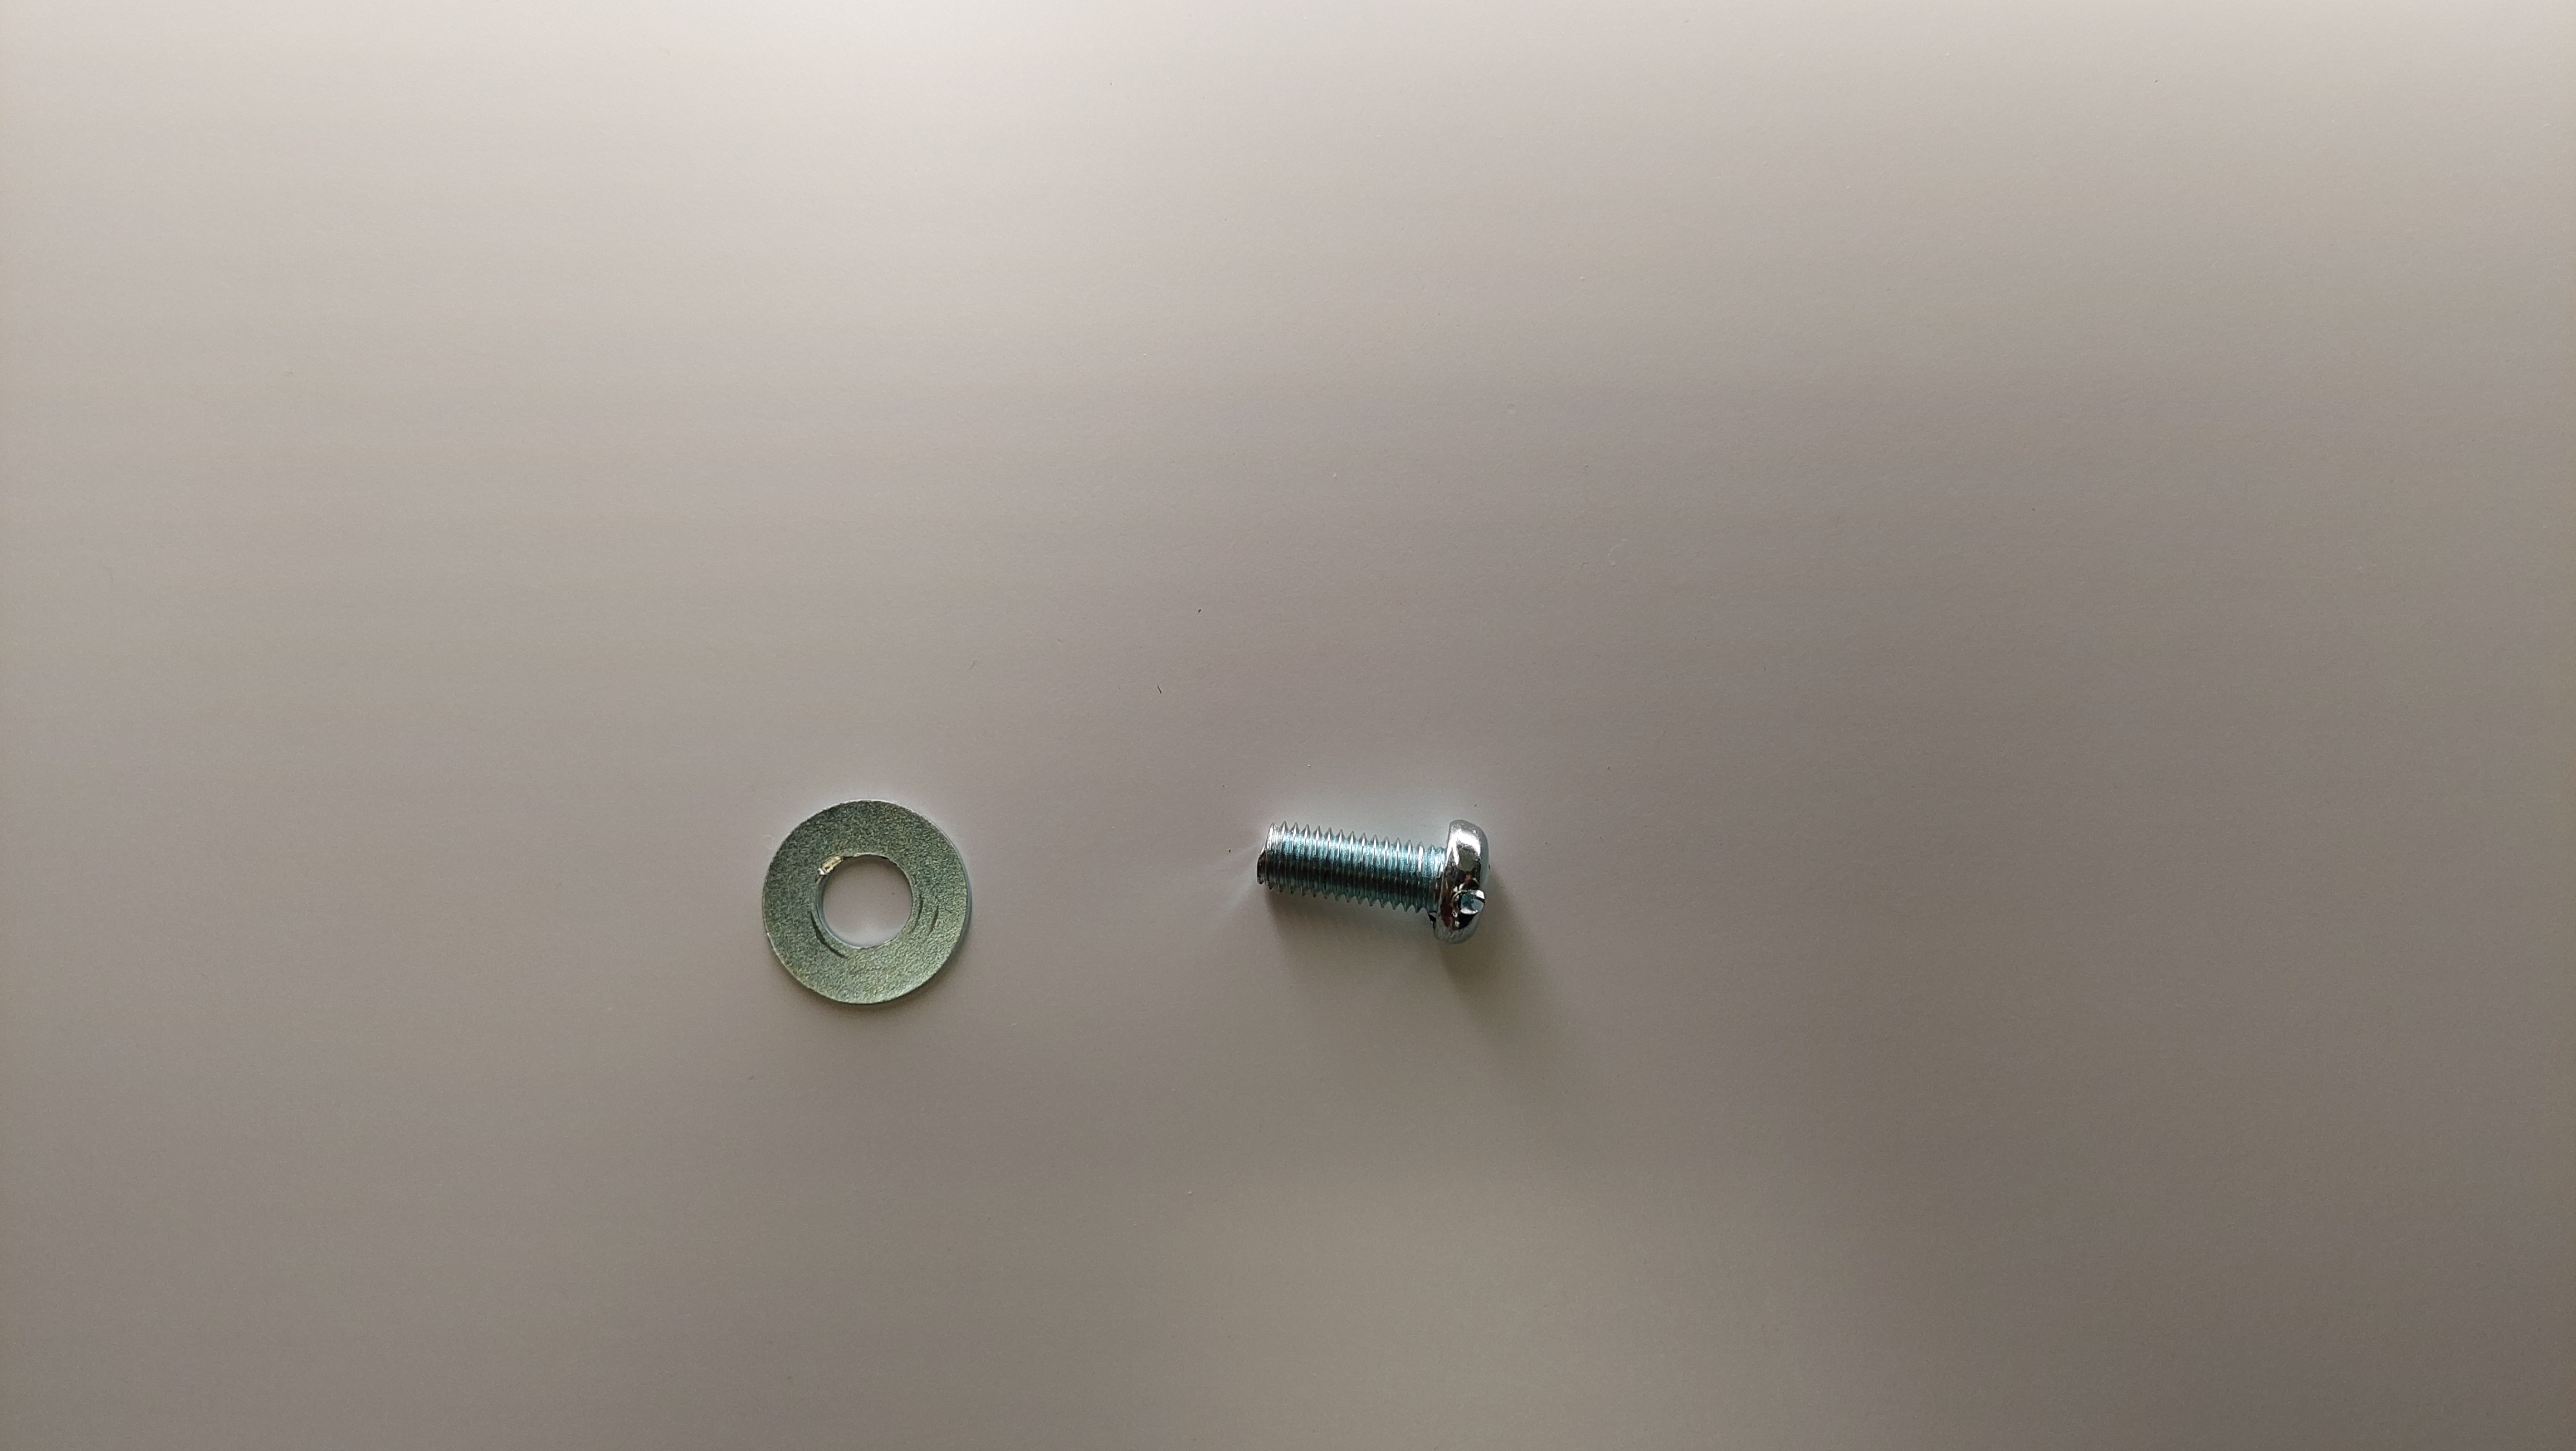
- Place washer on Bolt and place through top of bracket.
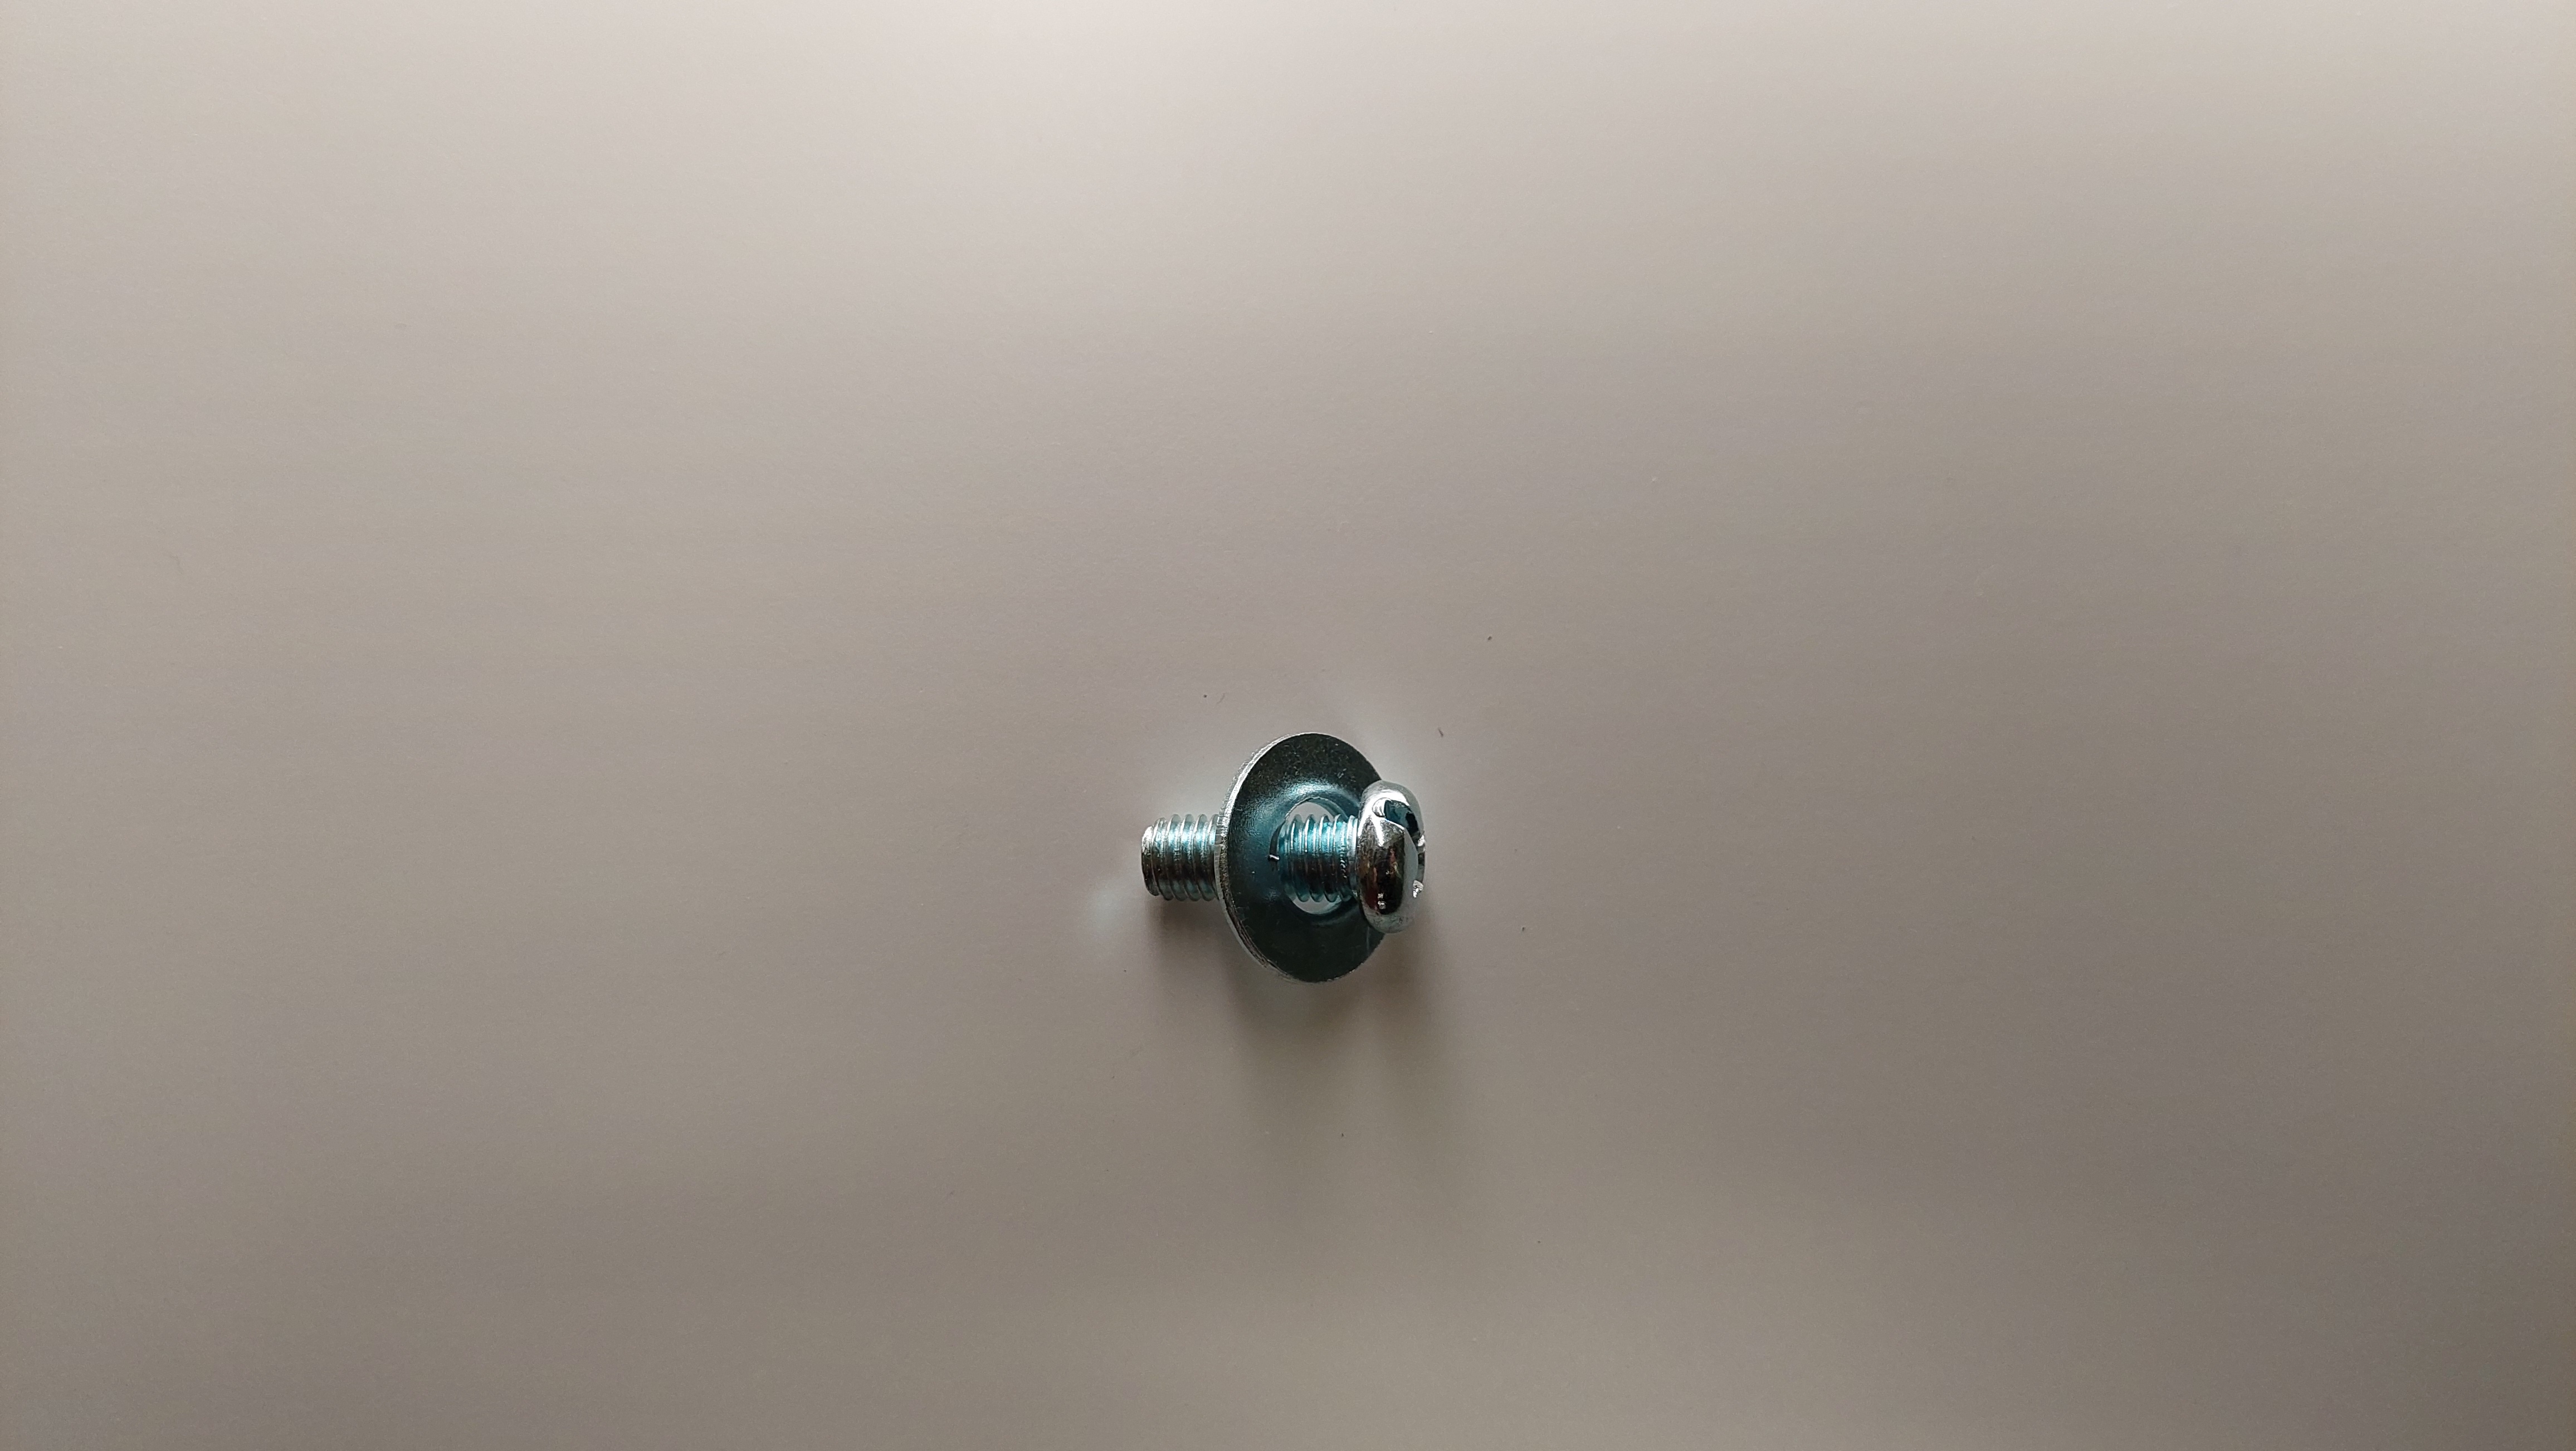
- Fit washer and then fit Spring Washer
-
Thread on magnet and tighten as much as possible
-
Repeat above on opposite corner.
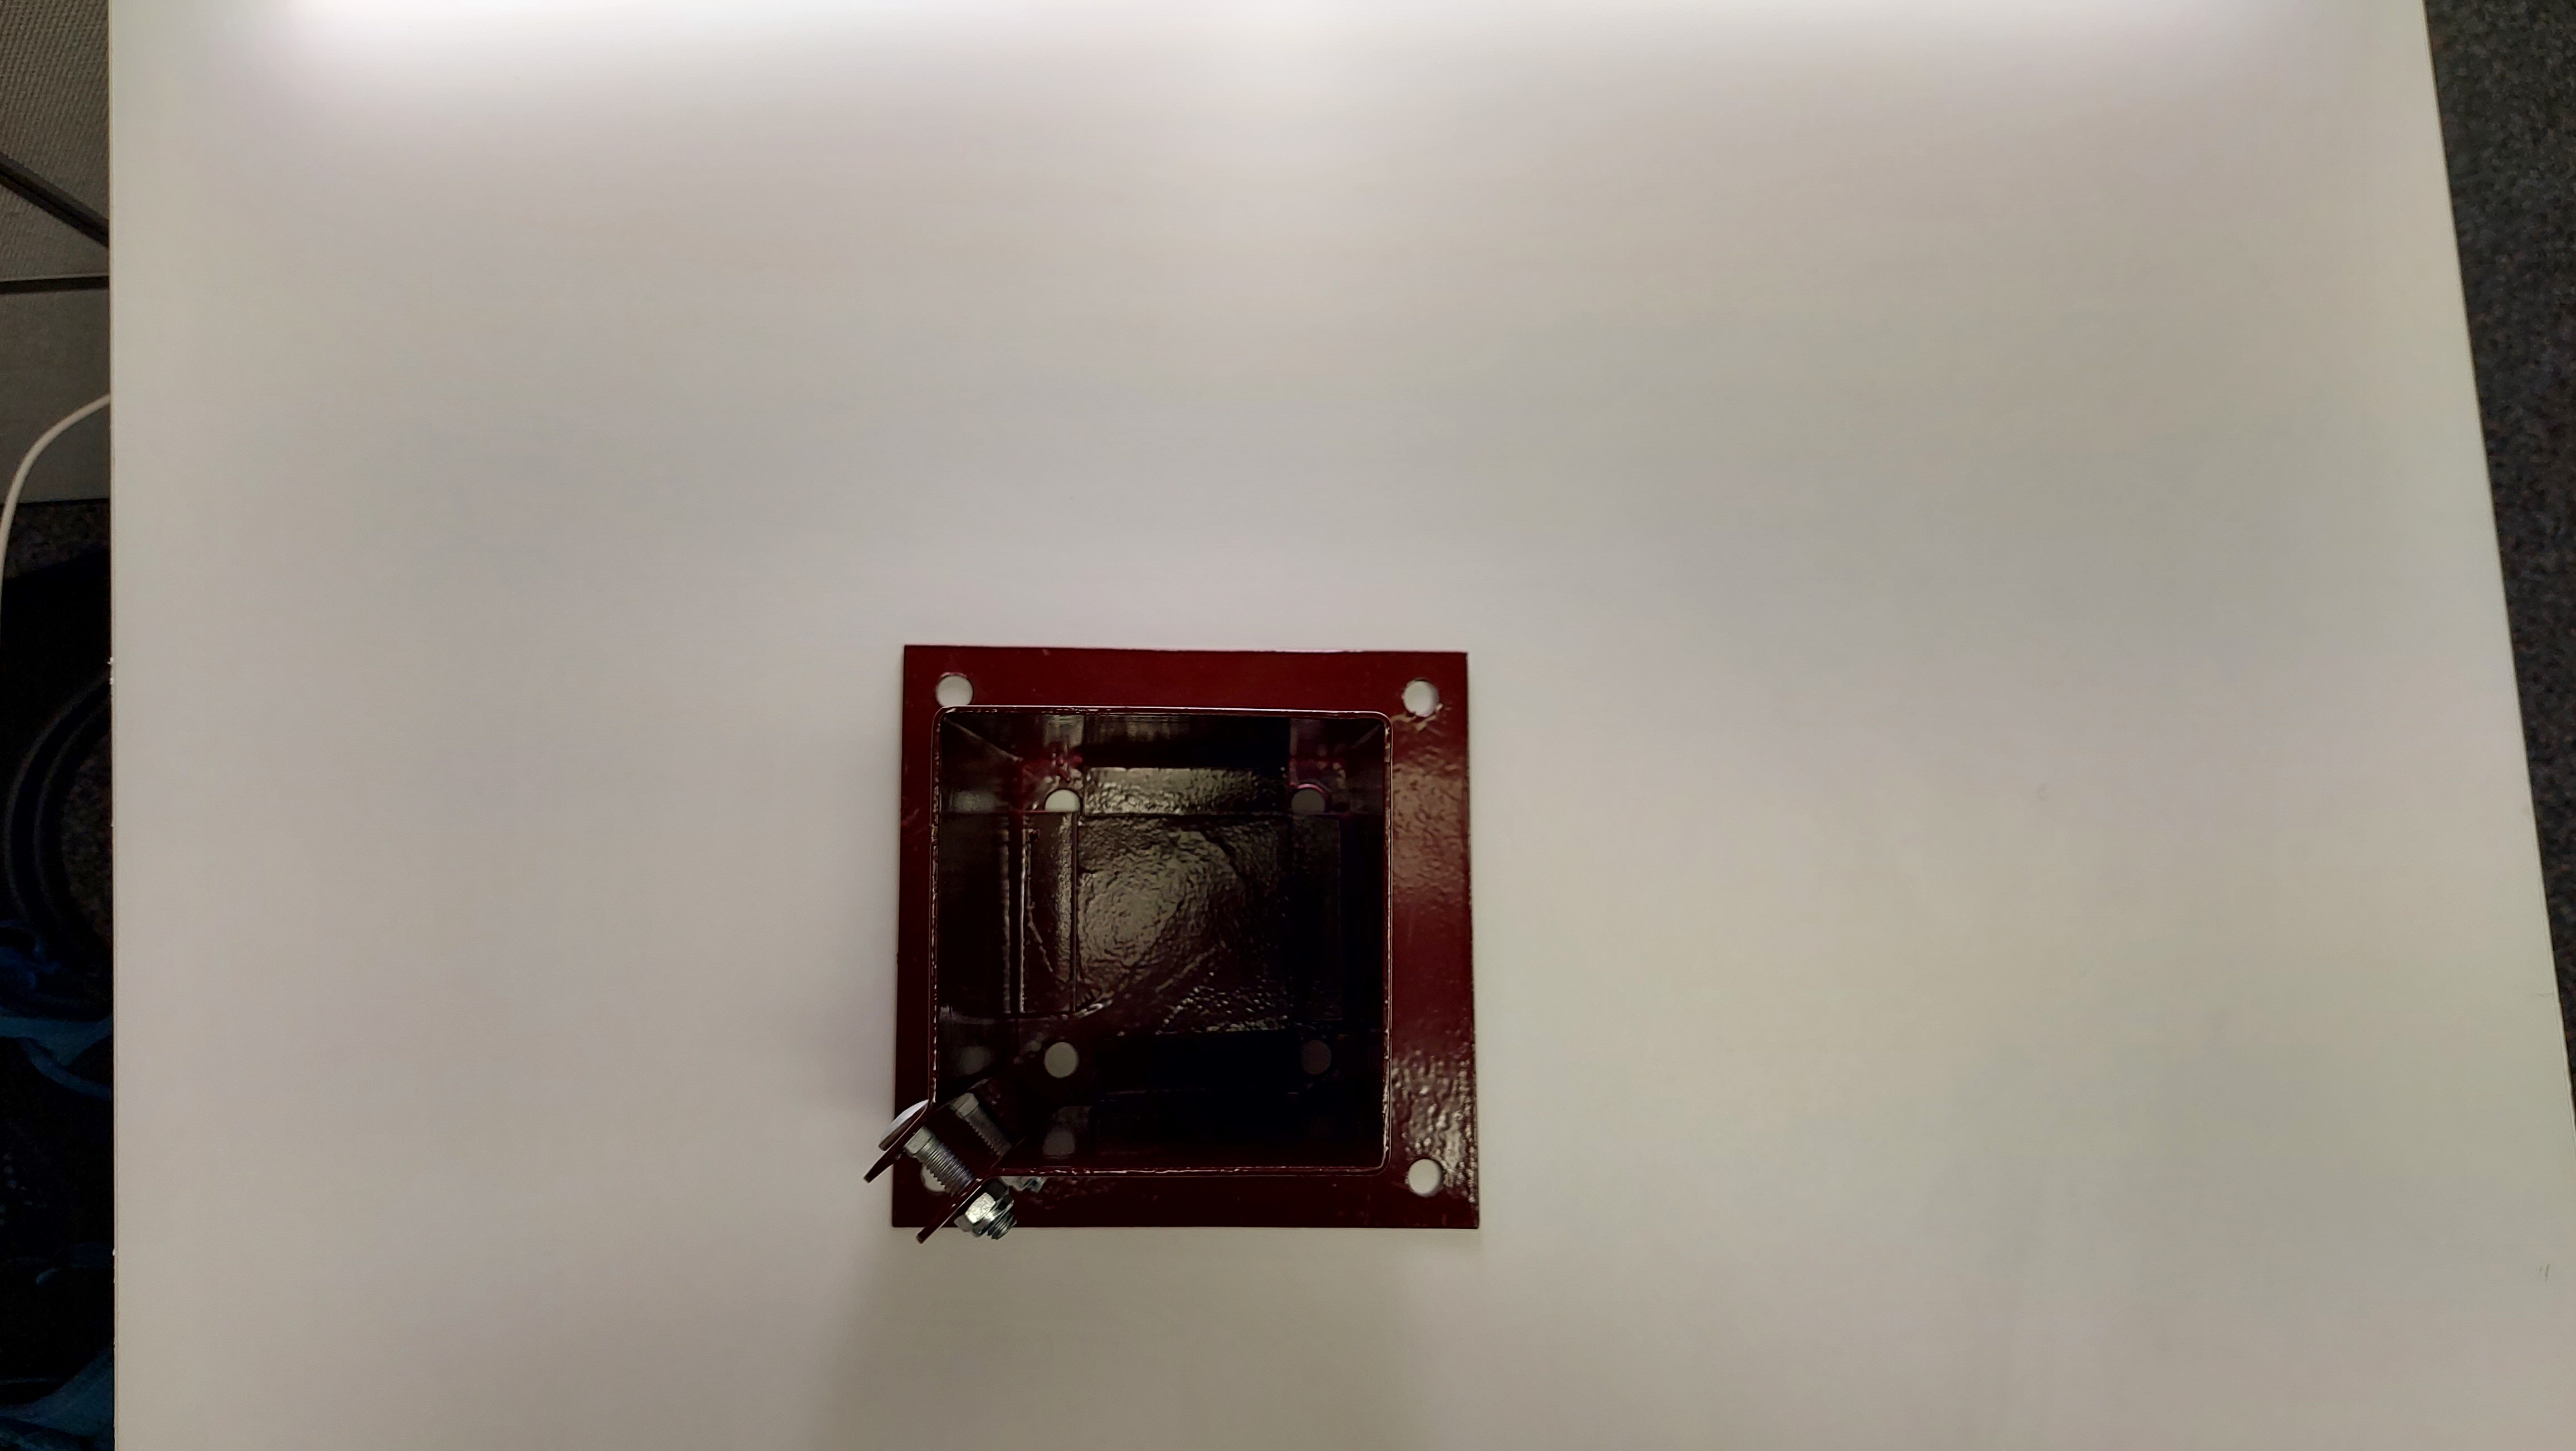
- Pass Andon Light cable and feed in opening of case.
- Place light into case.
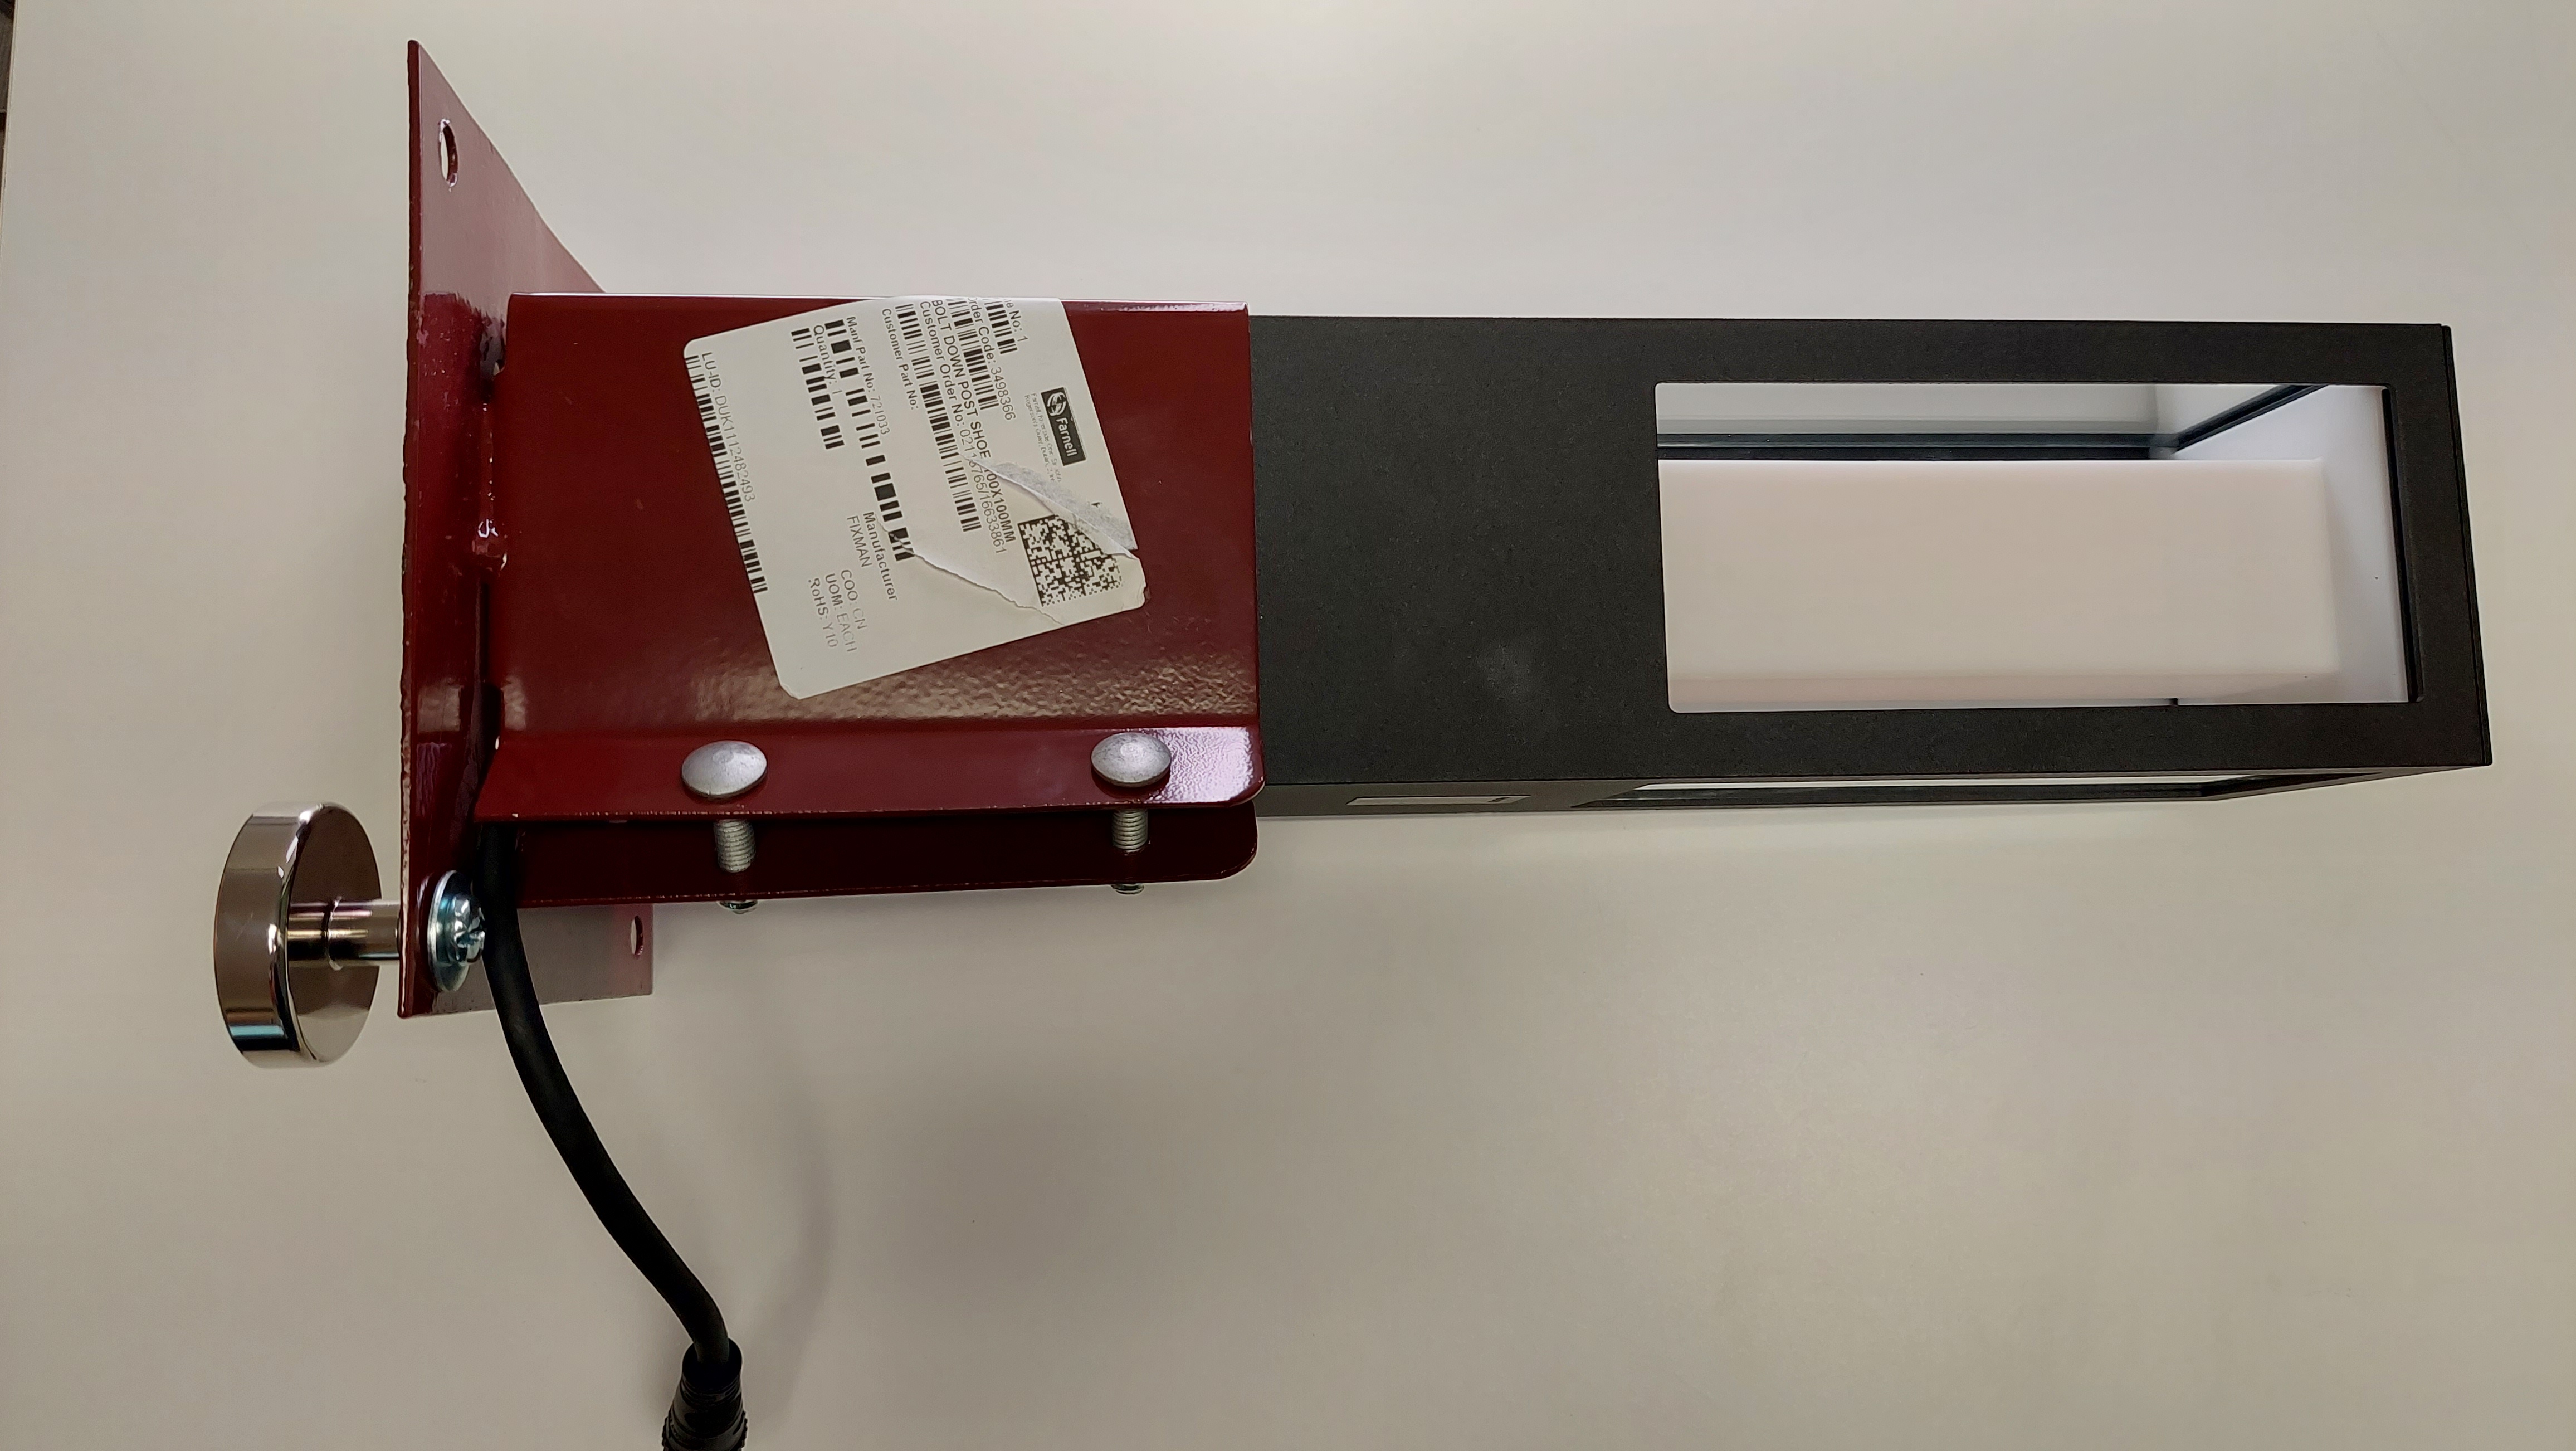
- Tighten case bolts until some resistance is felt. DO NOT OVERTIGHTEN.
- Ensure light cannot be slide out of casing.
Note
-
Magnets can be installed on outer or inner set of holes.
-
Four Magnets can be used, one being on each corner. This may be needed if sticking to a thinner metal surface.
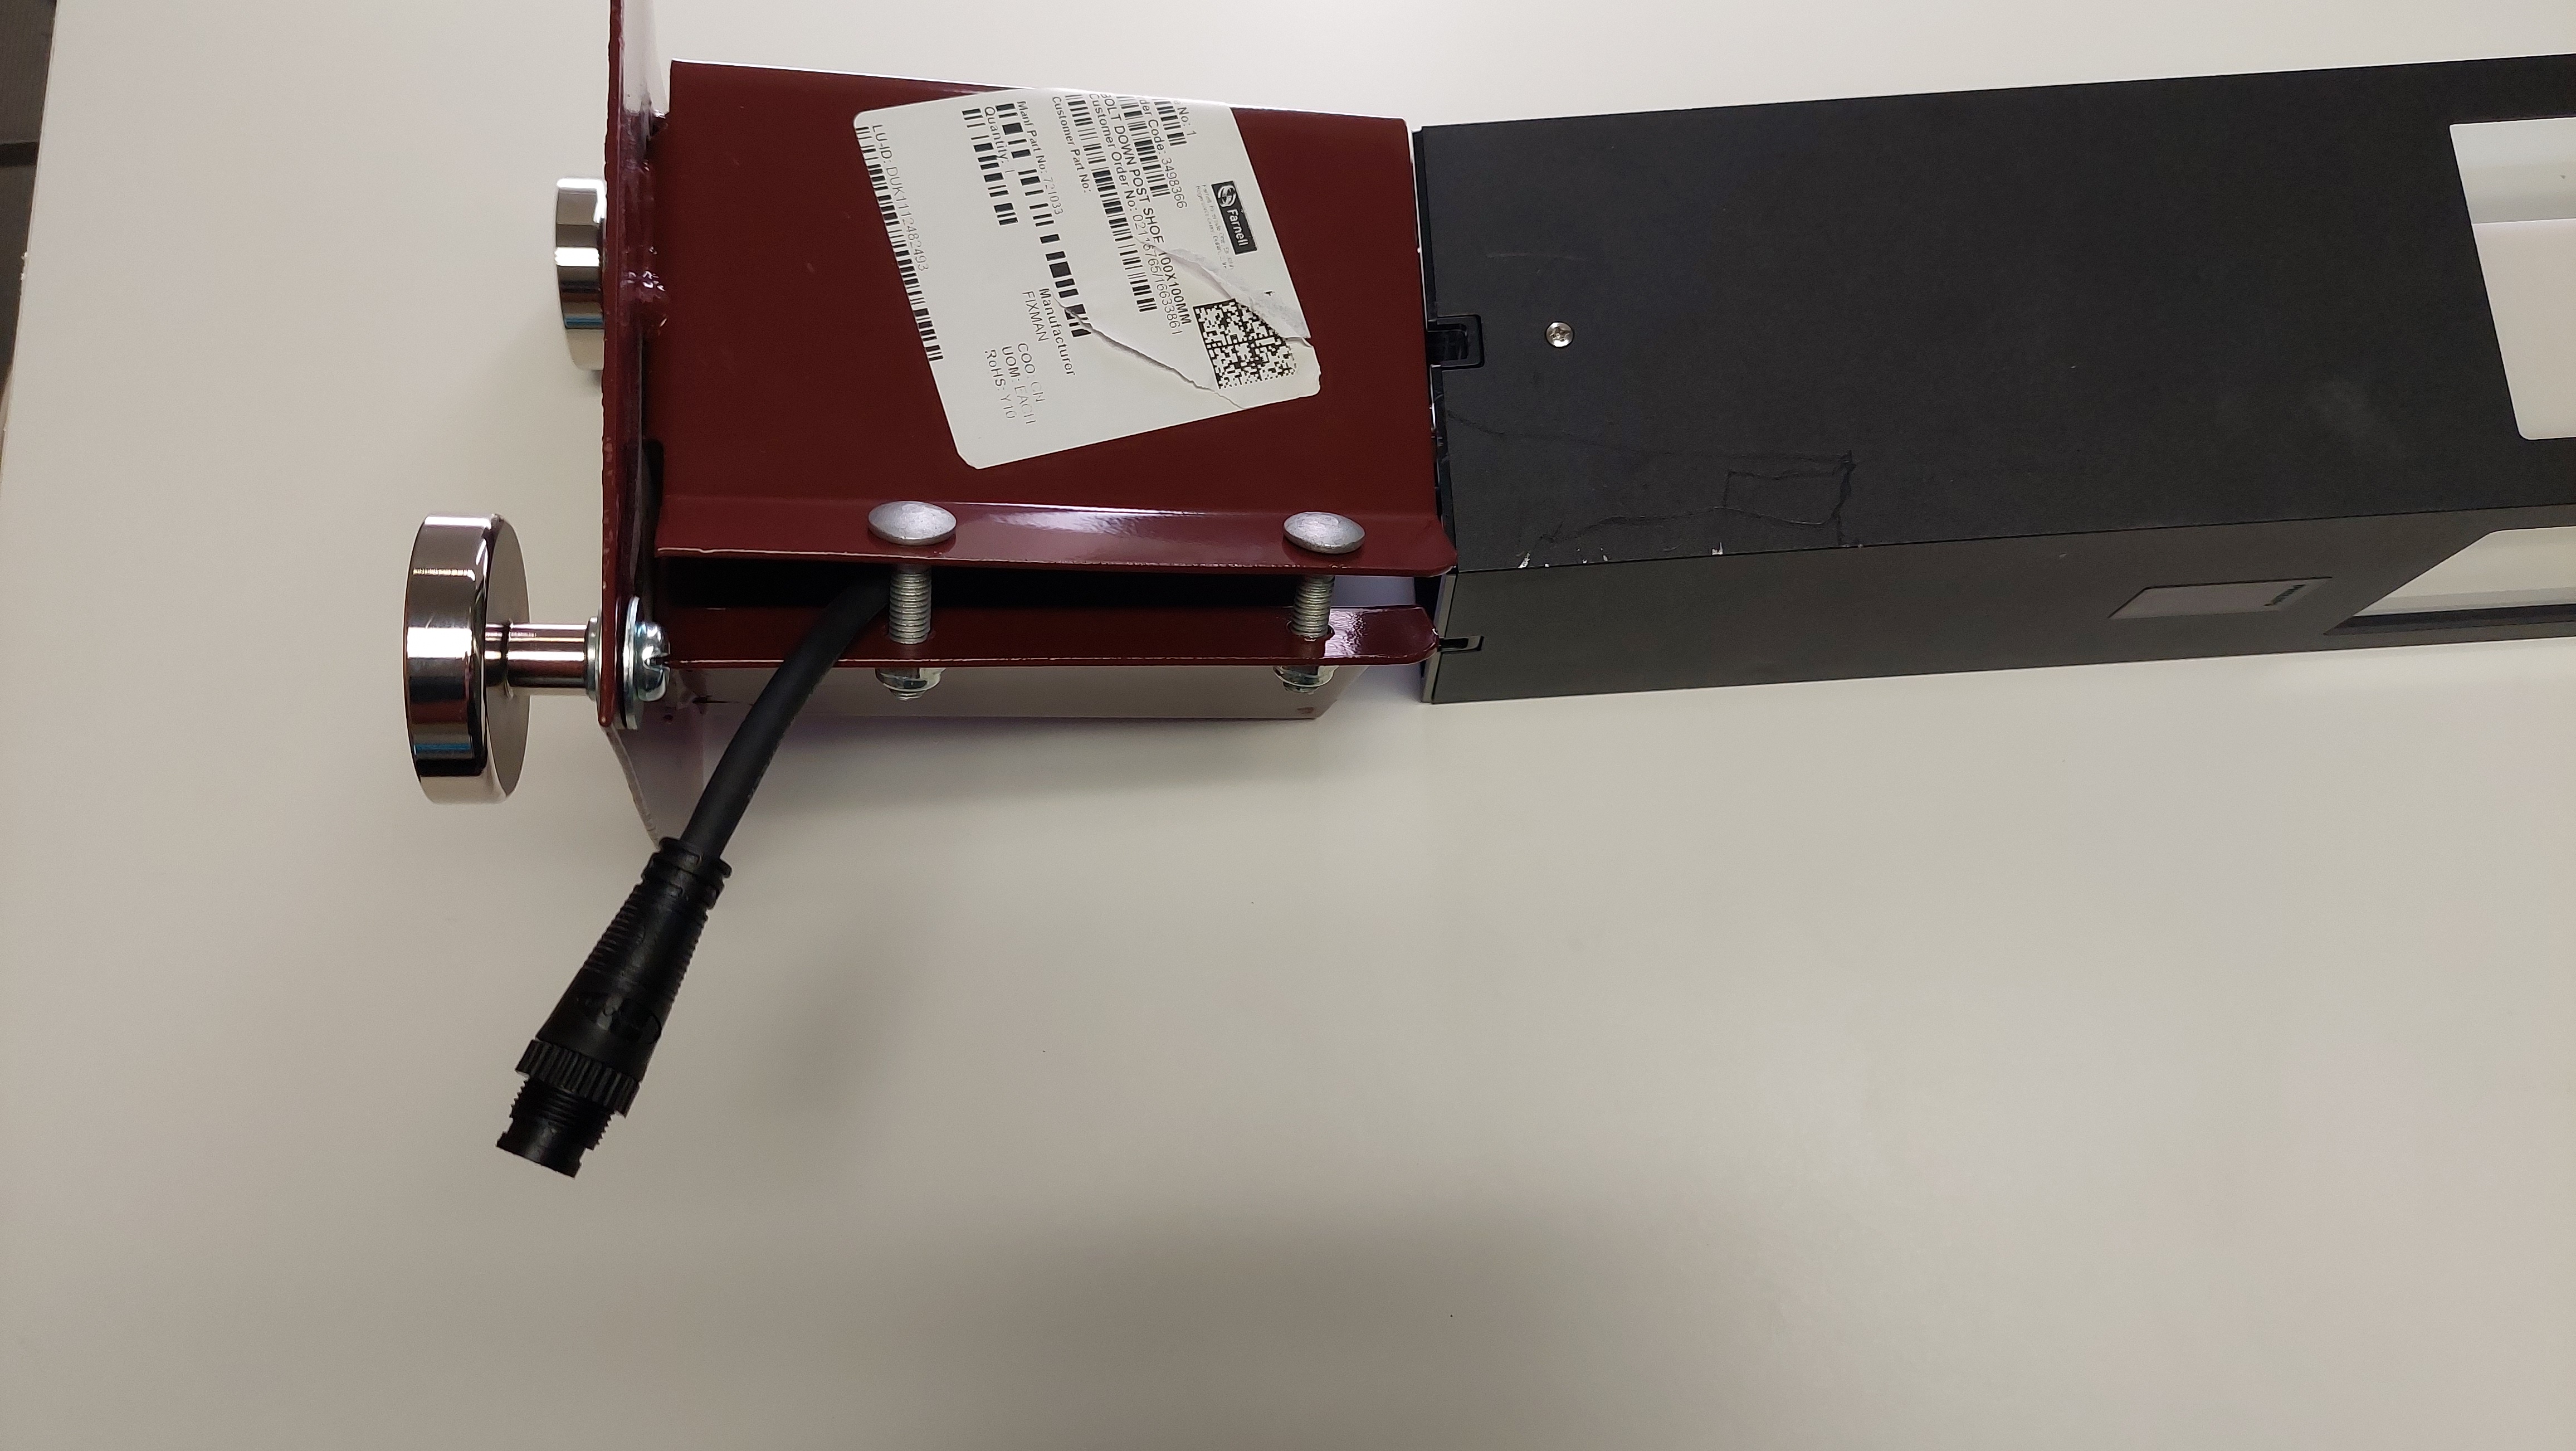
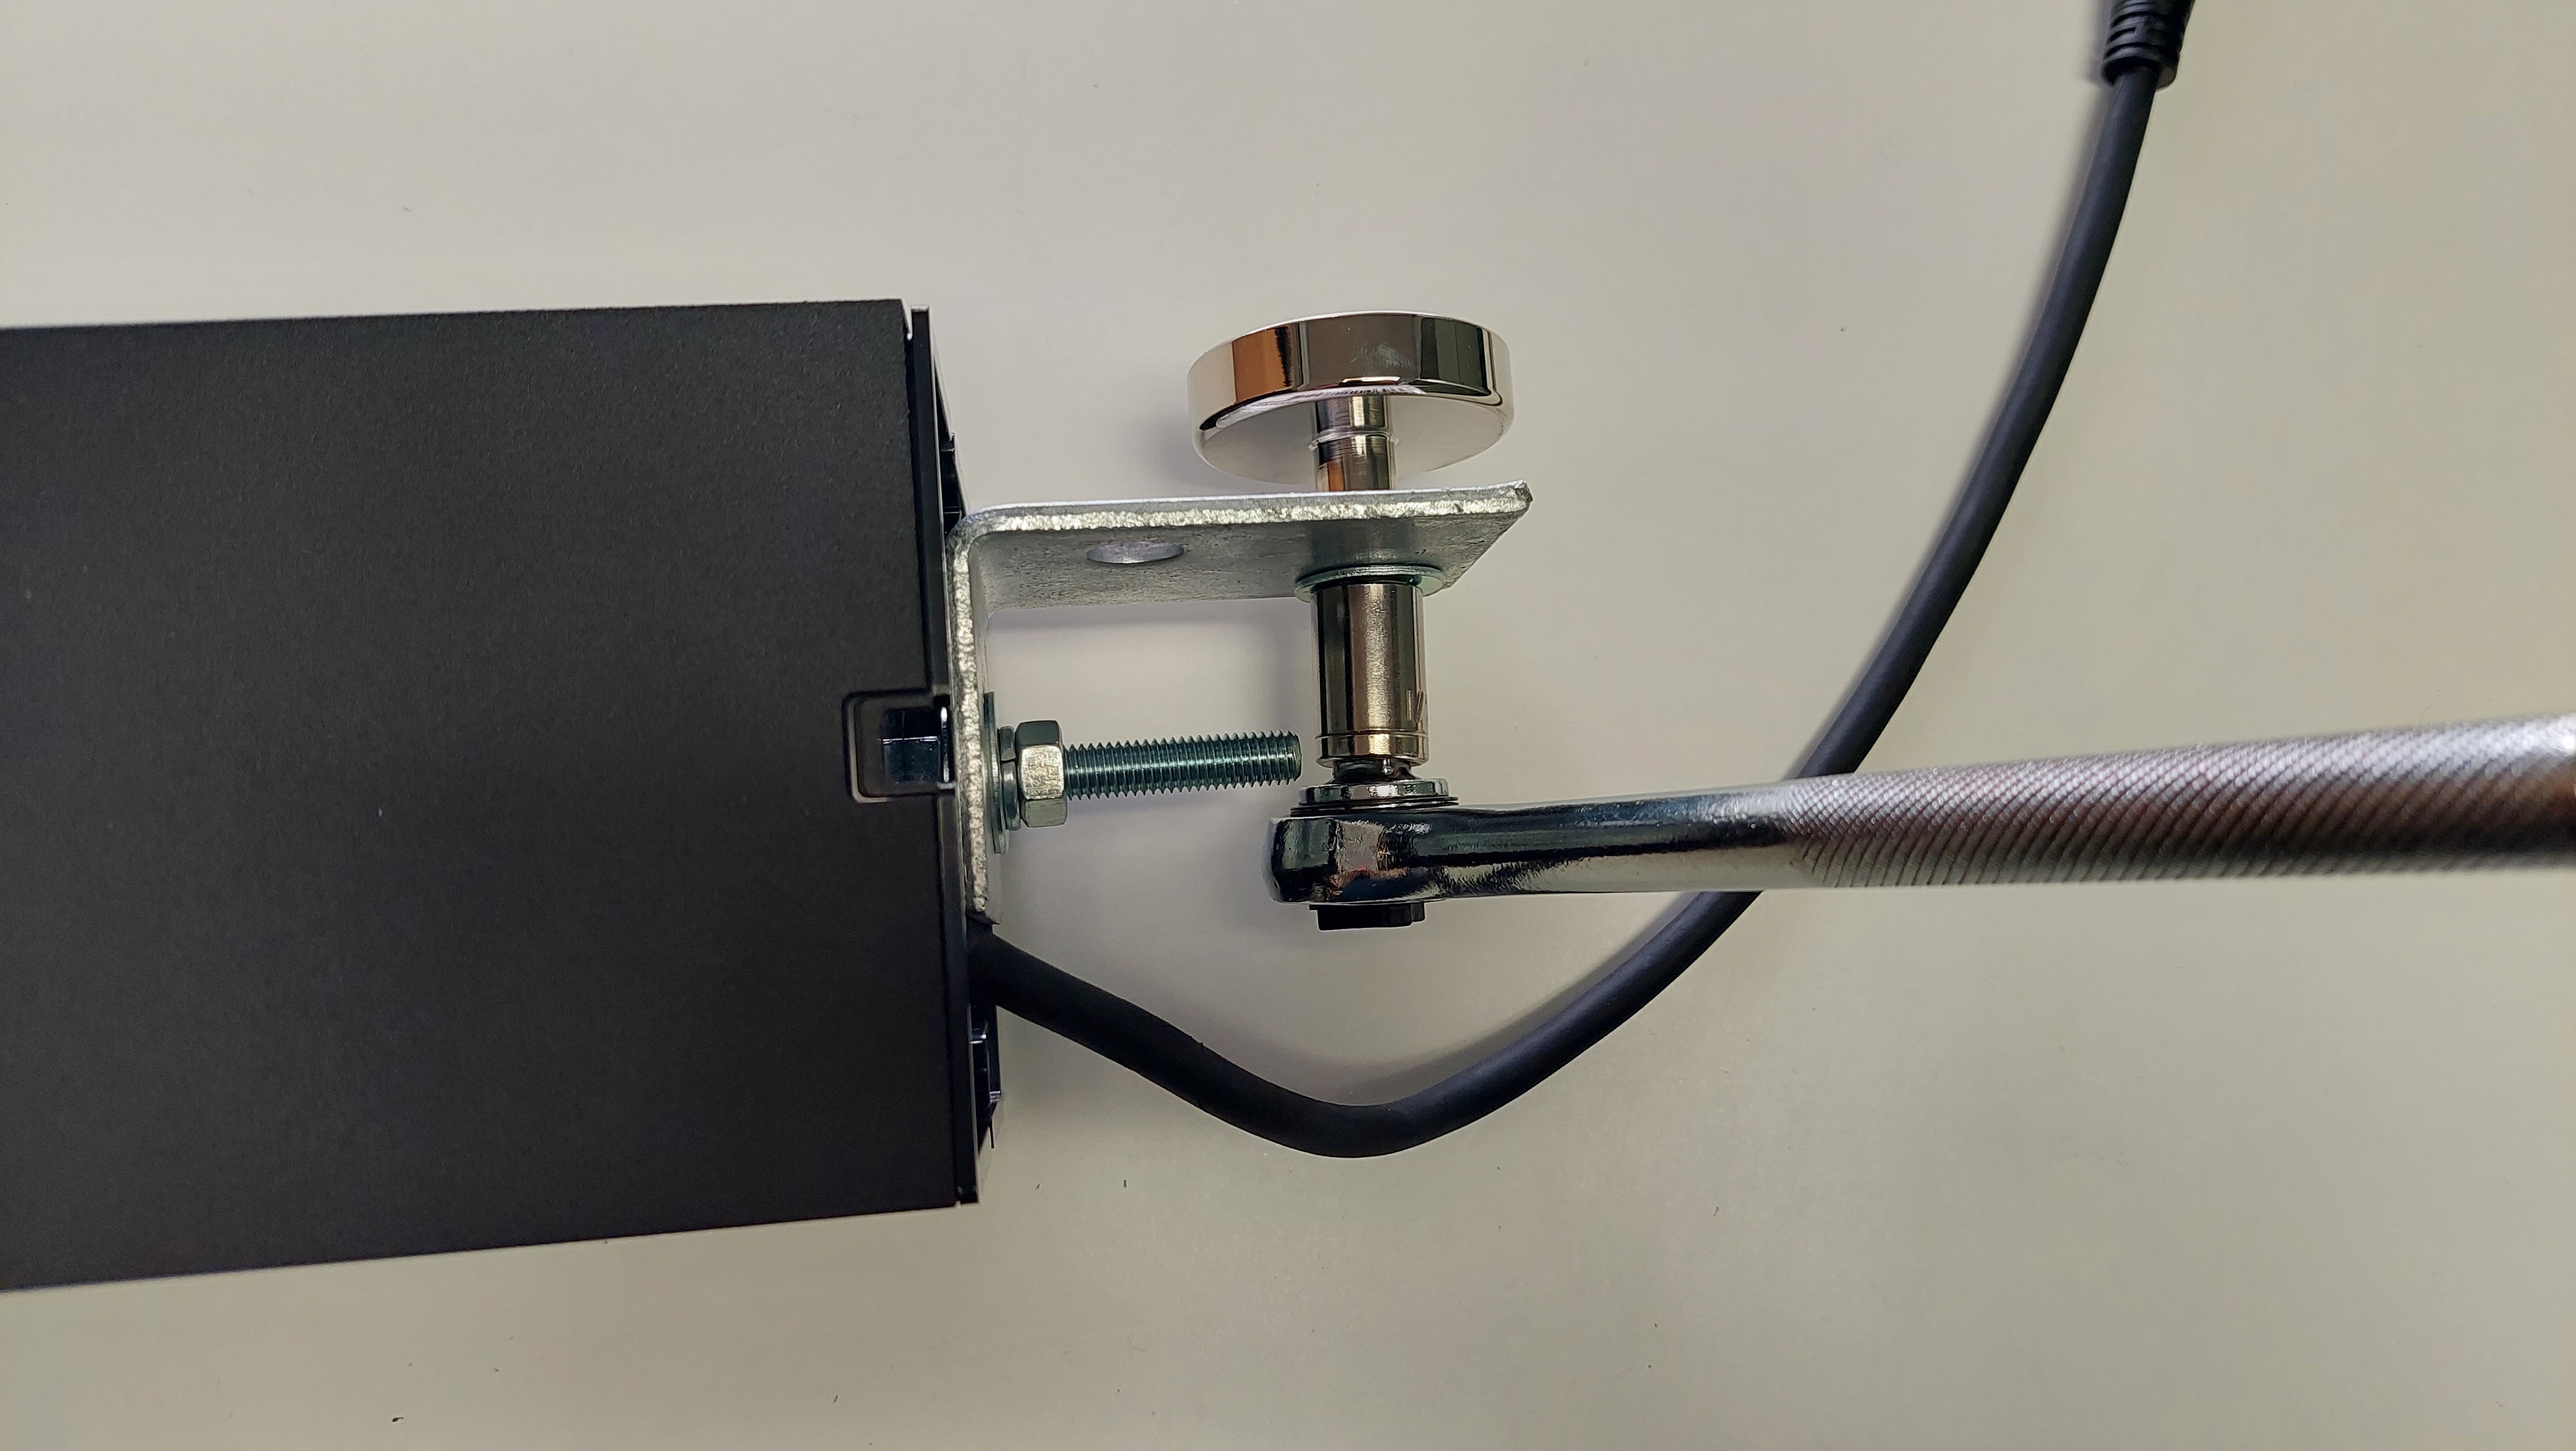
Vertical Installation
Steps
- Place Bolt through inner bottom hole in bracket.
- Place bolt through short side of bracket.
- Place washer on bolt
- Place Spring washer on bolt
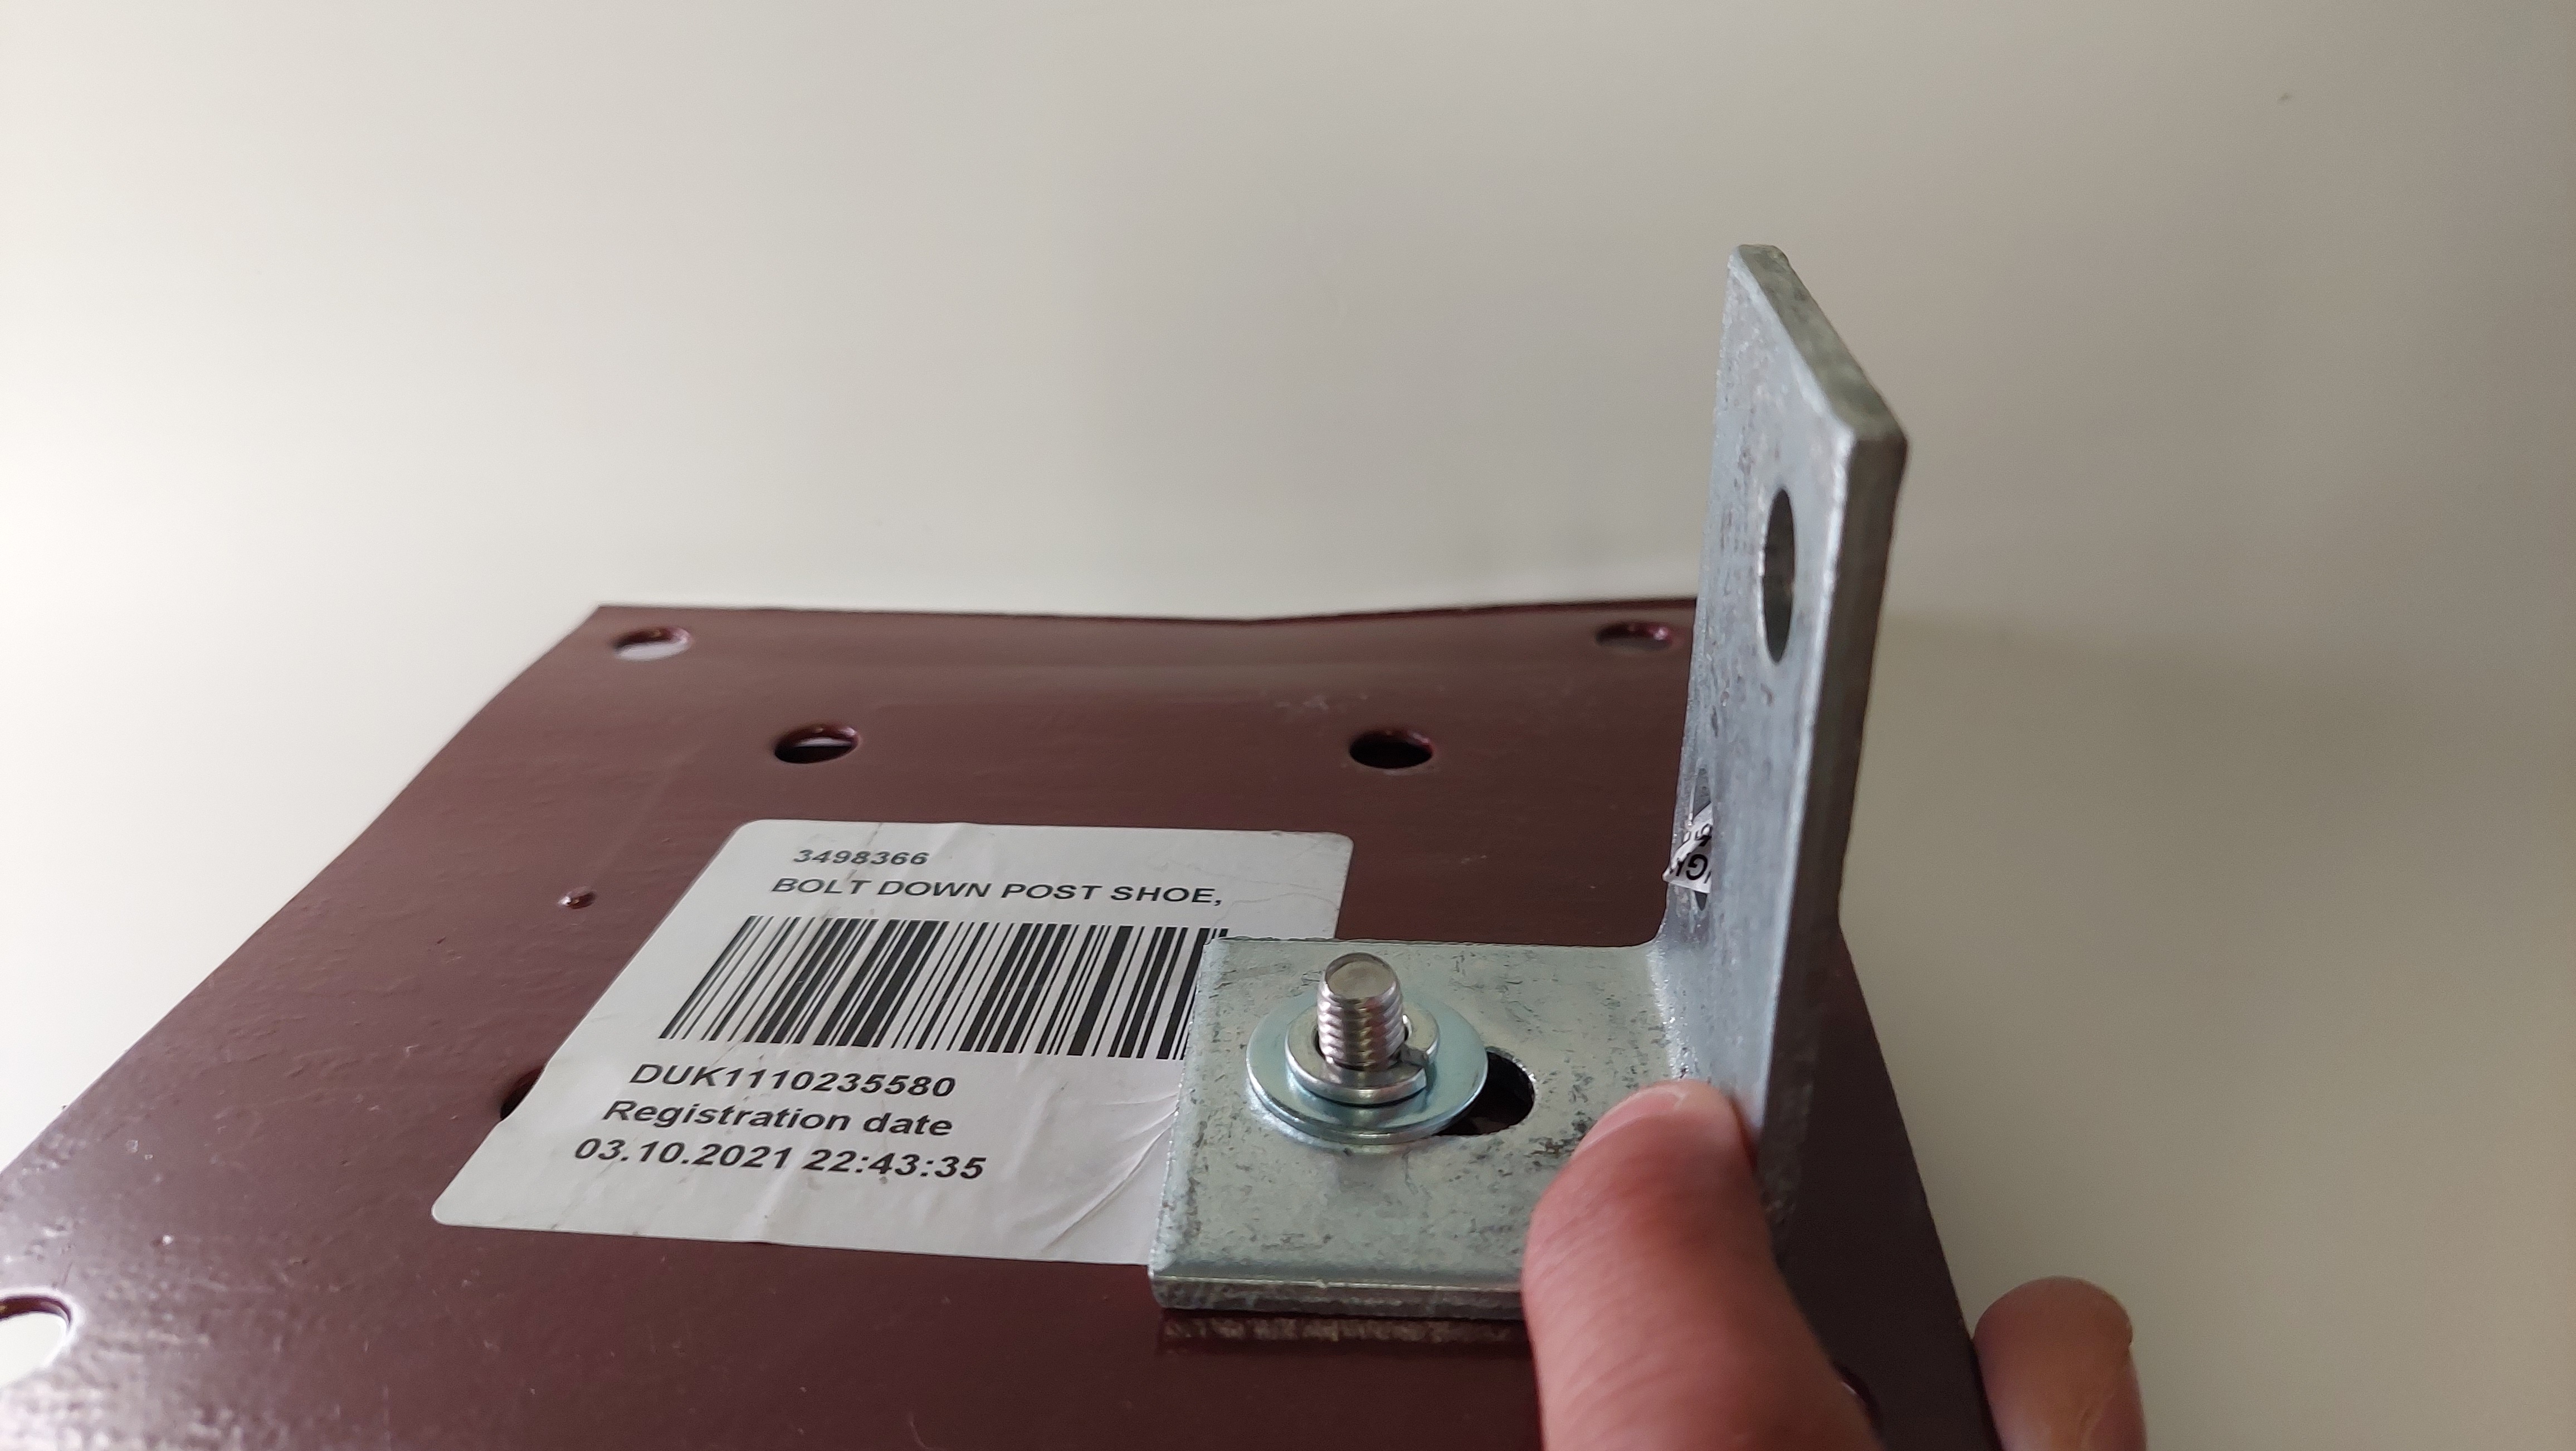
- Thread nut onto bolt and tighten.
- Place washer onto bolt.
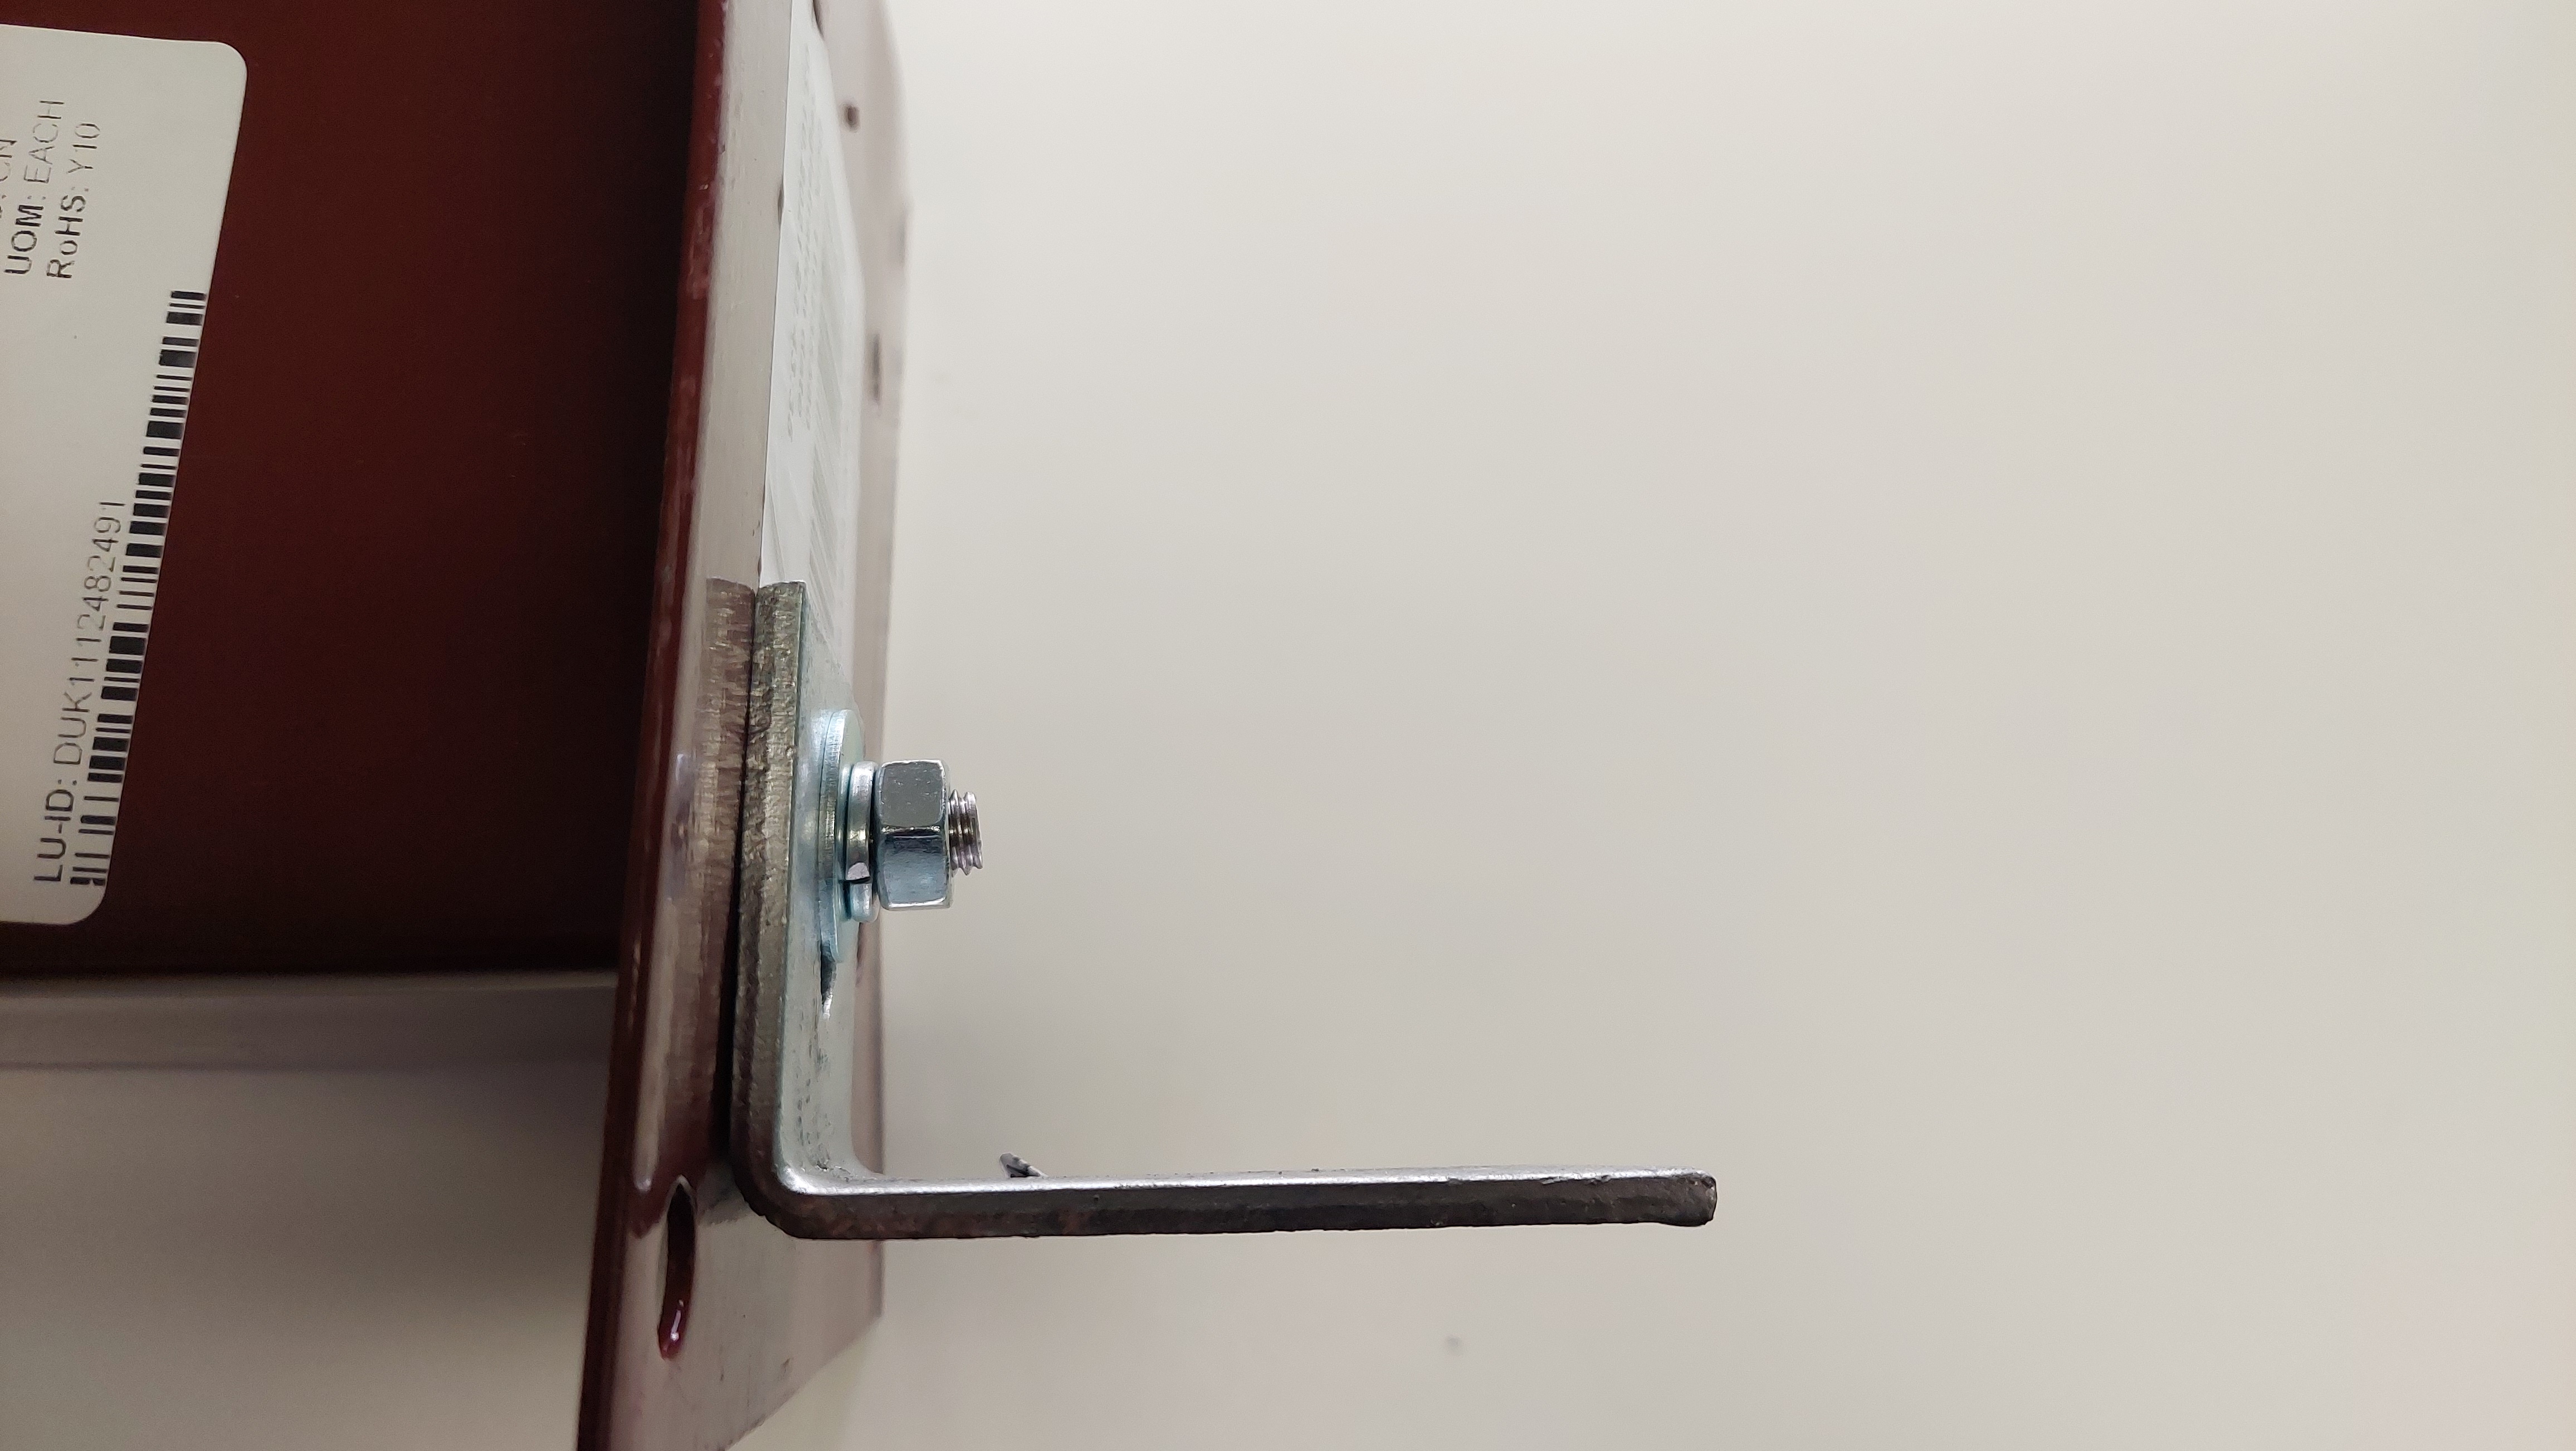
- Place bolt into right angle bracket pointing out.
- Place washer onto bolt.
- Place Spring washer onto bolt.
-
Thread magnet onto bolt and tighten.
-
Ensure magnet sticks out further then pole mount. If not adjust right angle bracket.
-
Repeat on hole on same side.
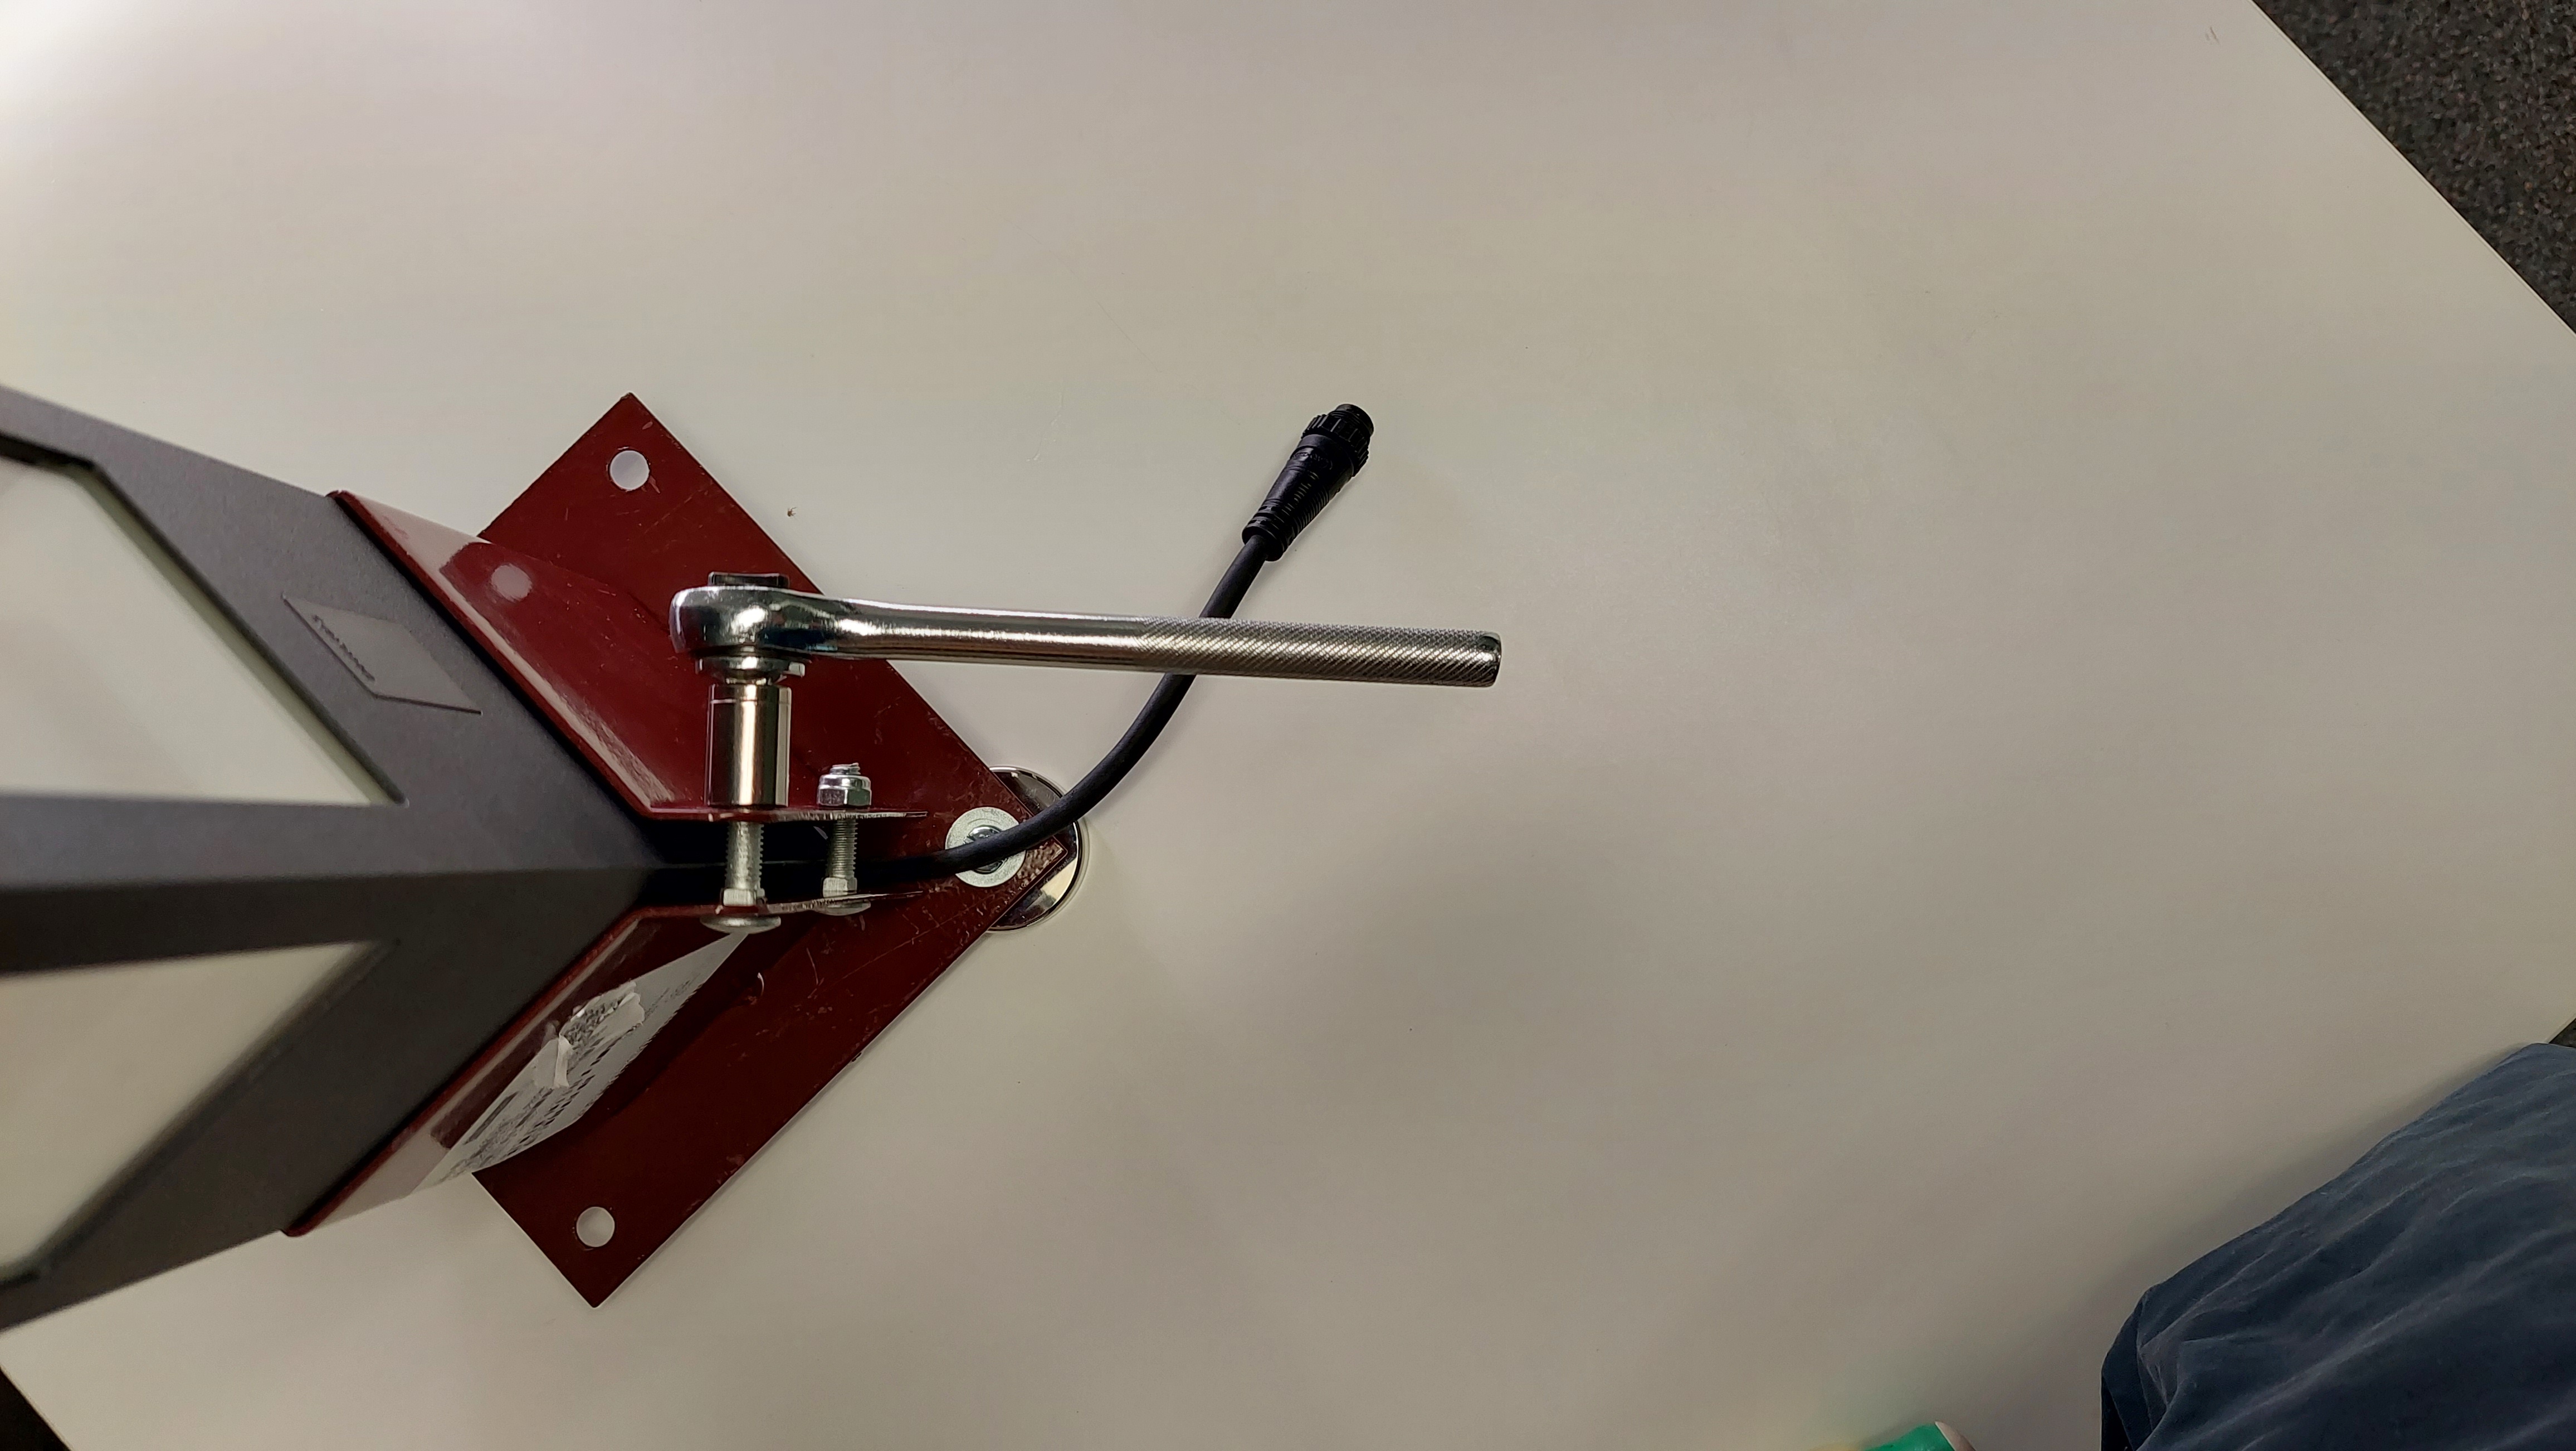
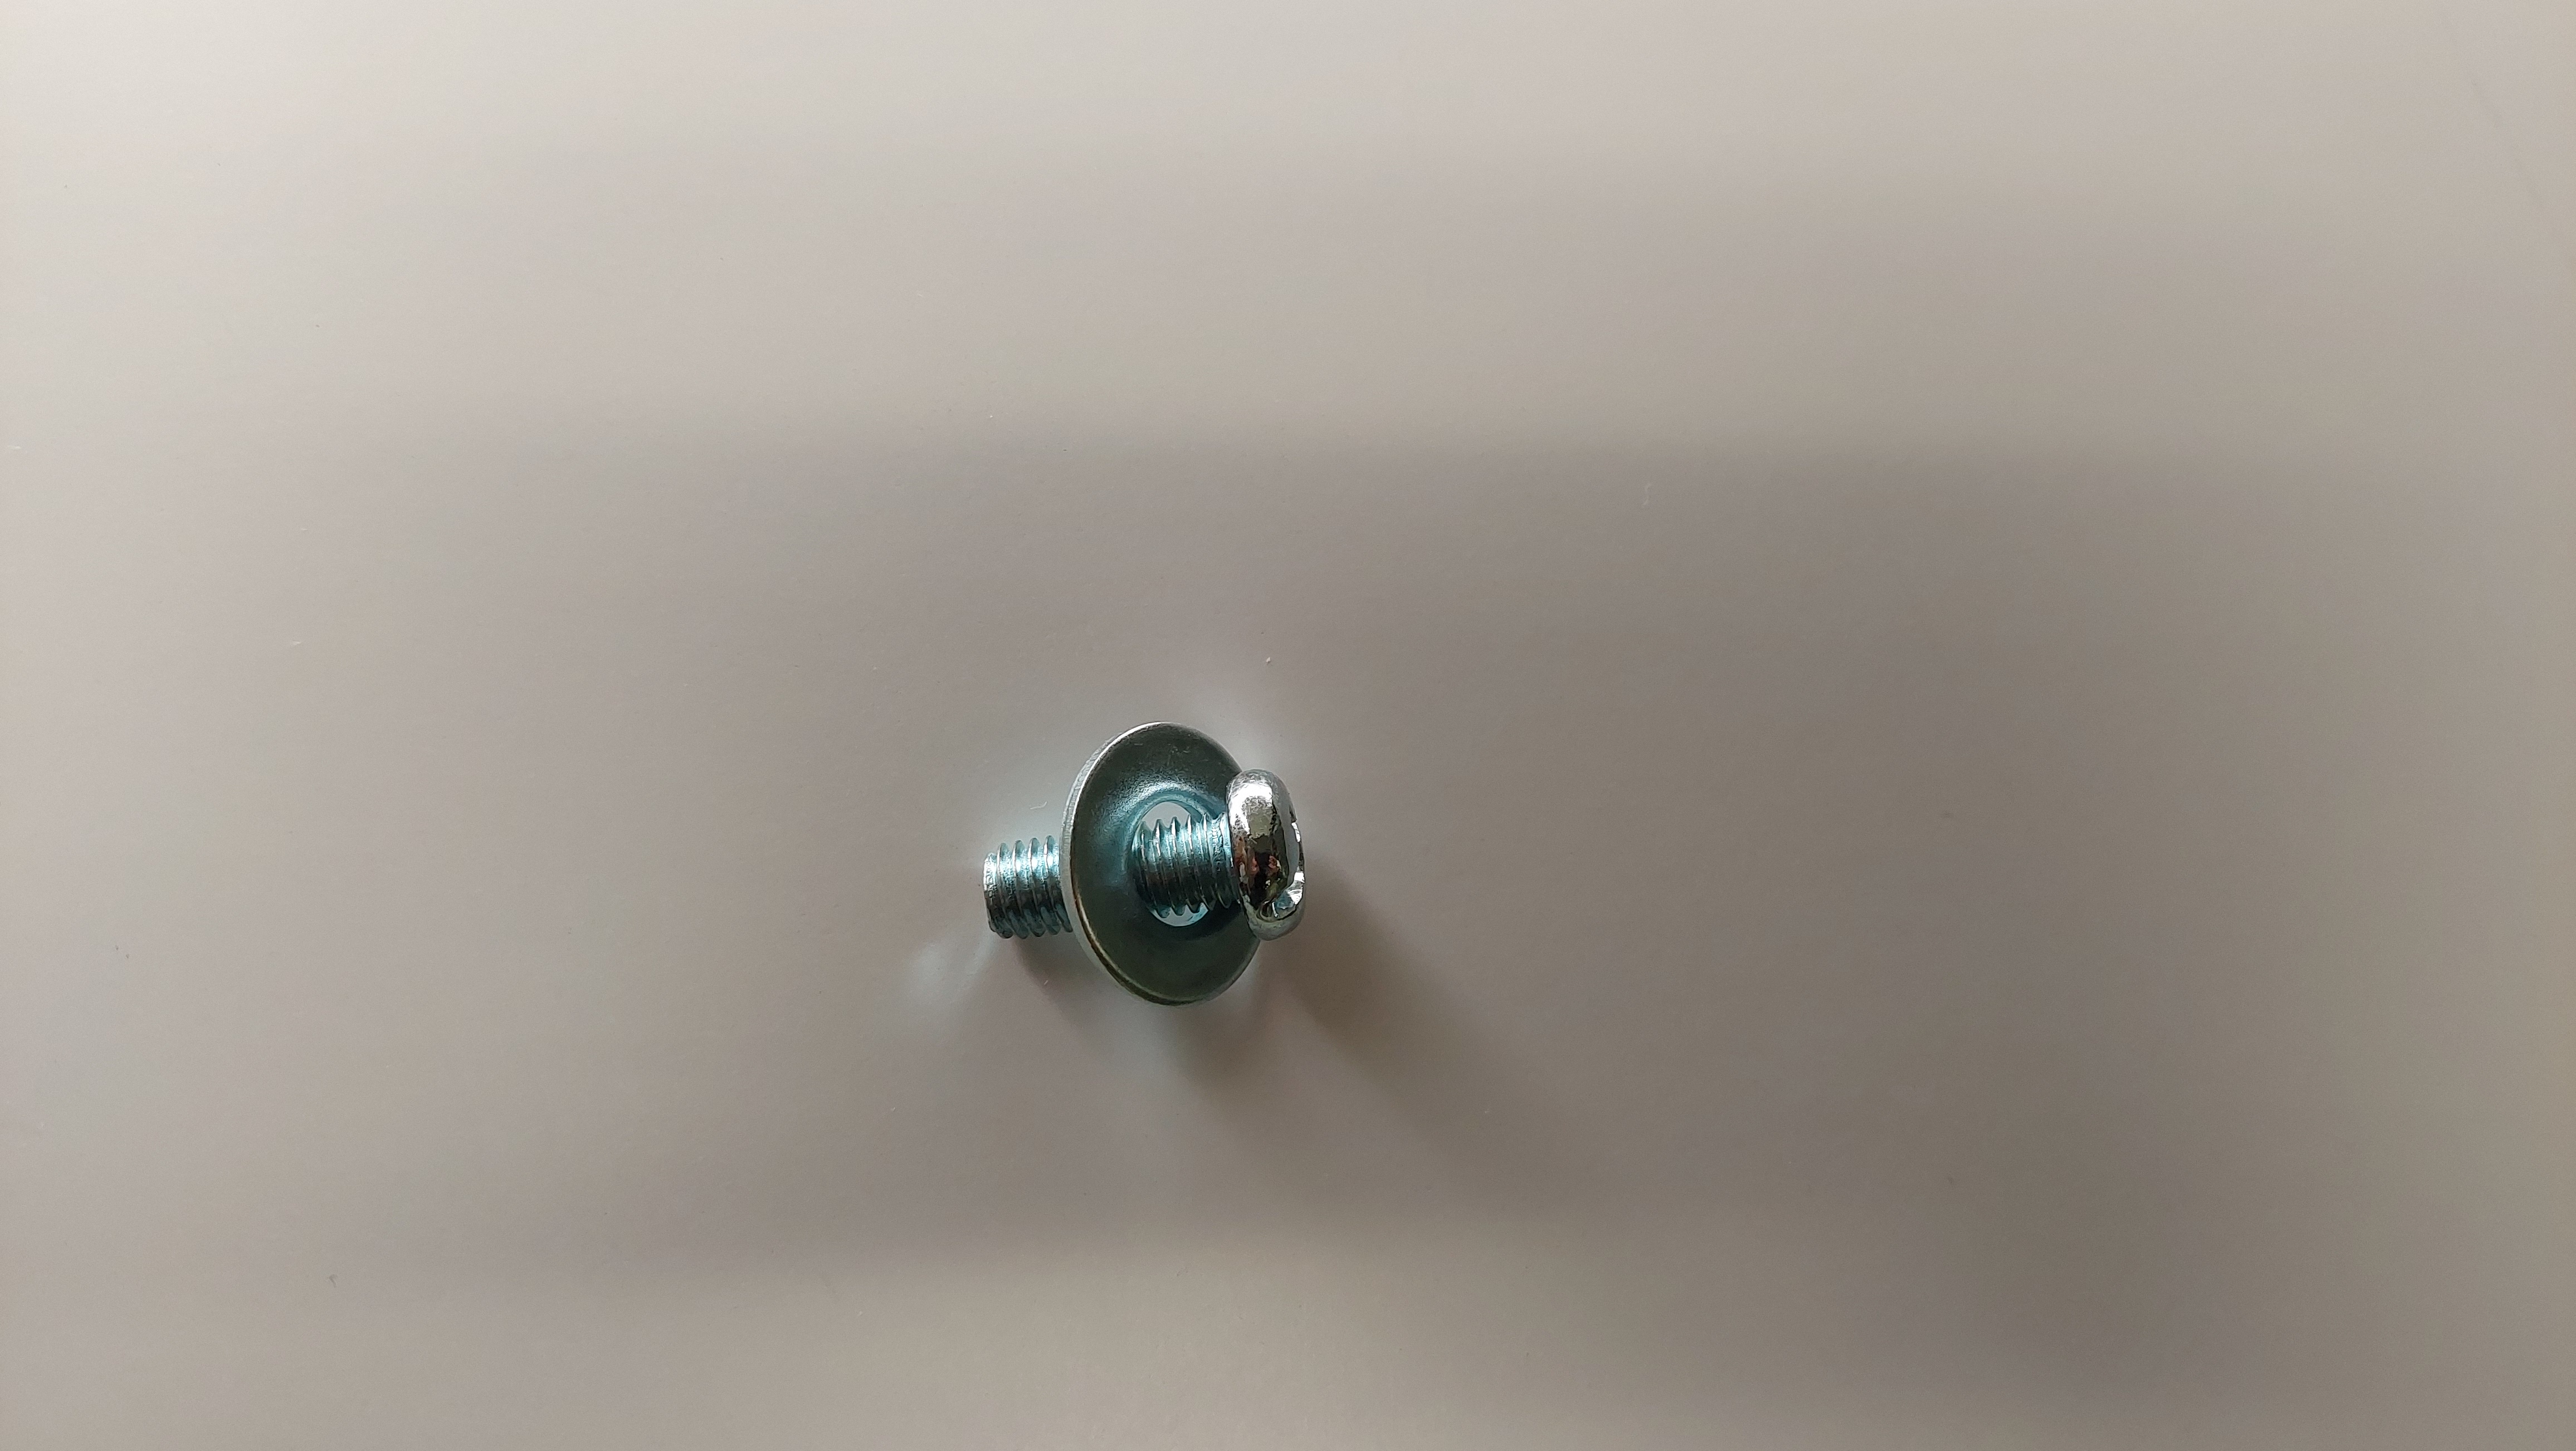
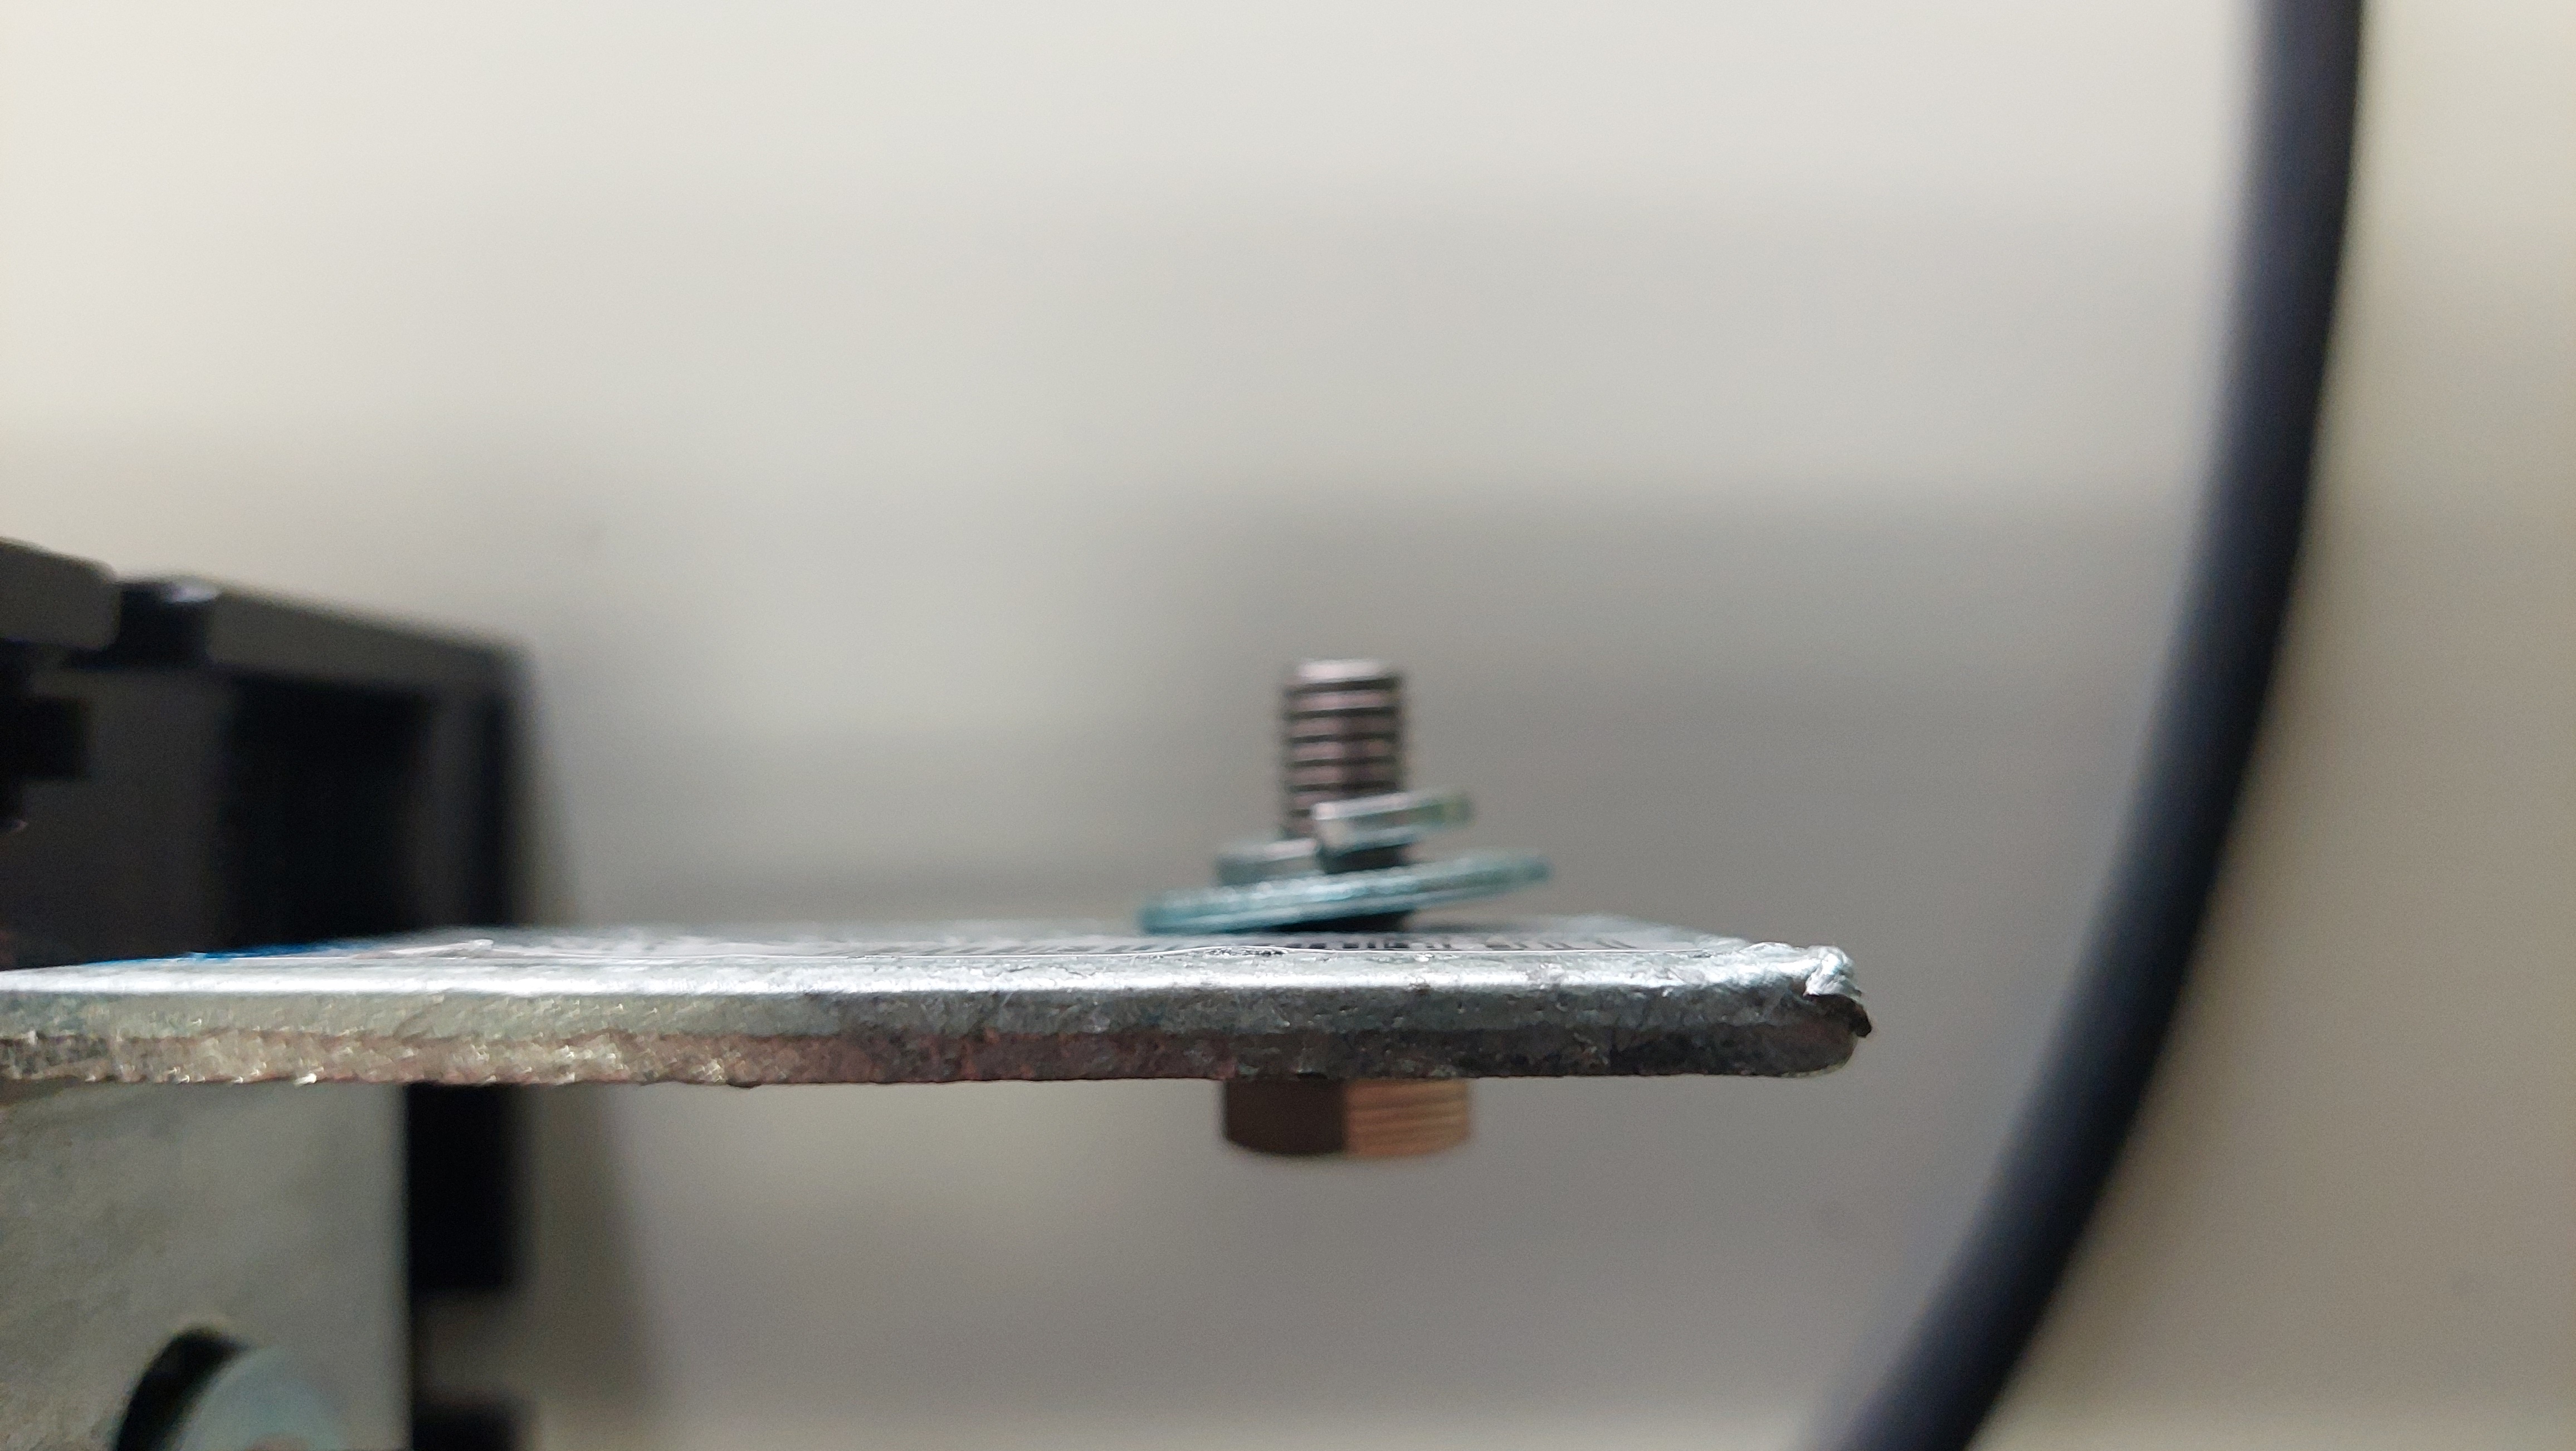
3. Alternative Installation
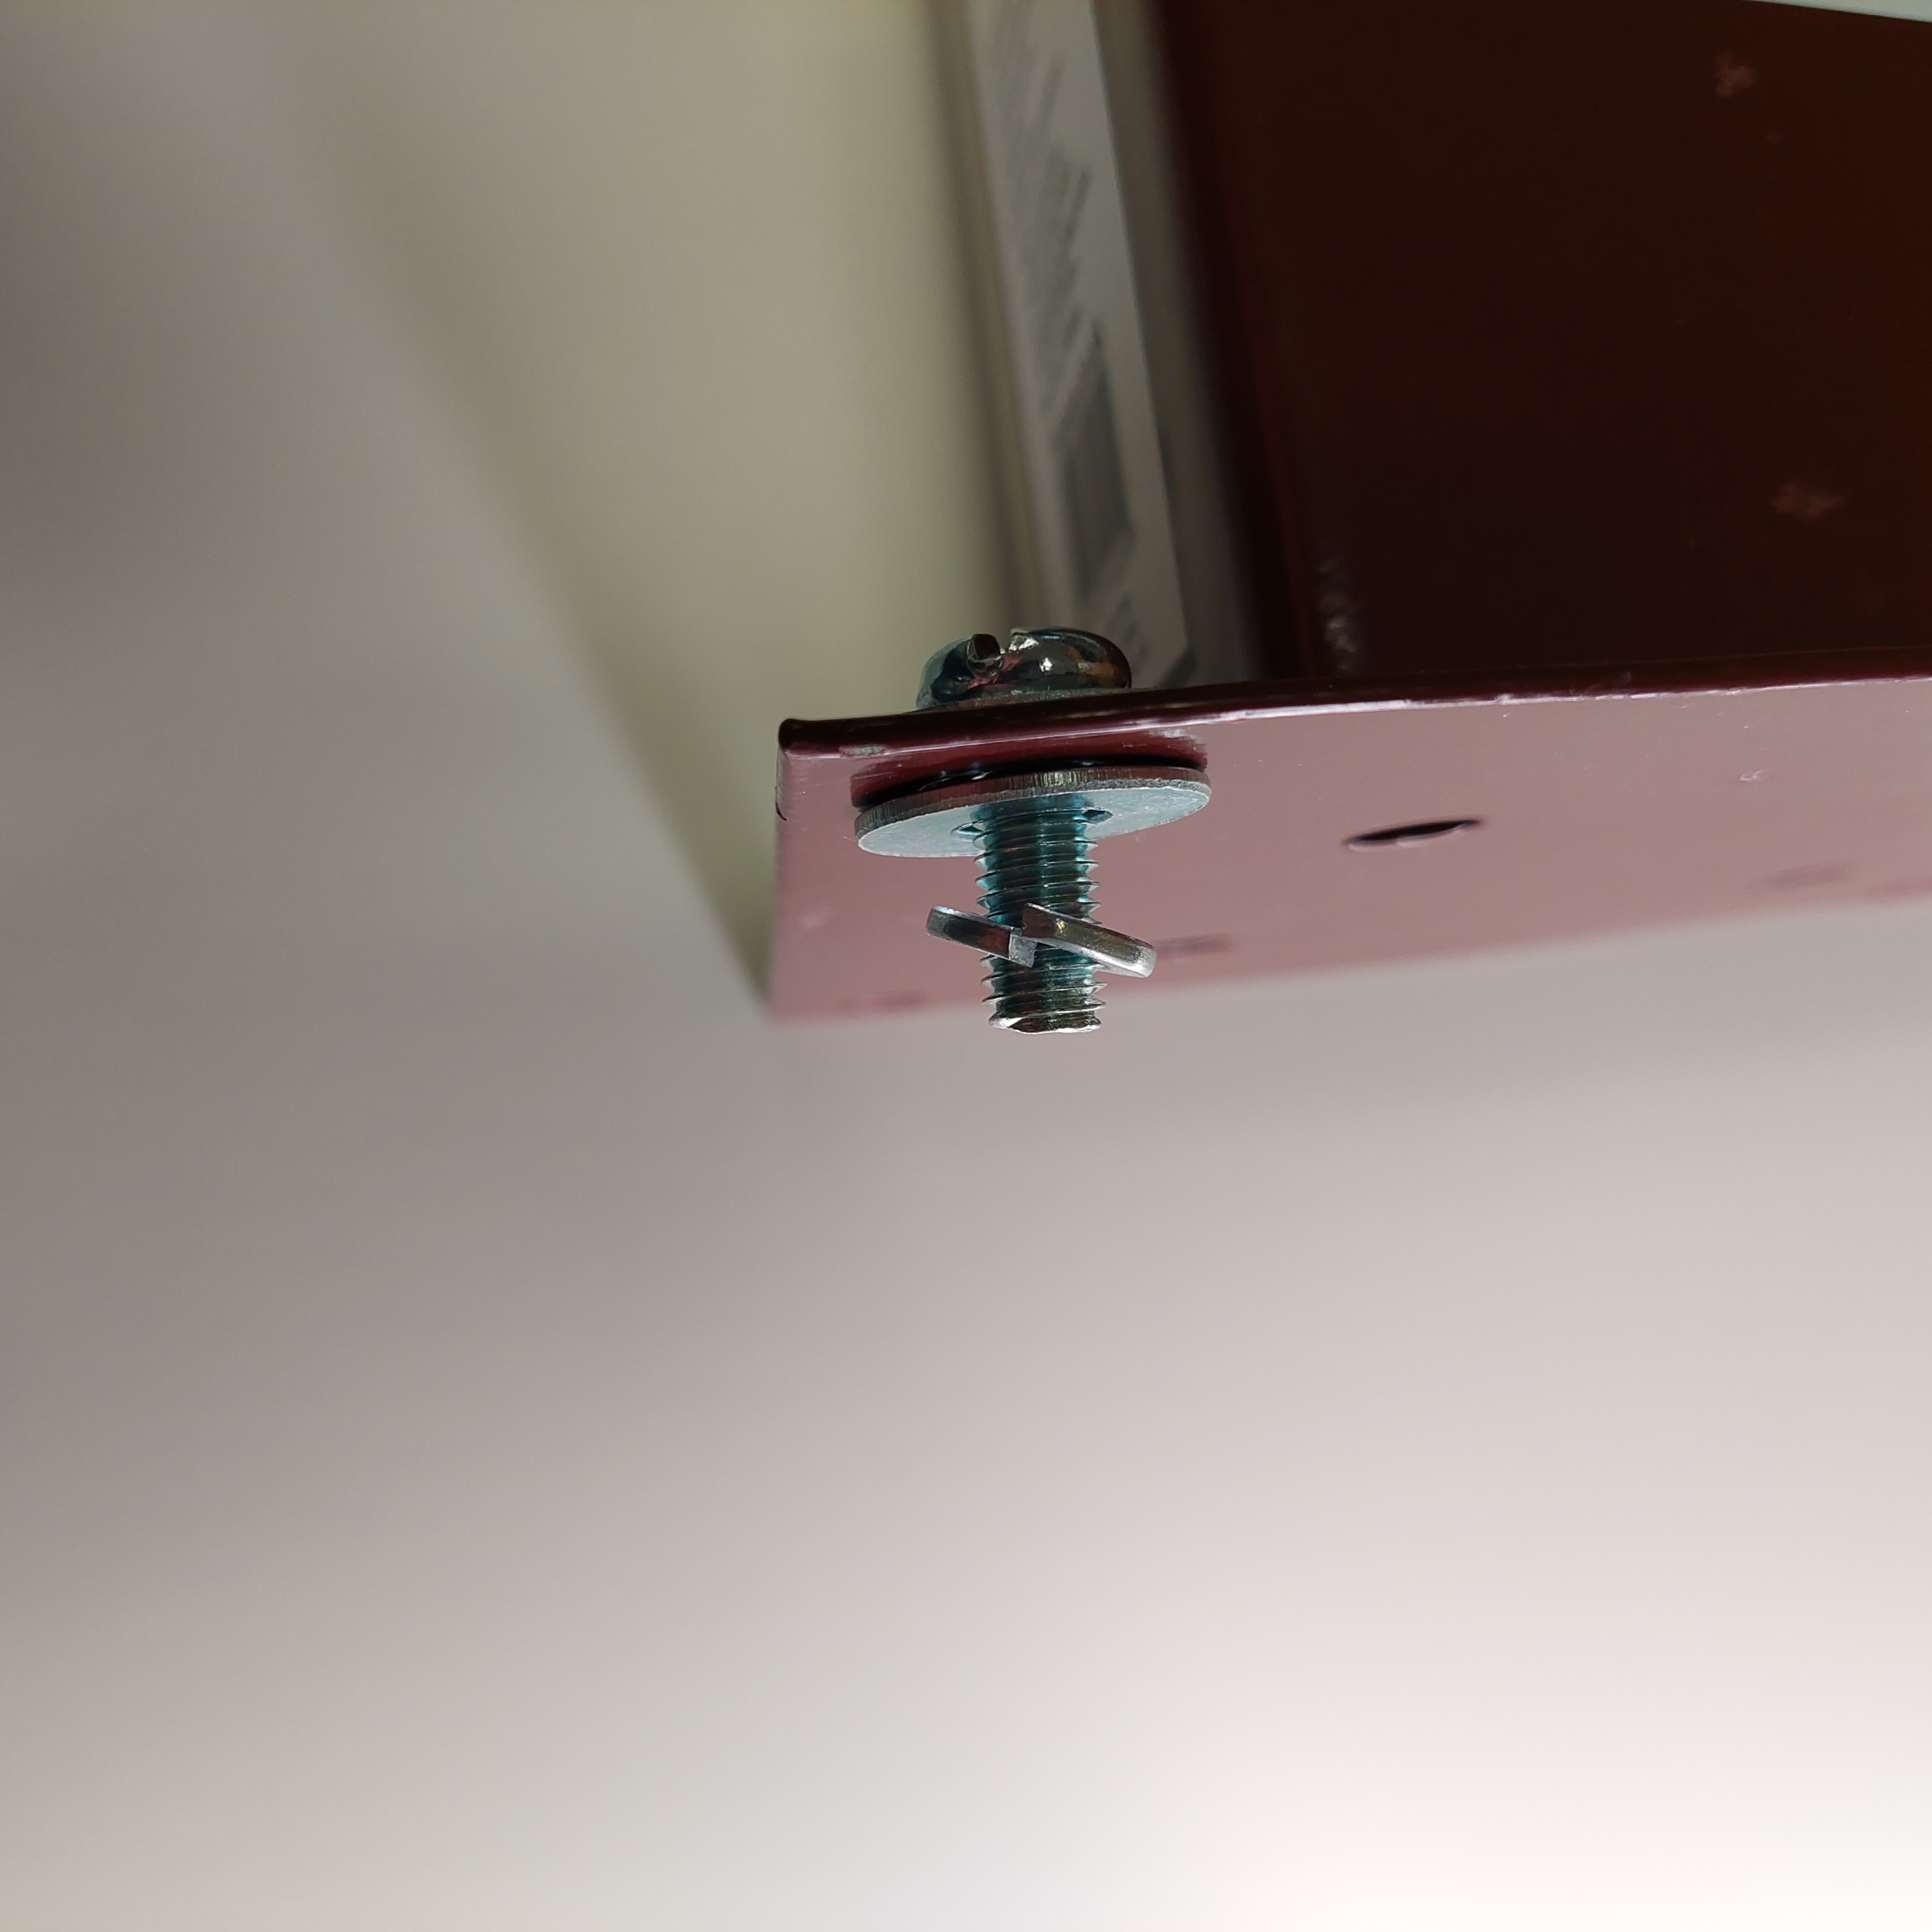
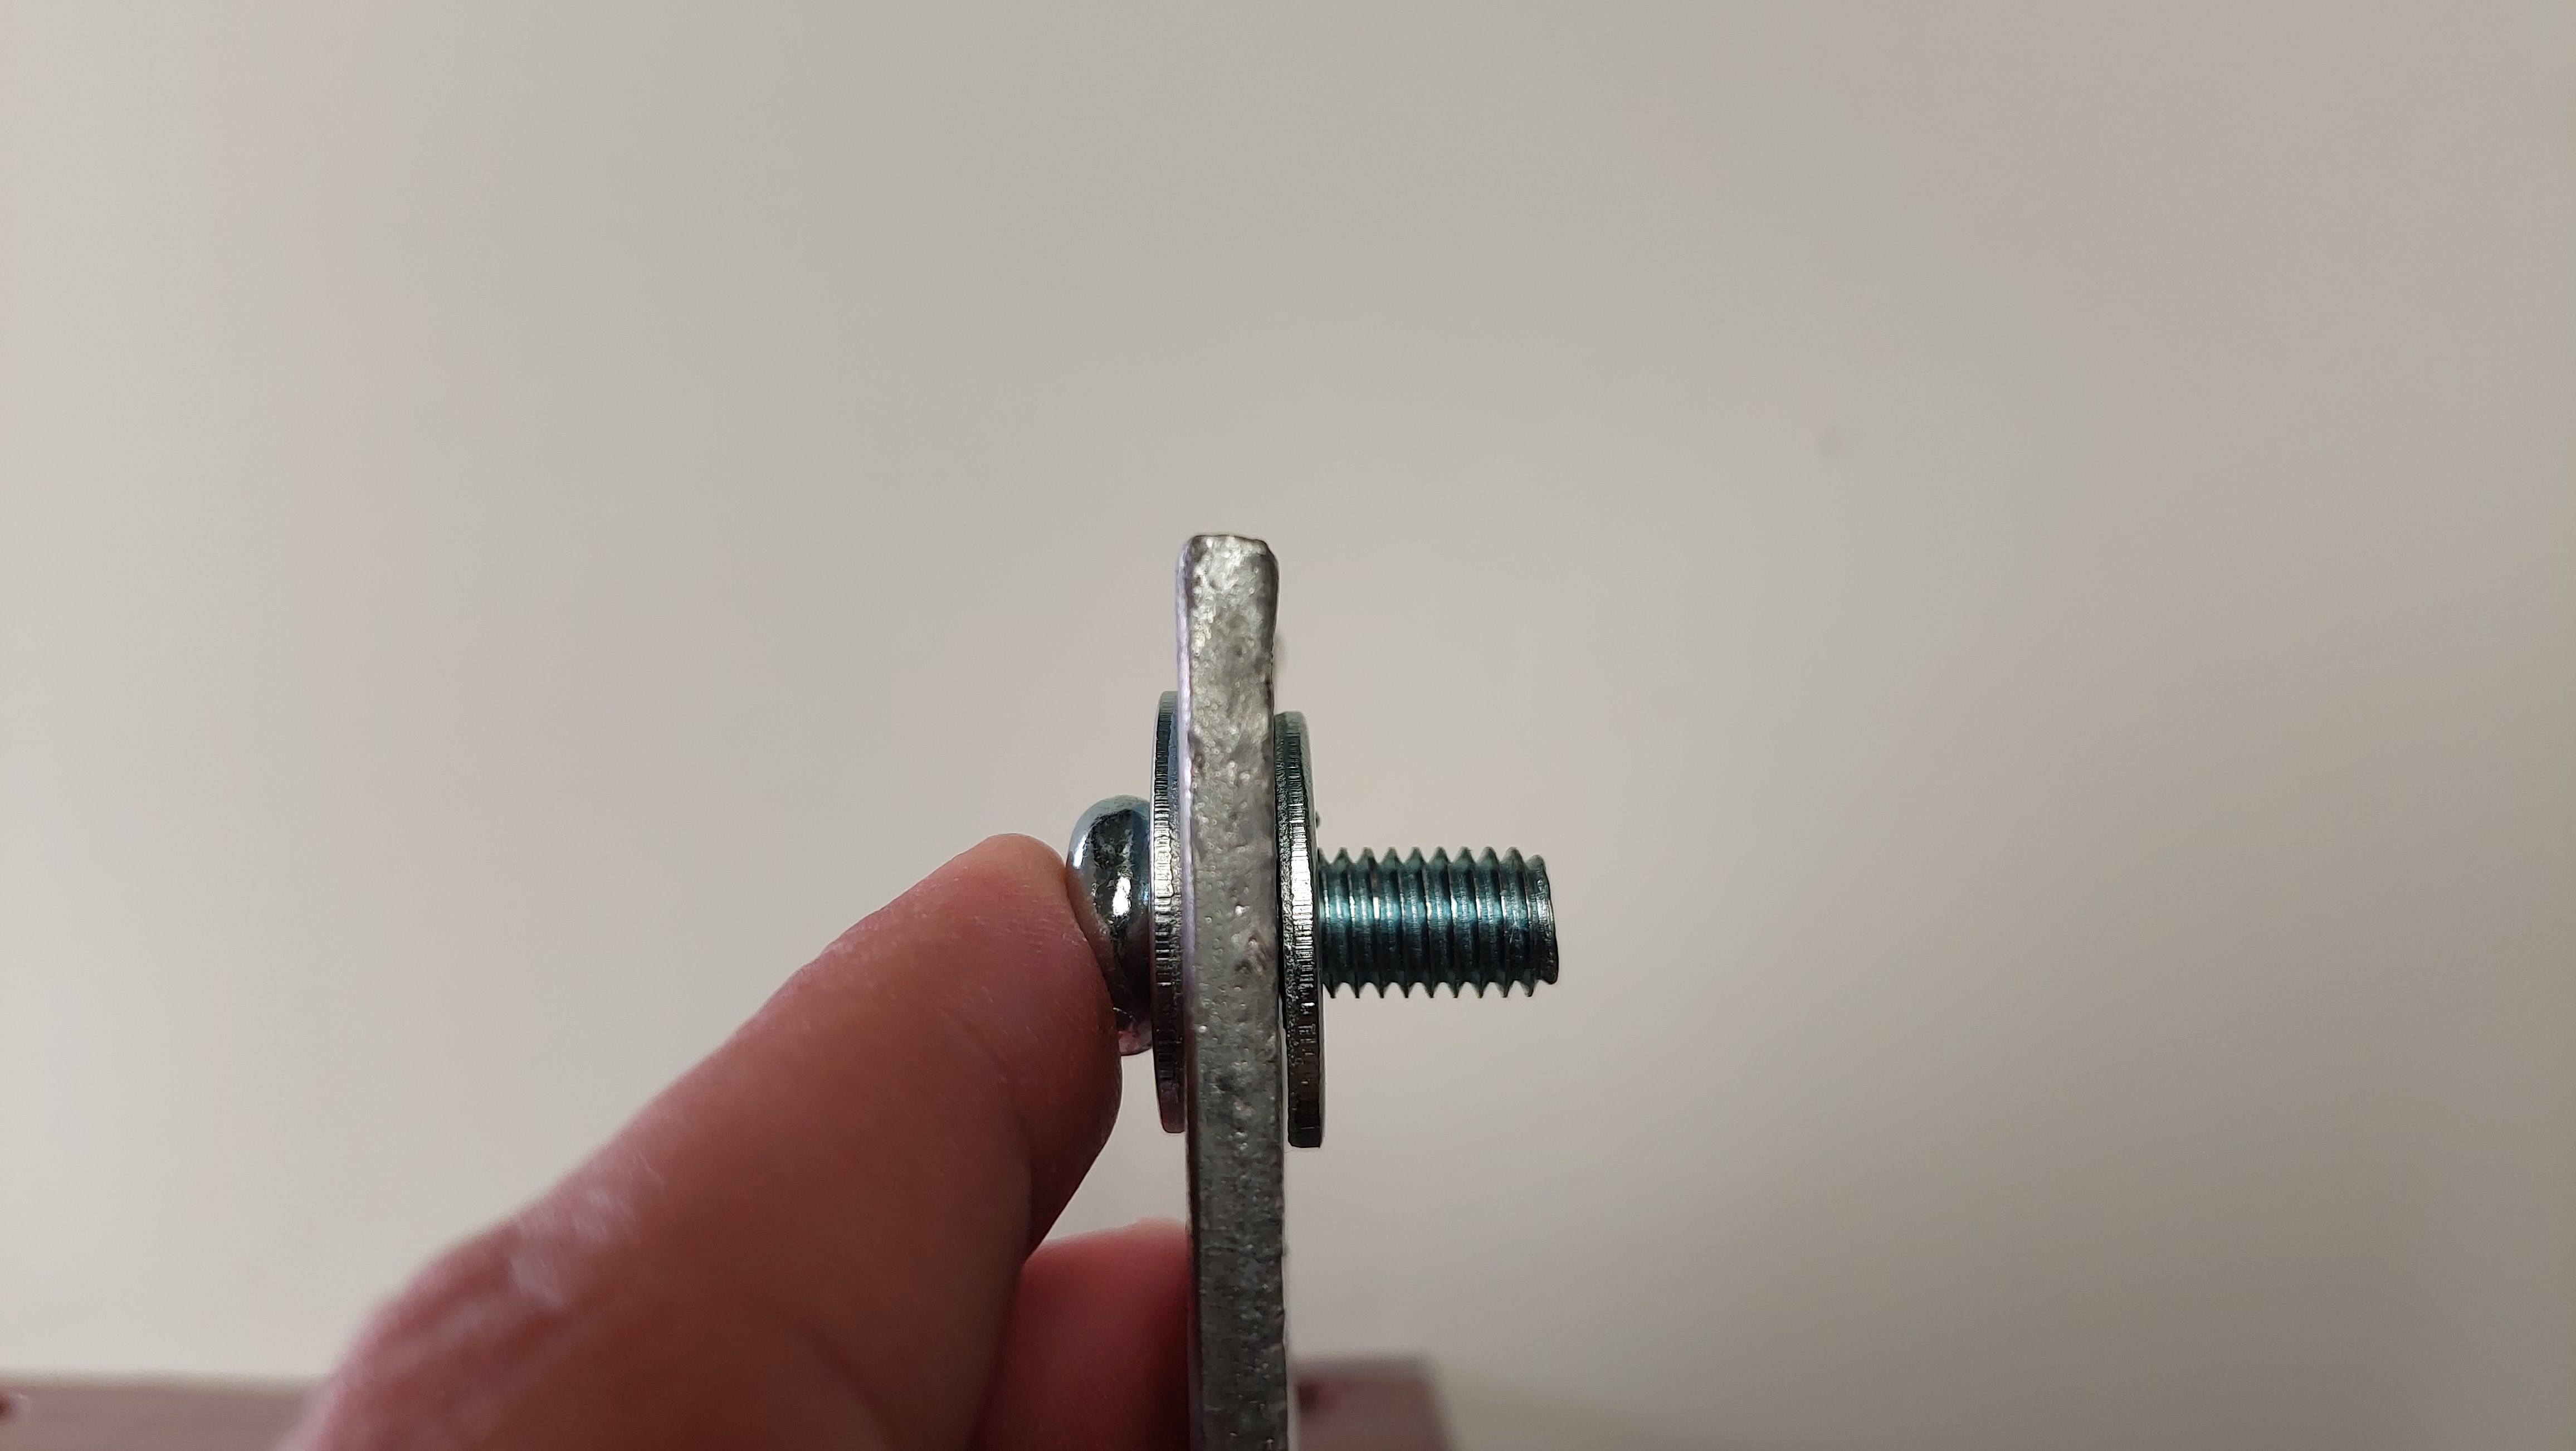
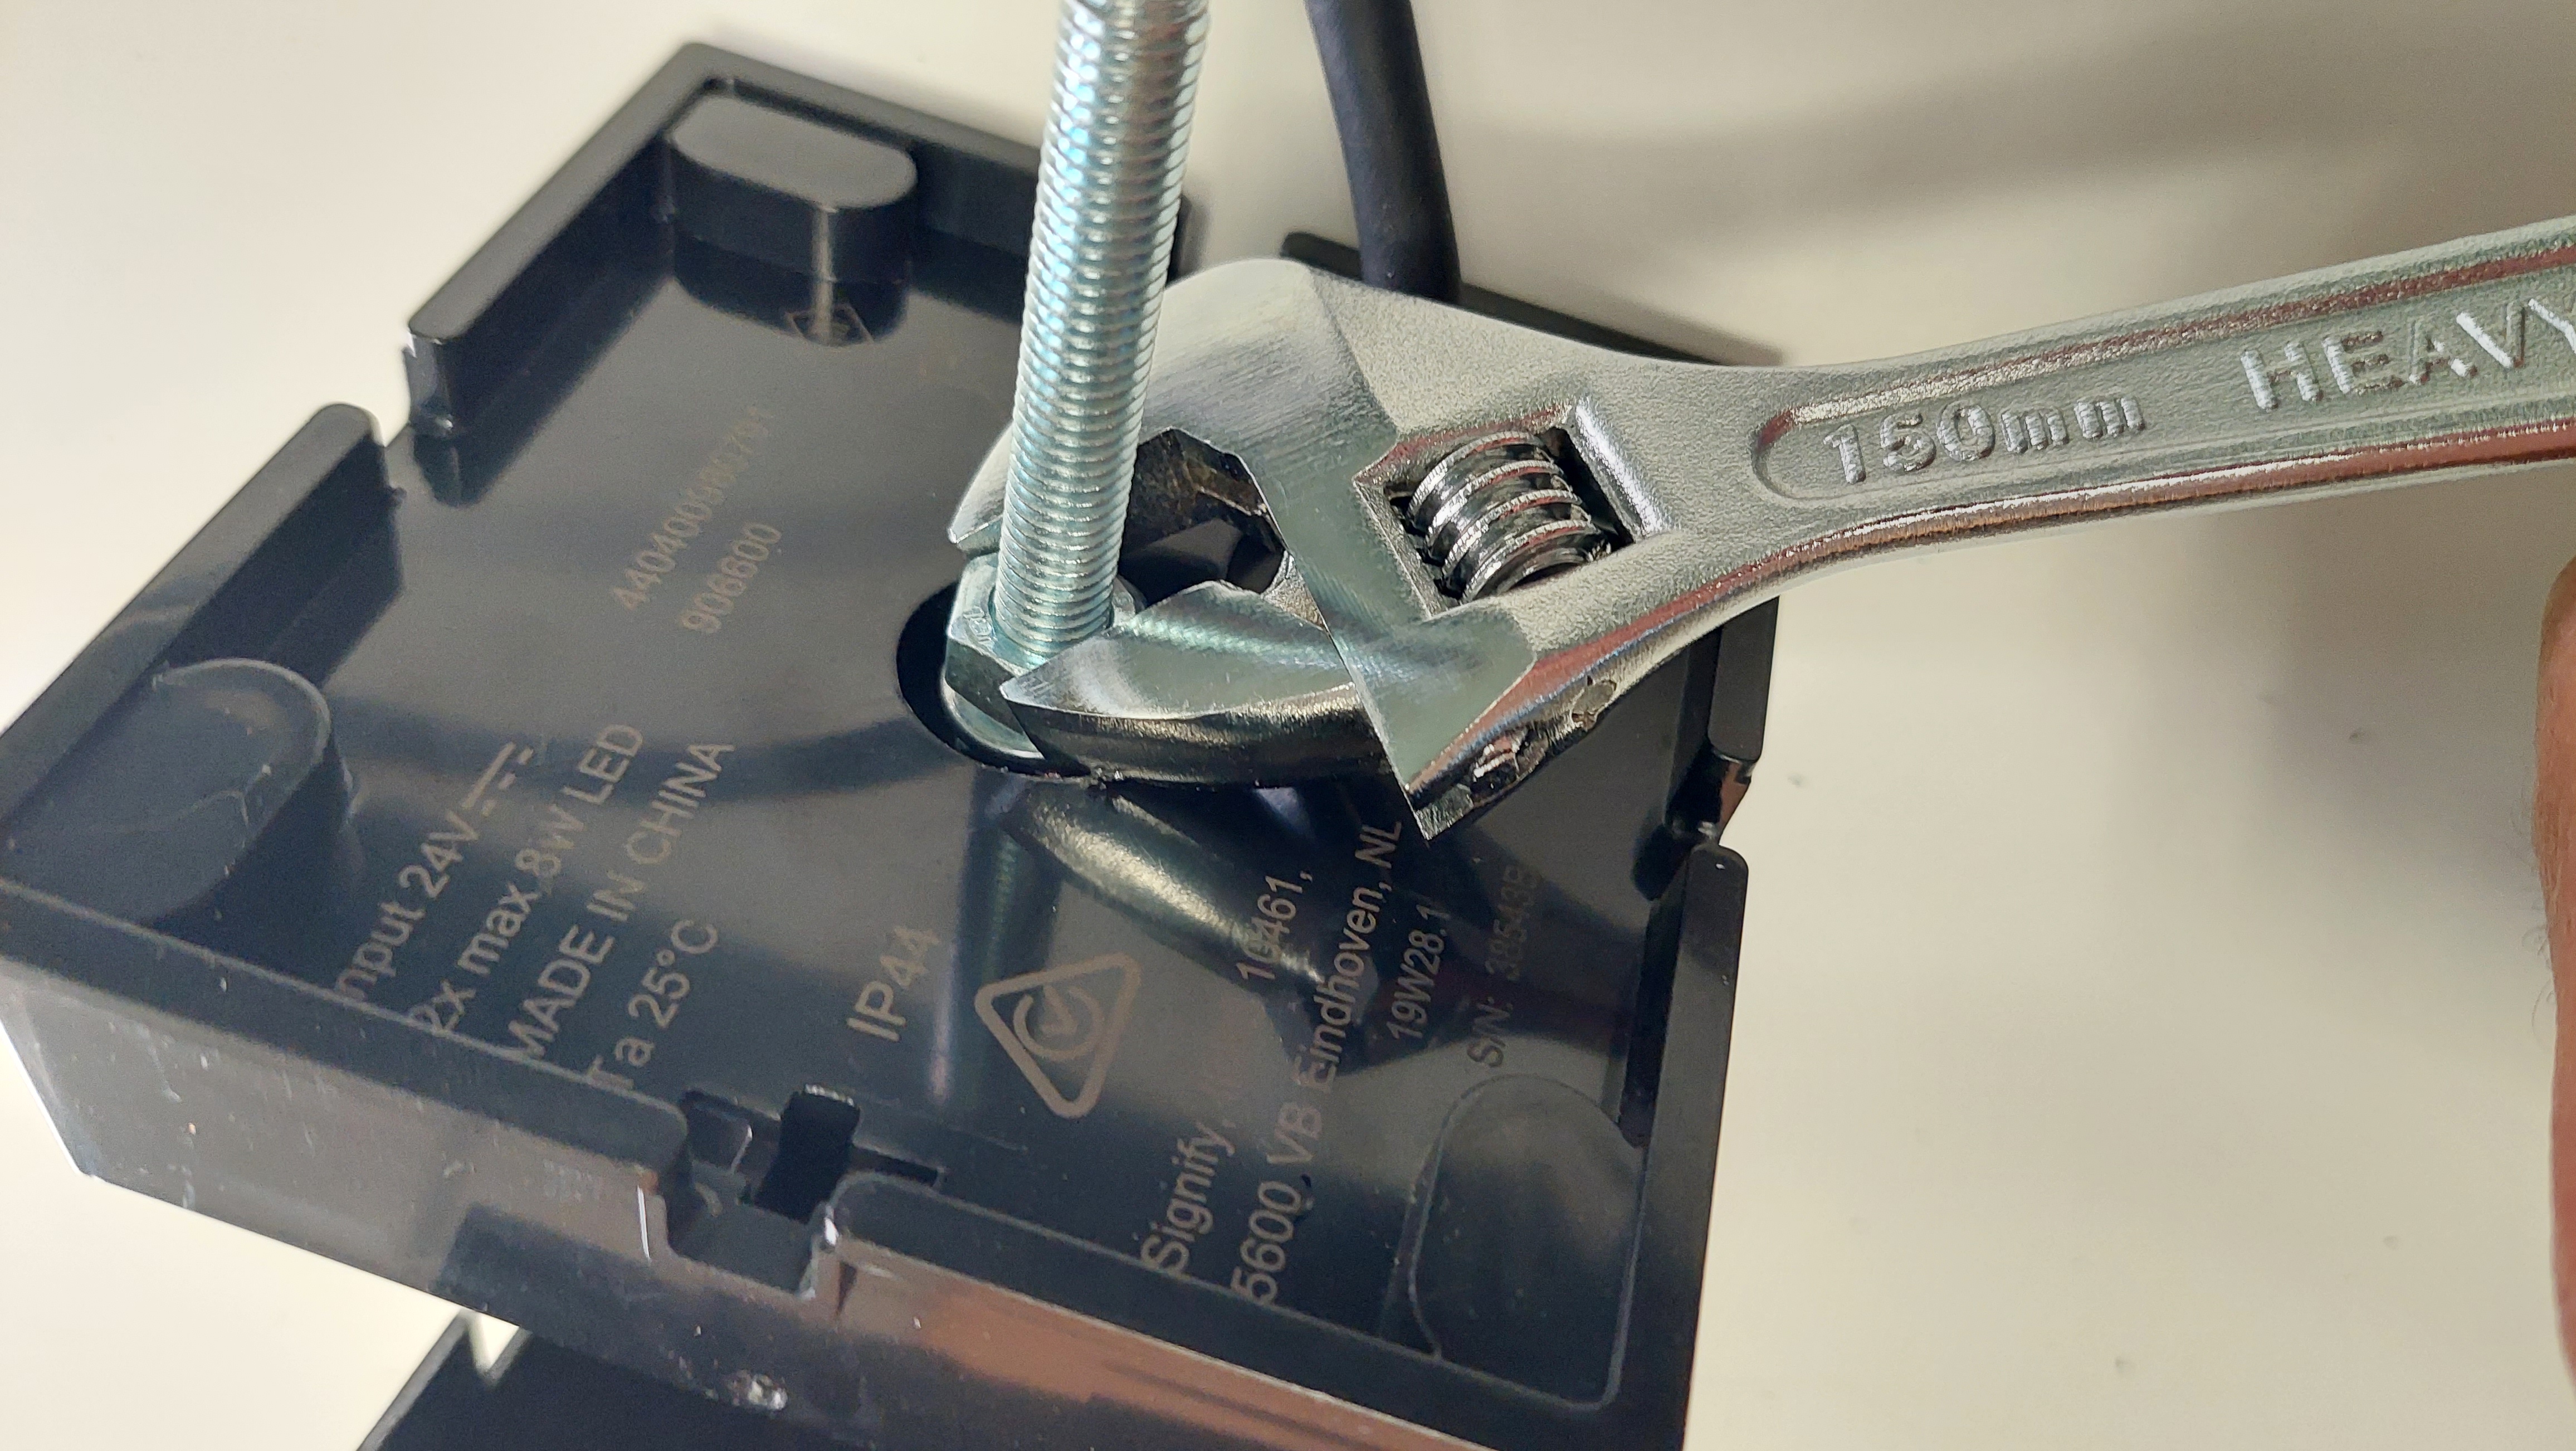
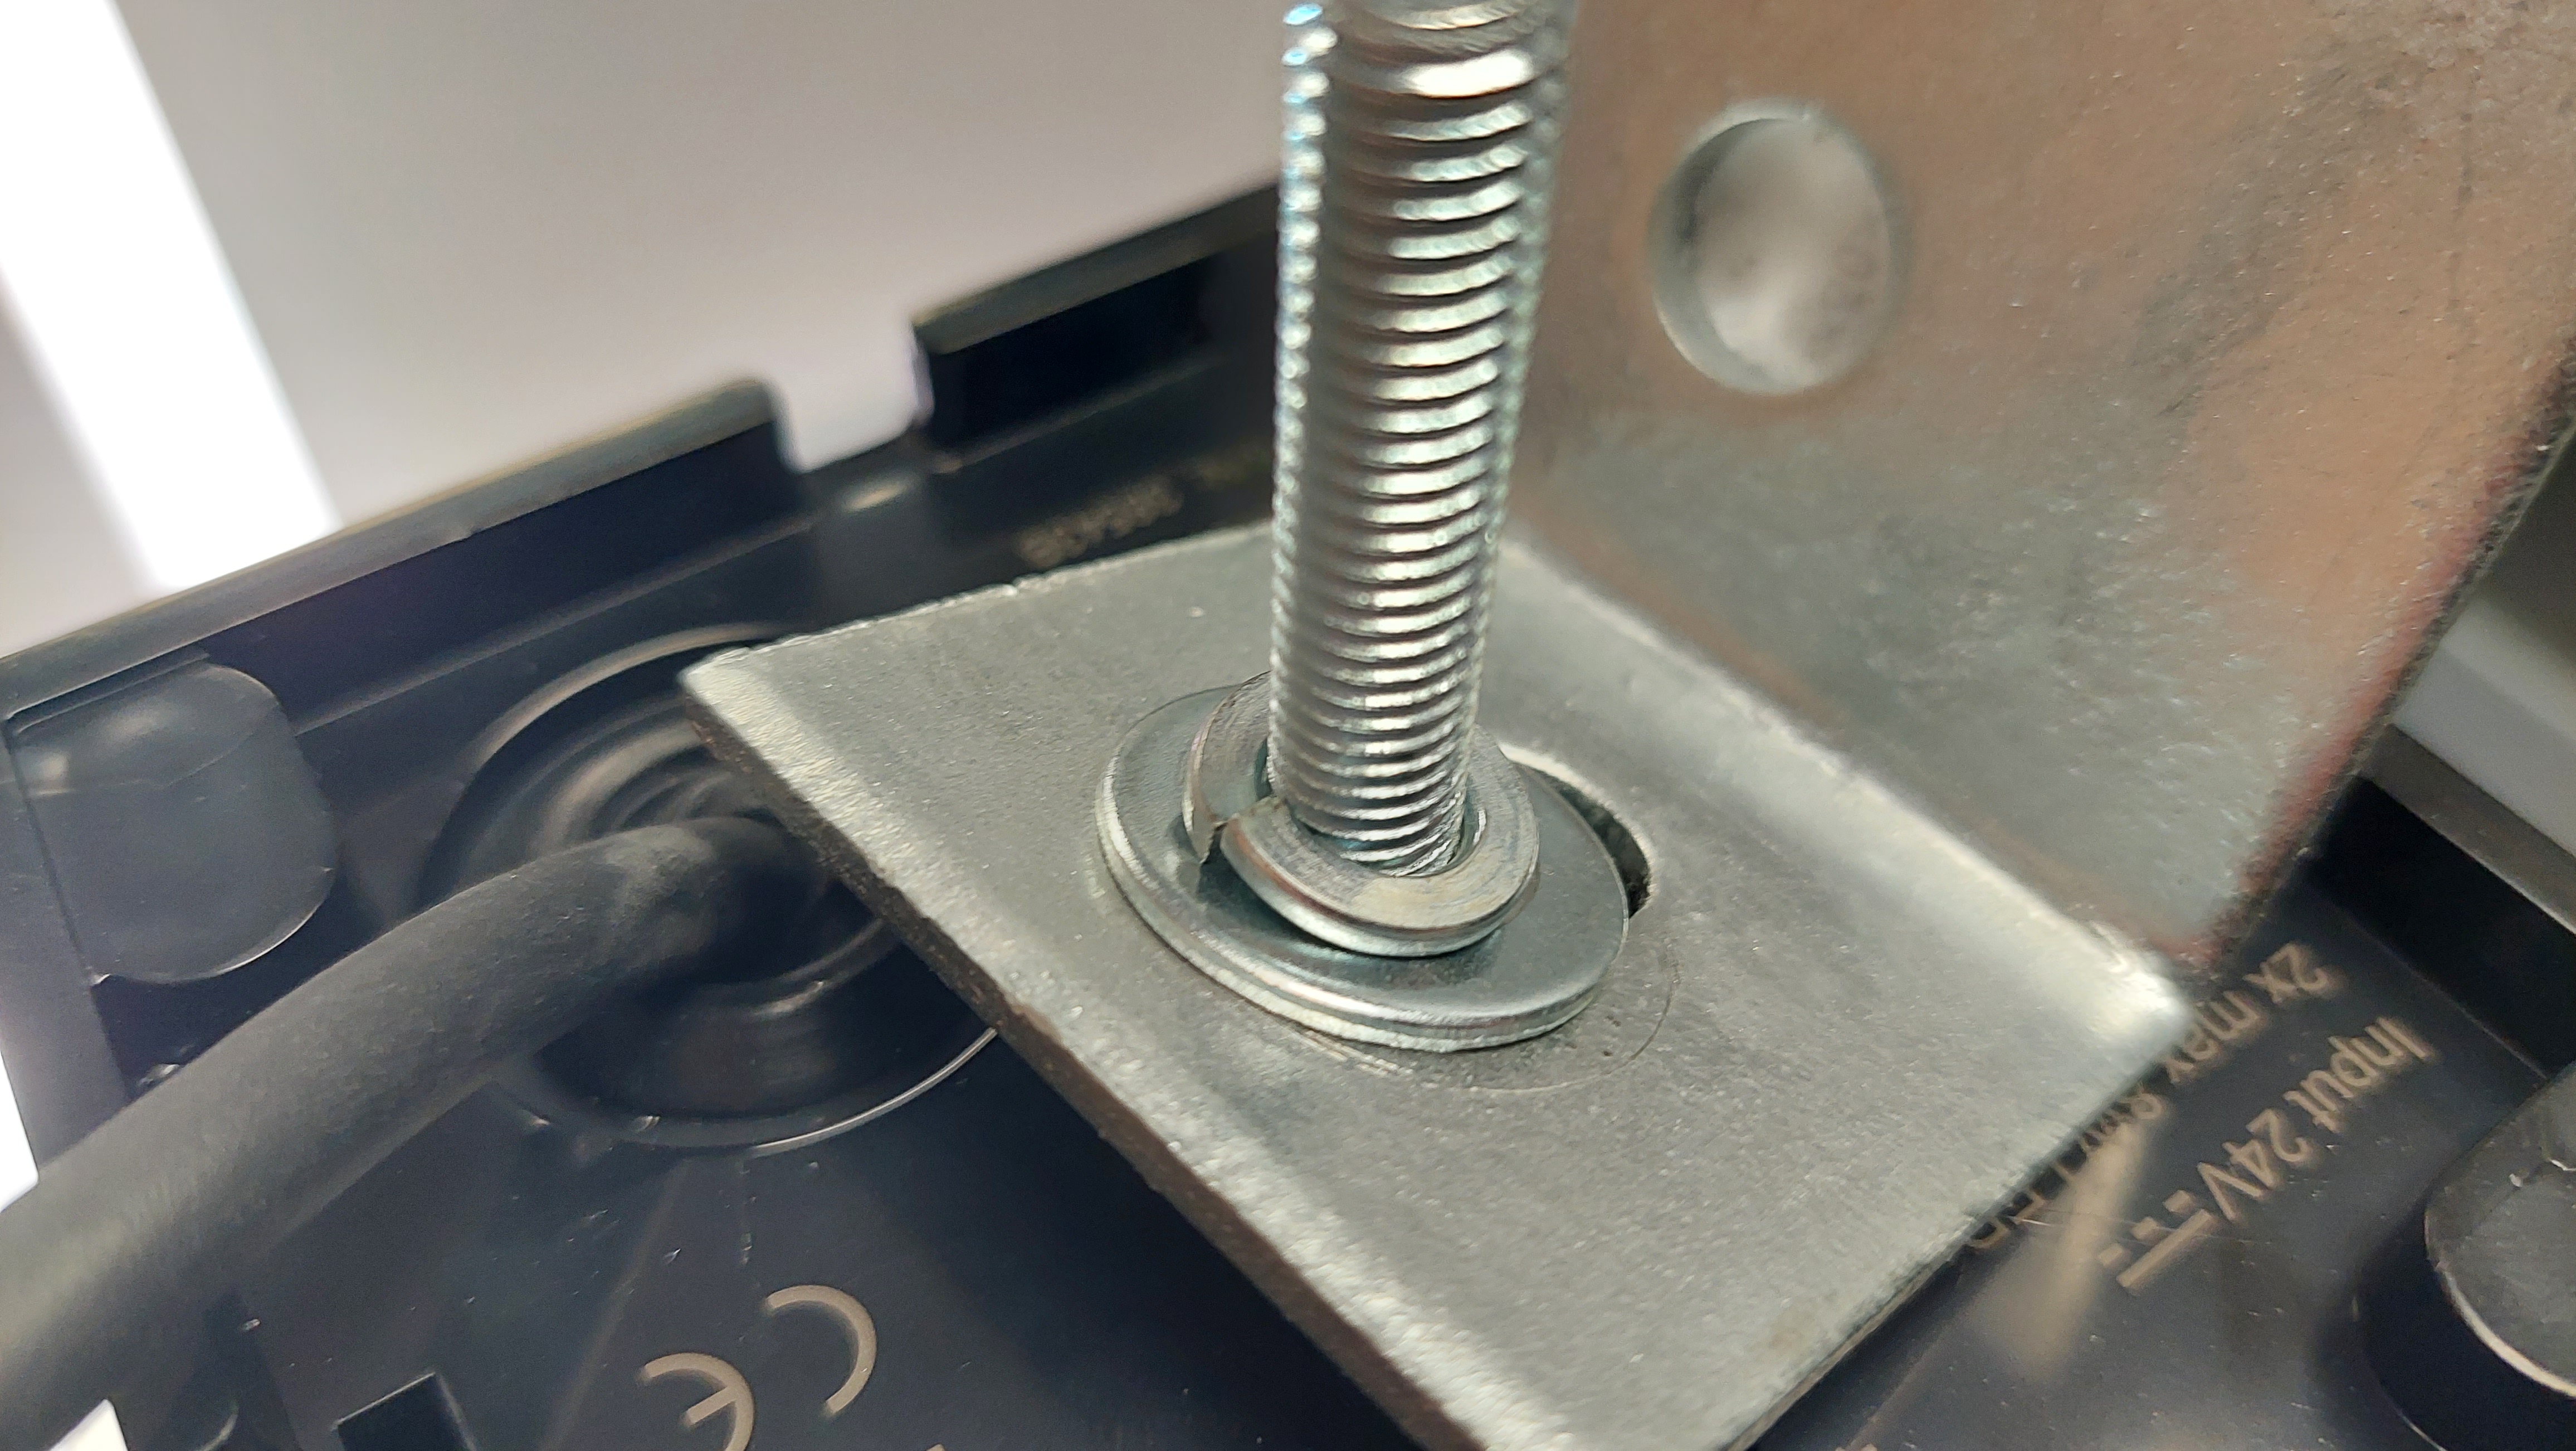
An alternative installation method is to attach the magnet directly to the andon light. The andon light uses an M8 bolt that sticks out of the light. For this to work the M8 bolt needs to be replaced with a longer one so the magnet and a spring washer can be used to tighter the magnet on correctly.

Steps
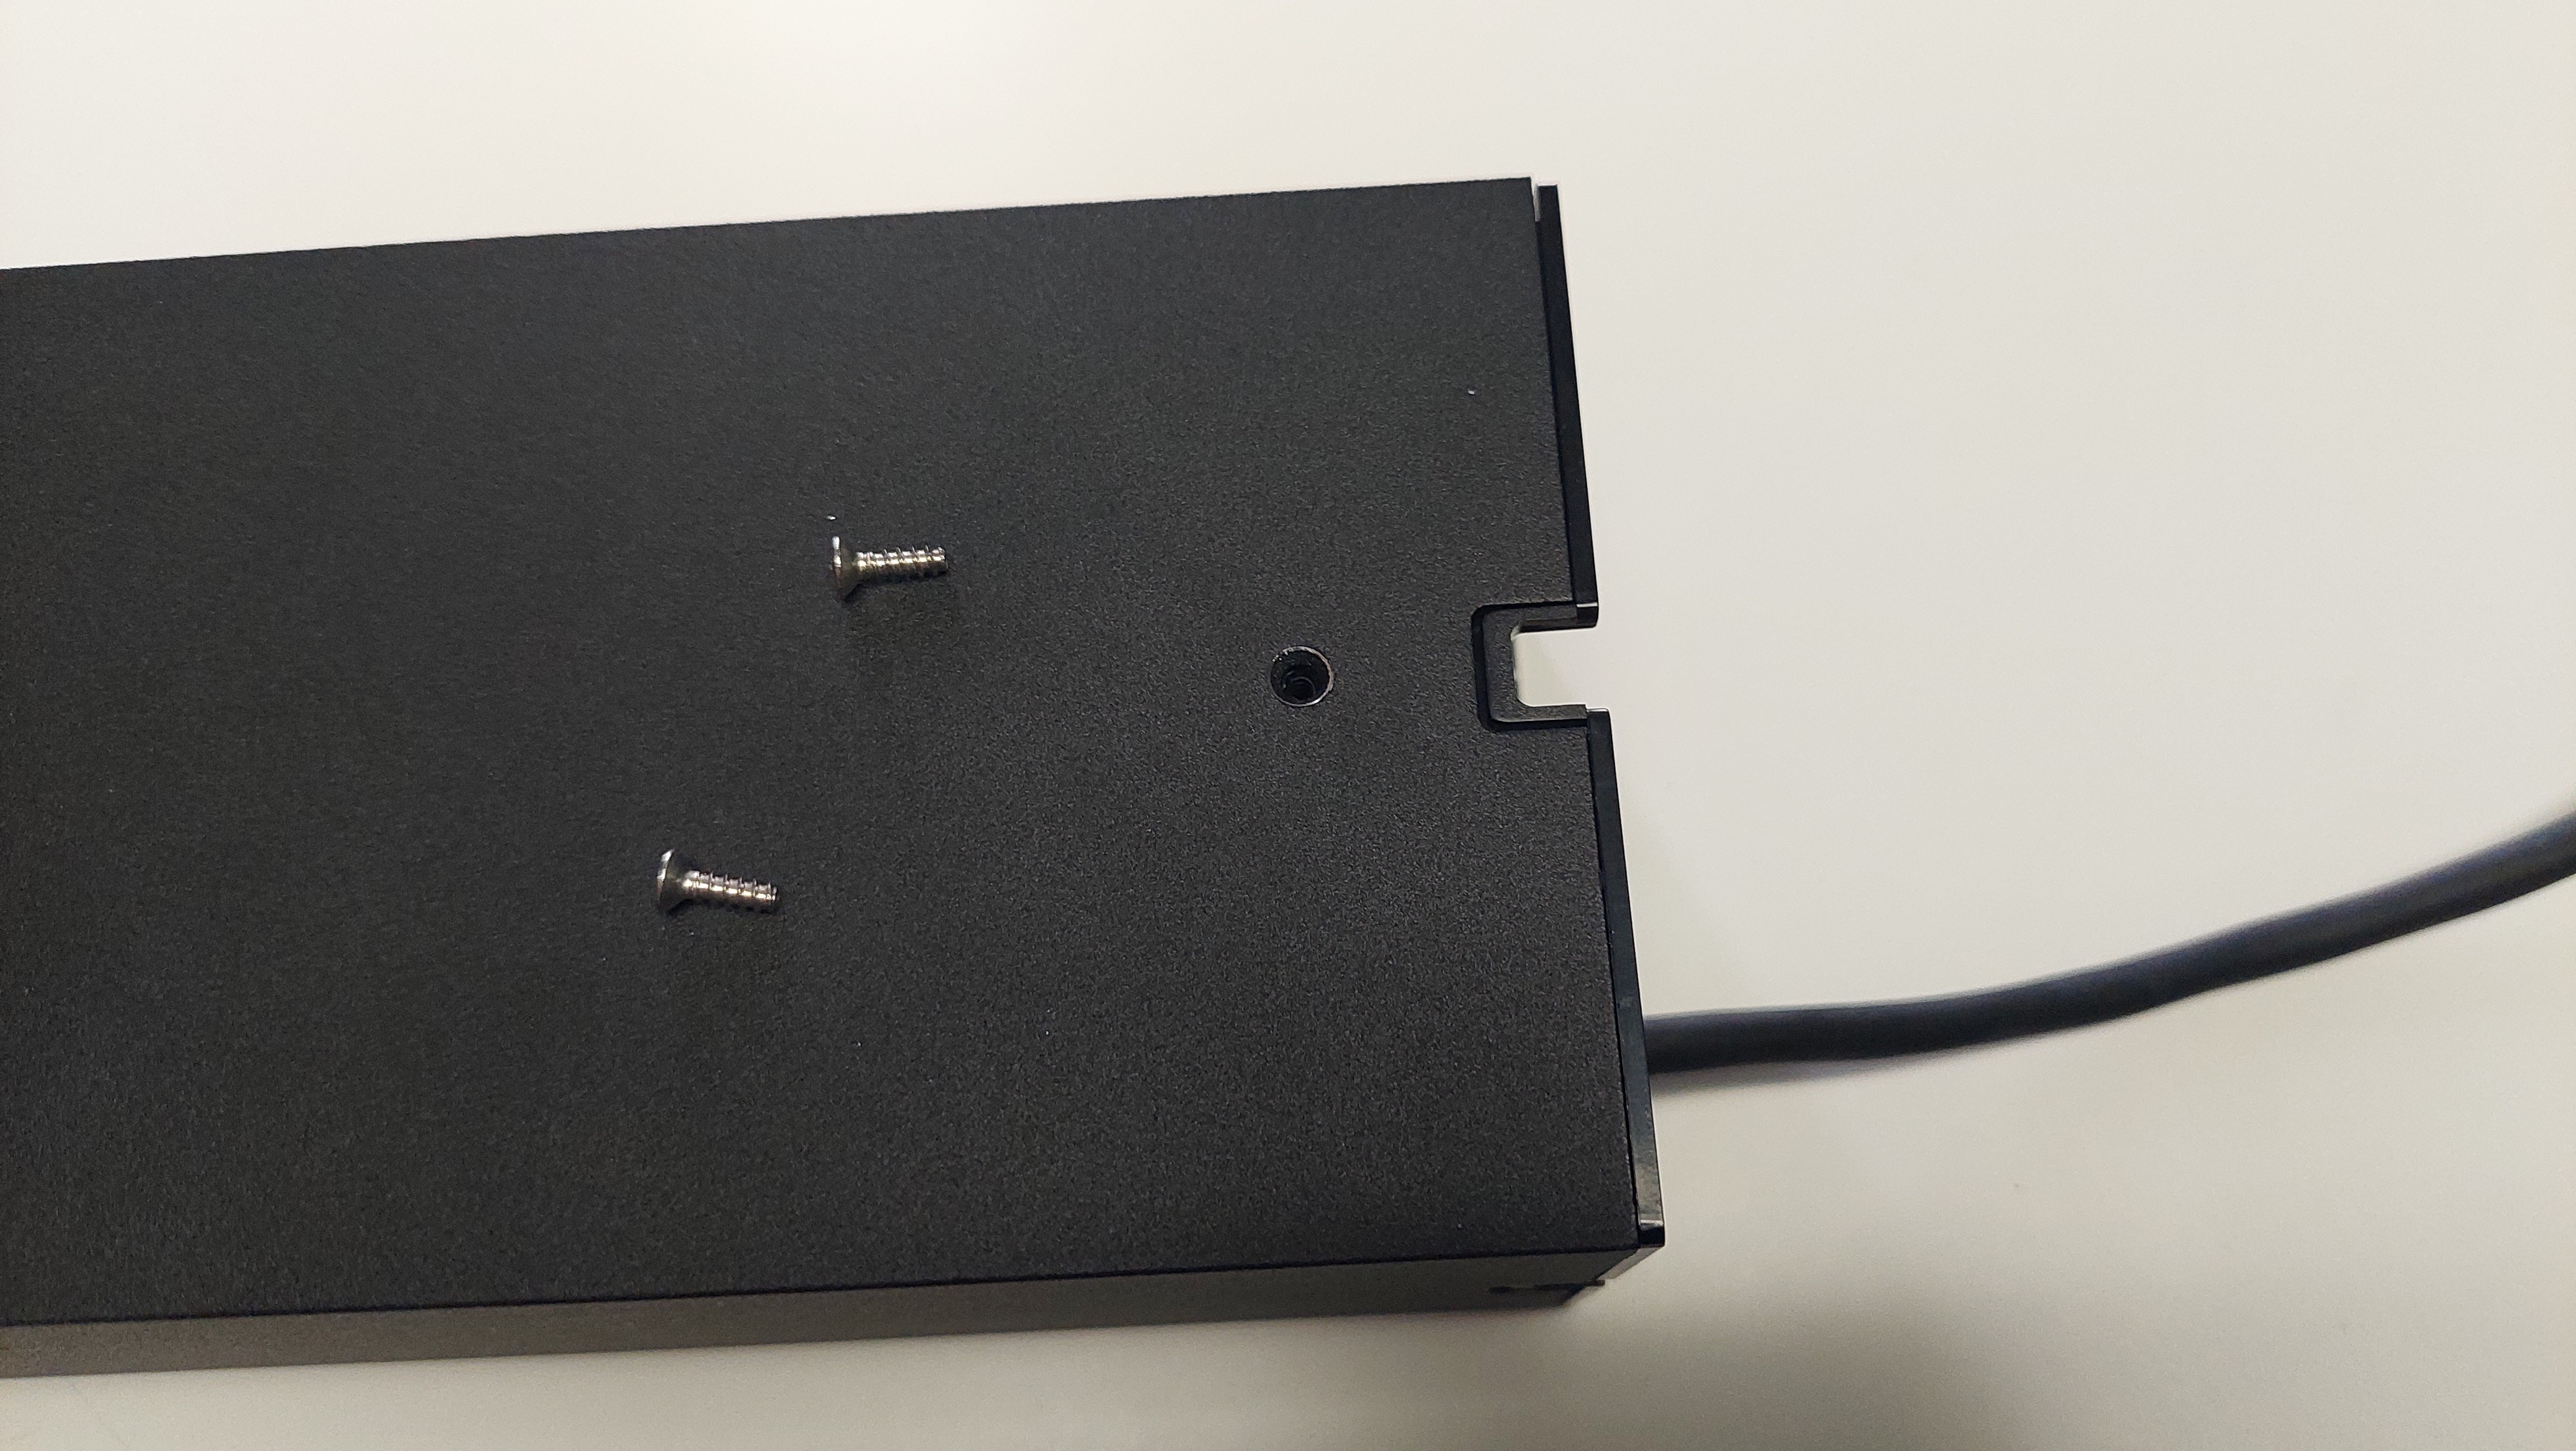
- Undo screws on the side of the casing.
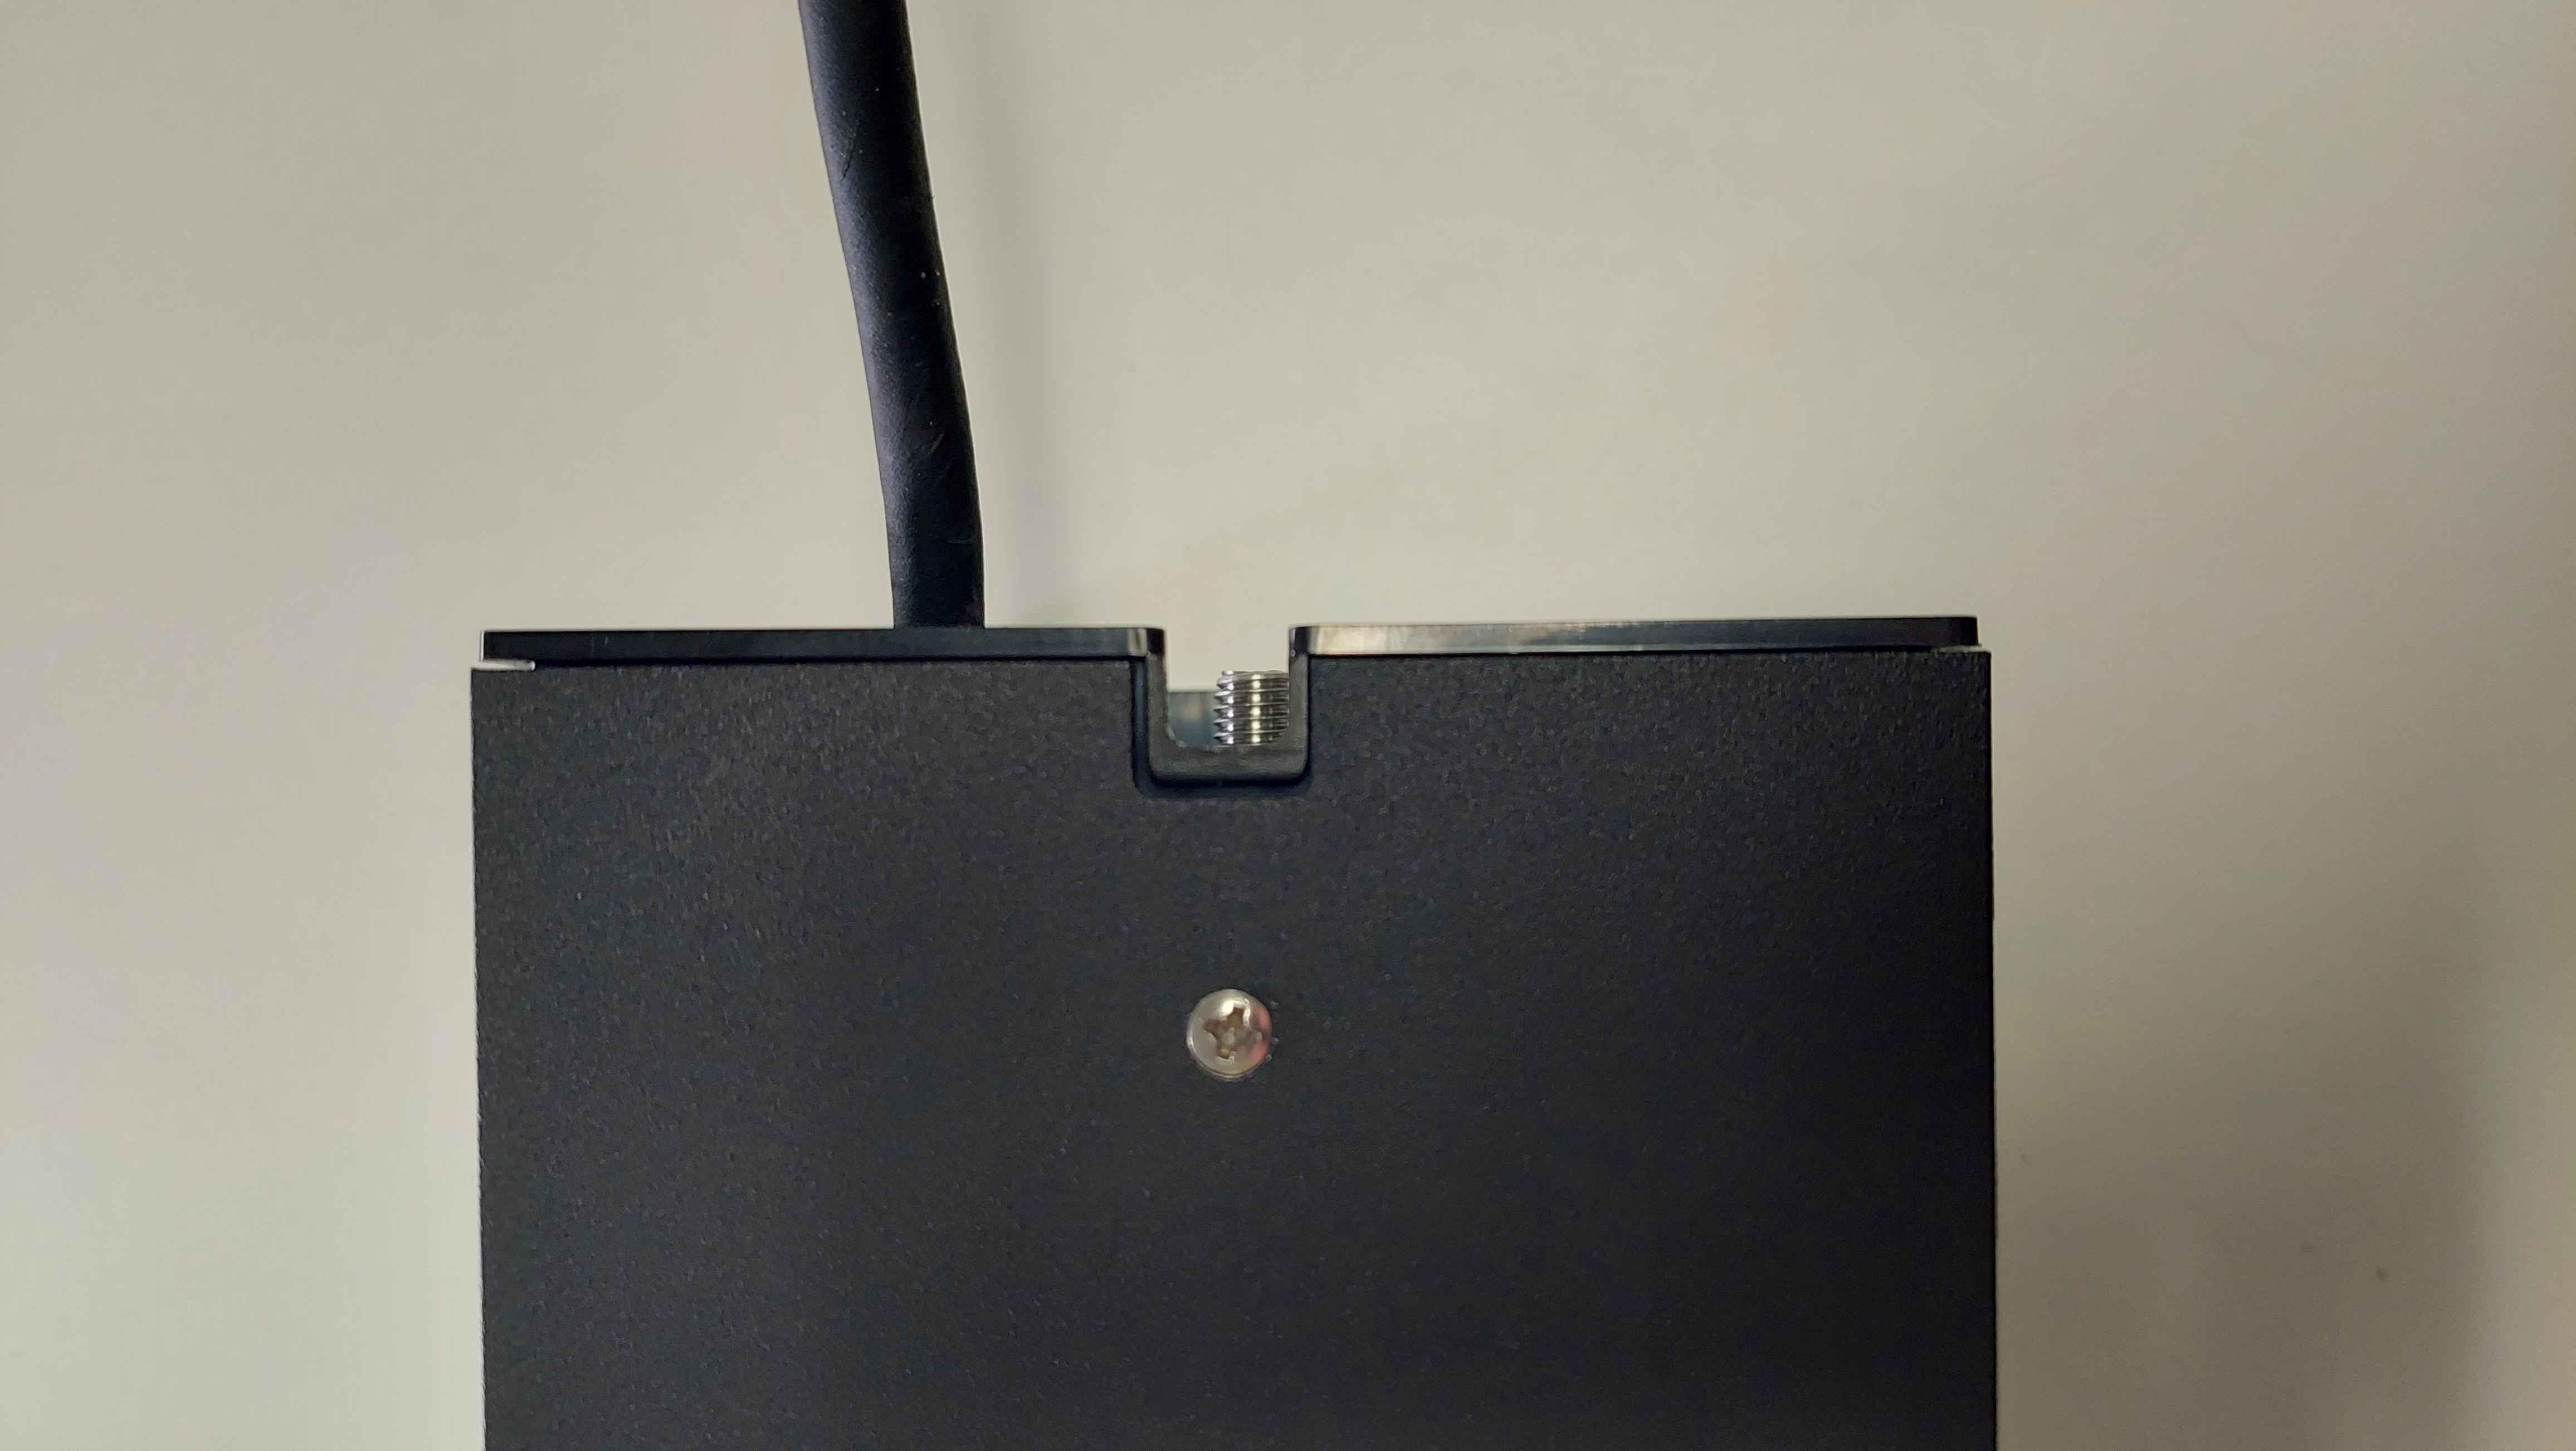
- Slide base out of casing.
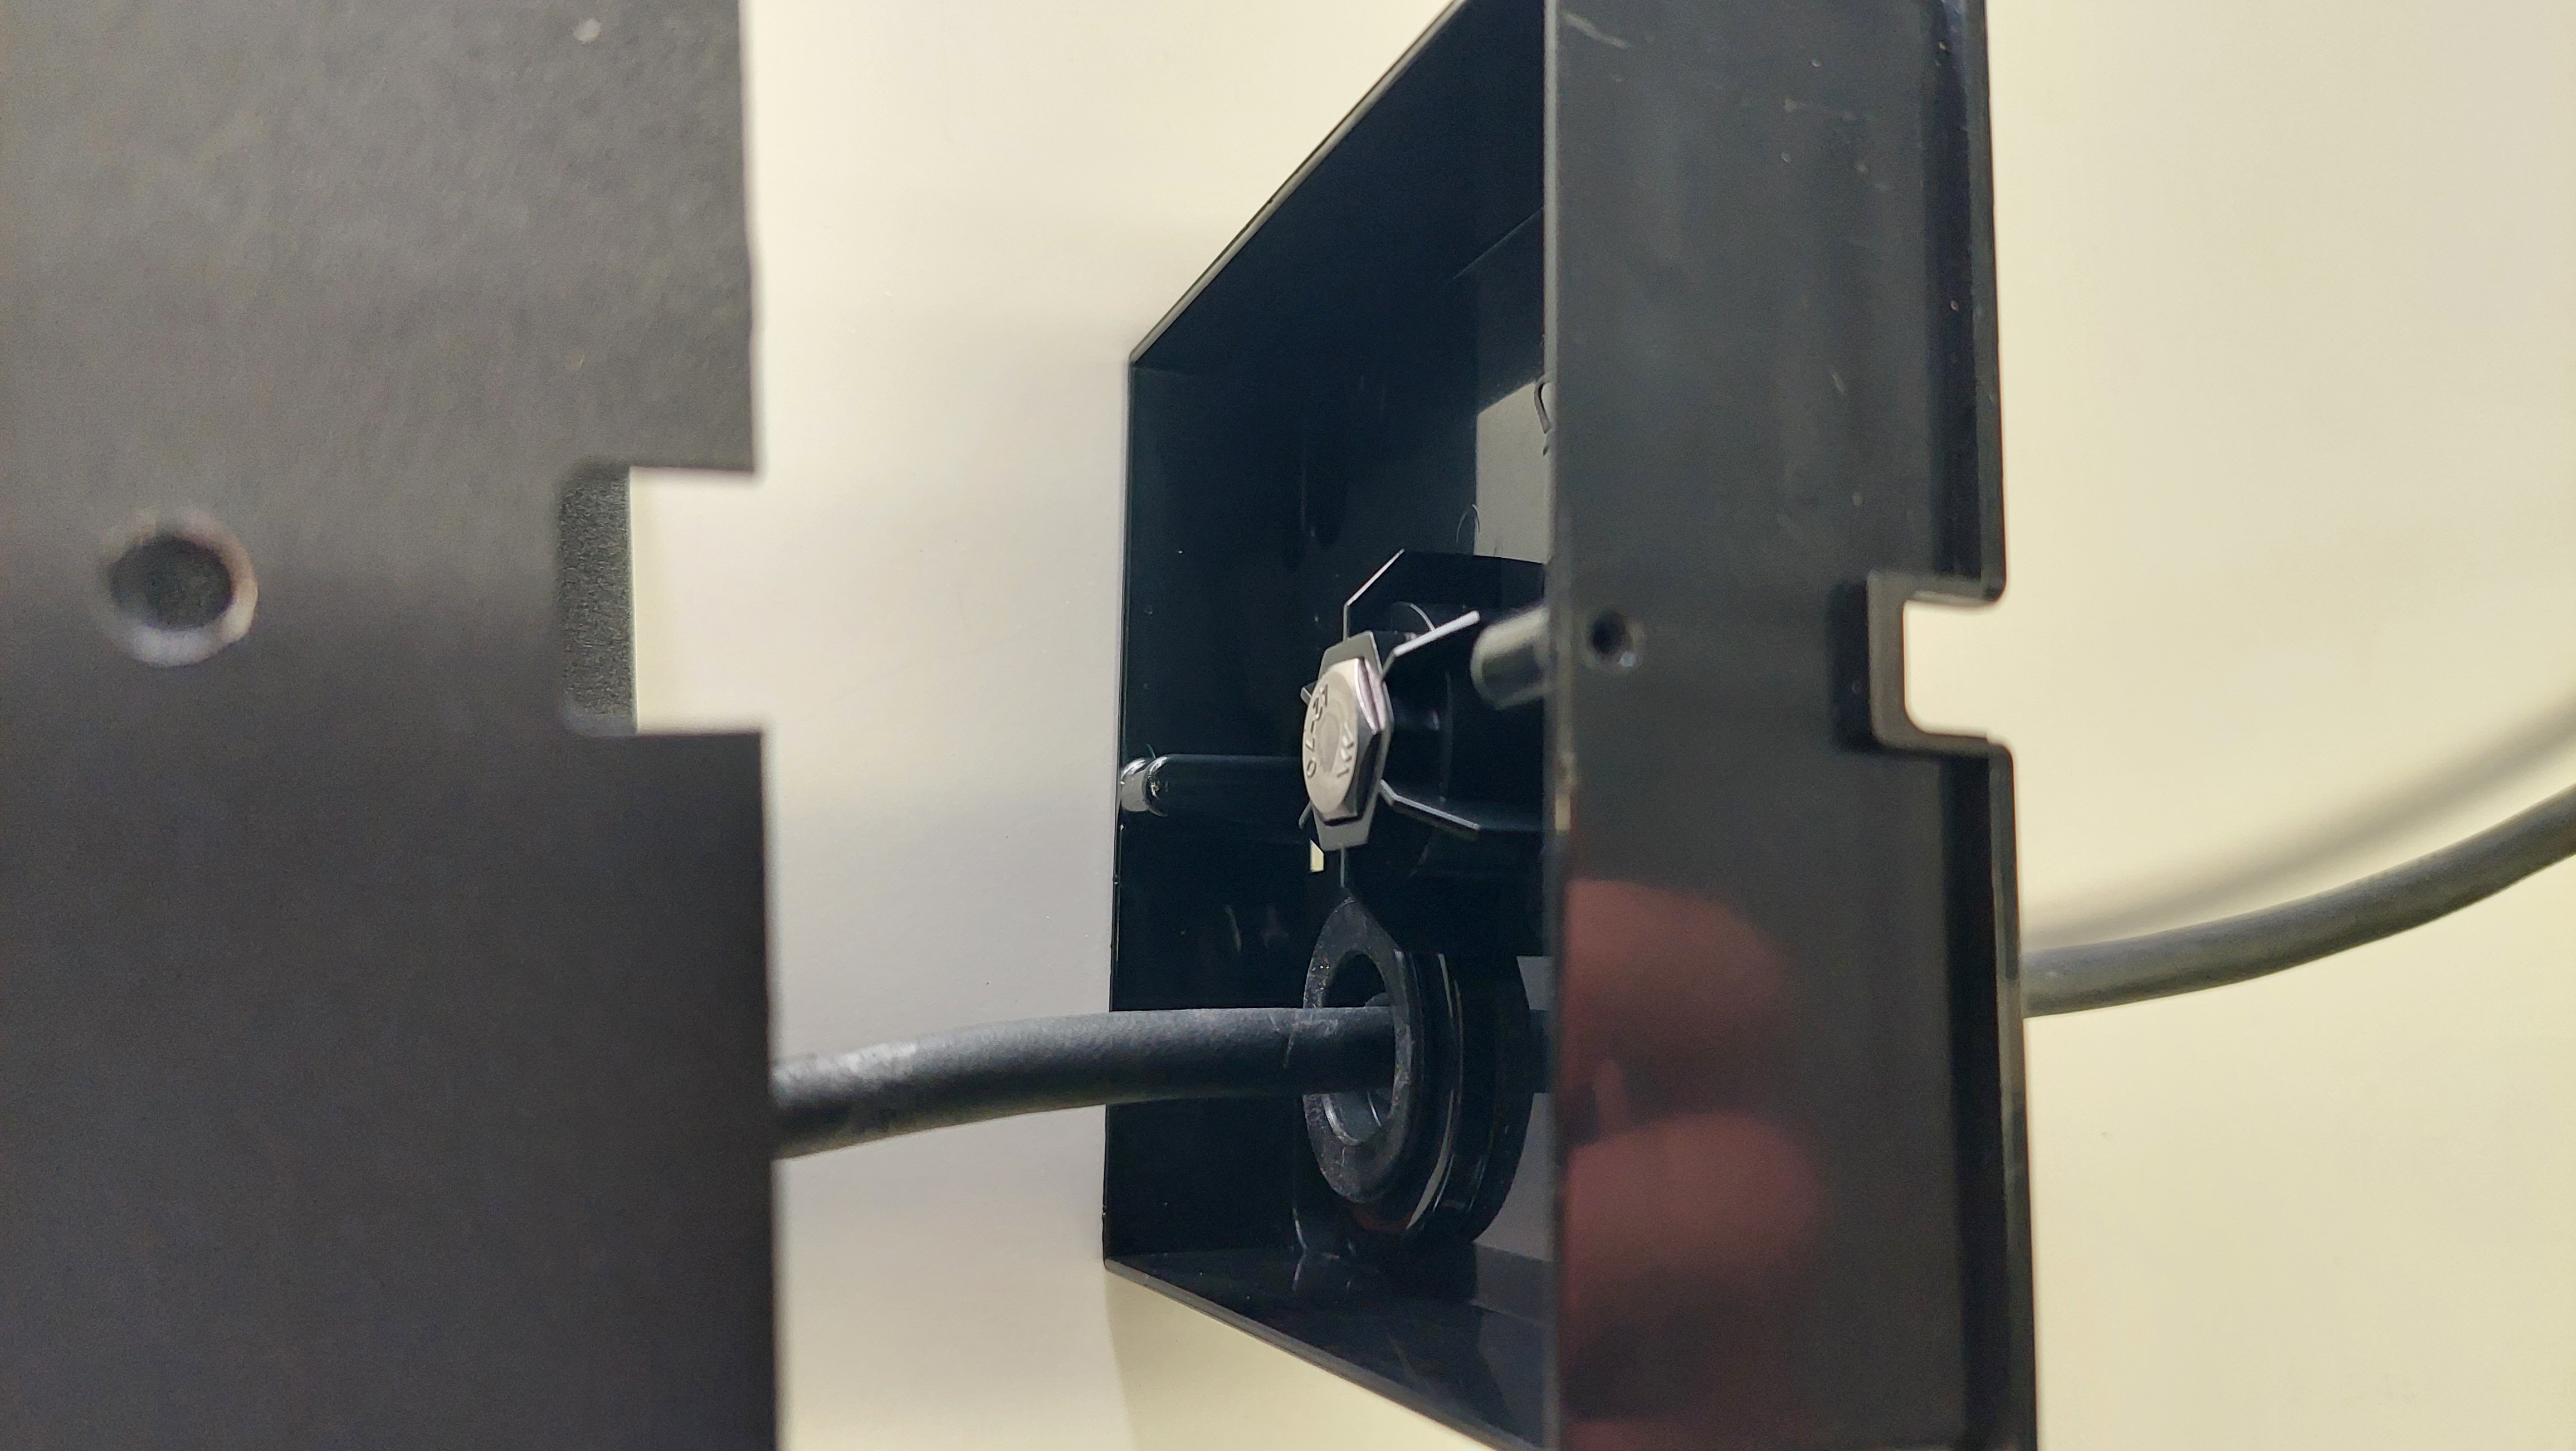
- Undo nut from bolt.
-
Remove the bolt.
-
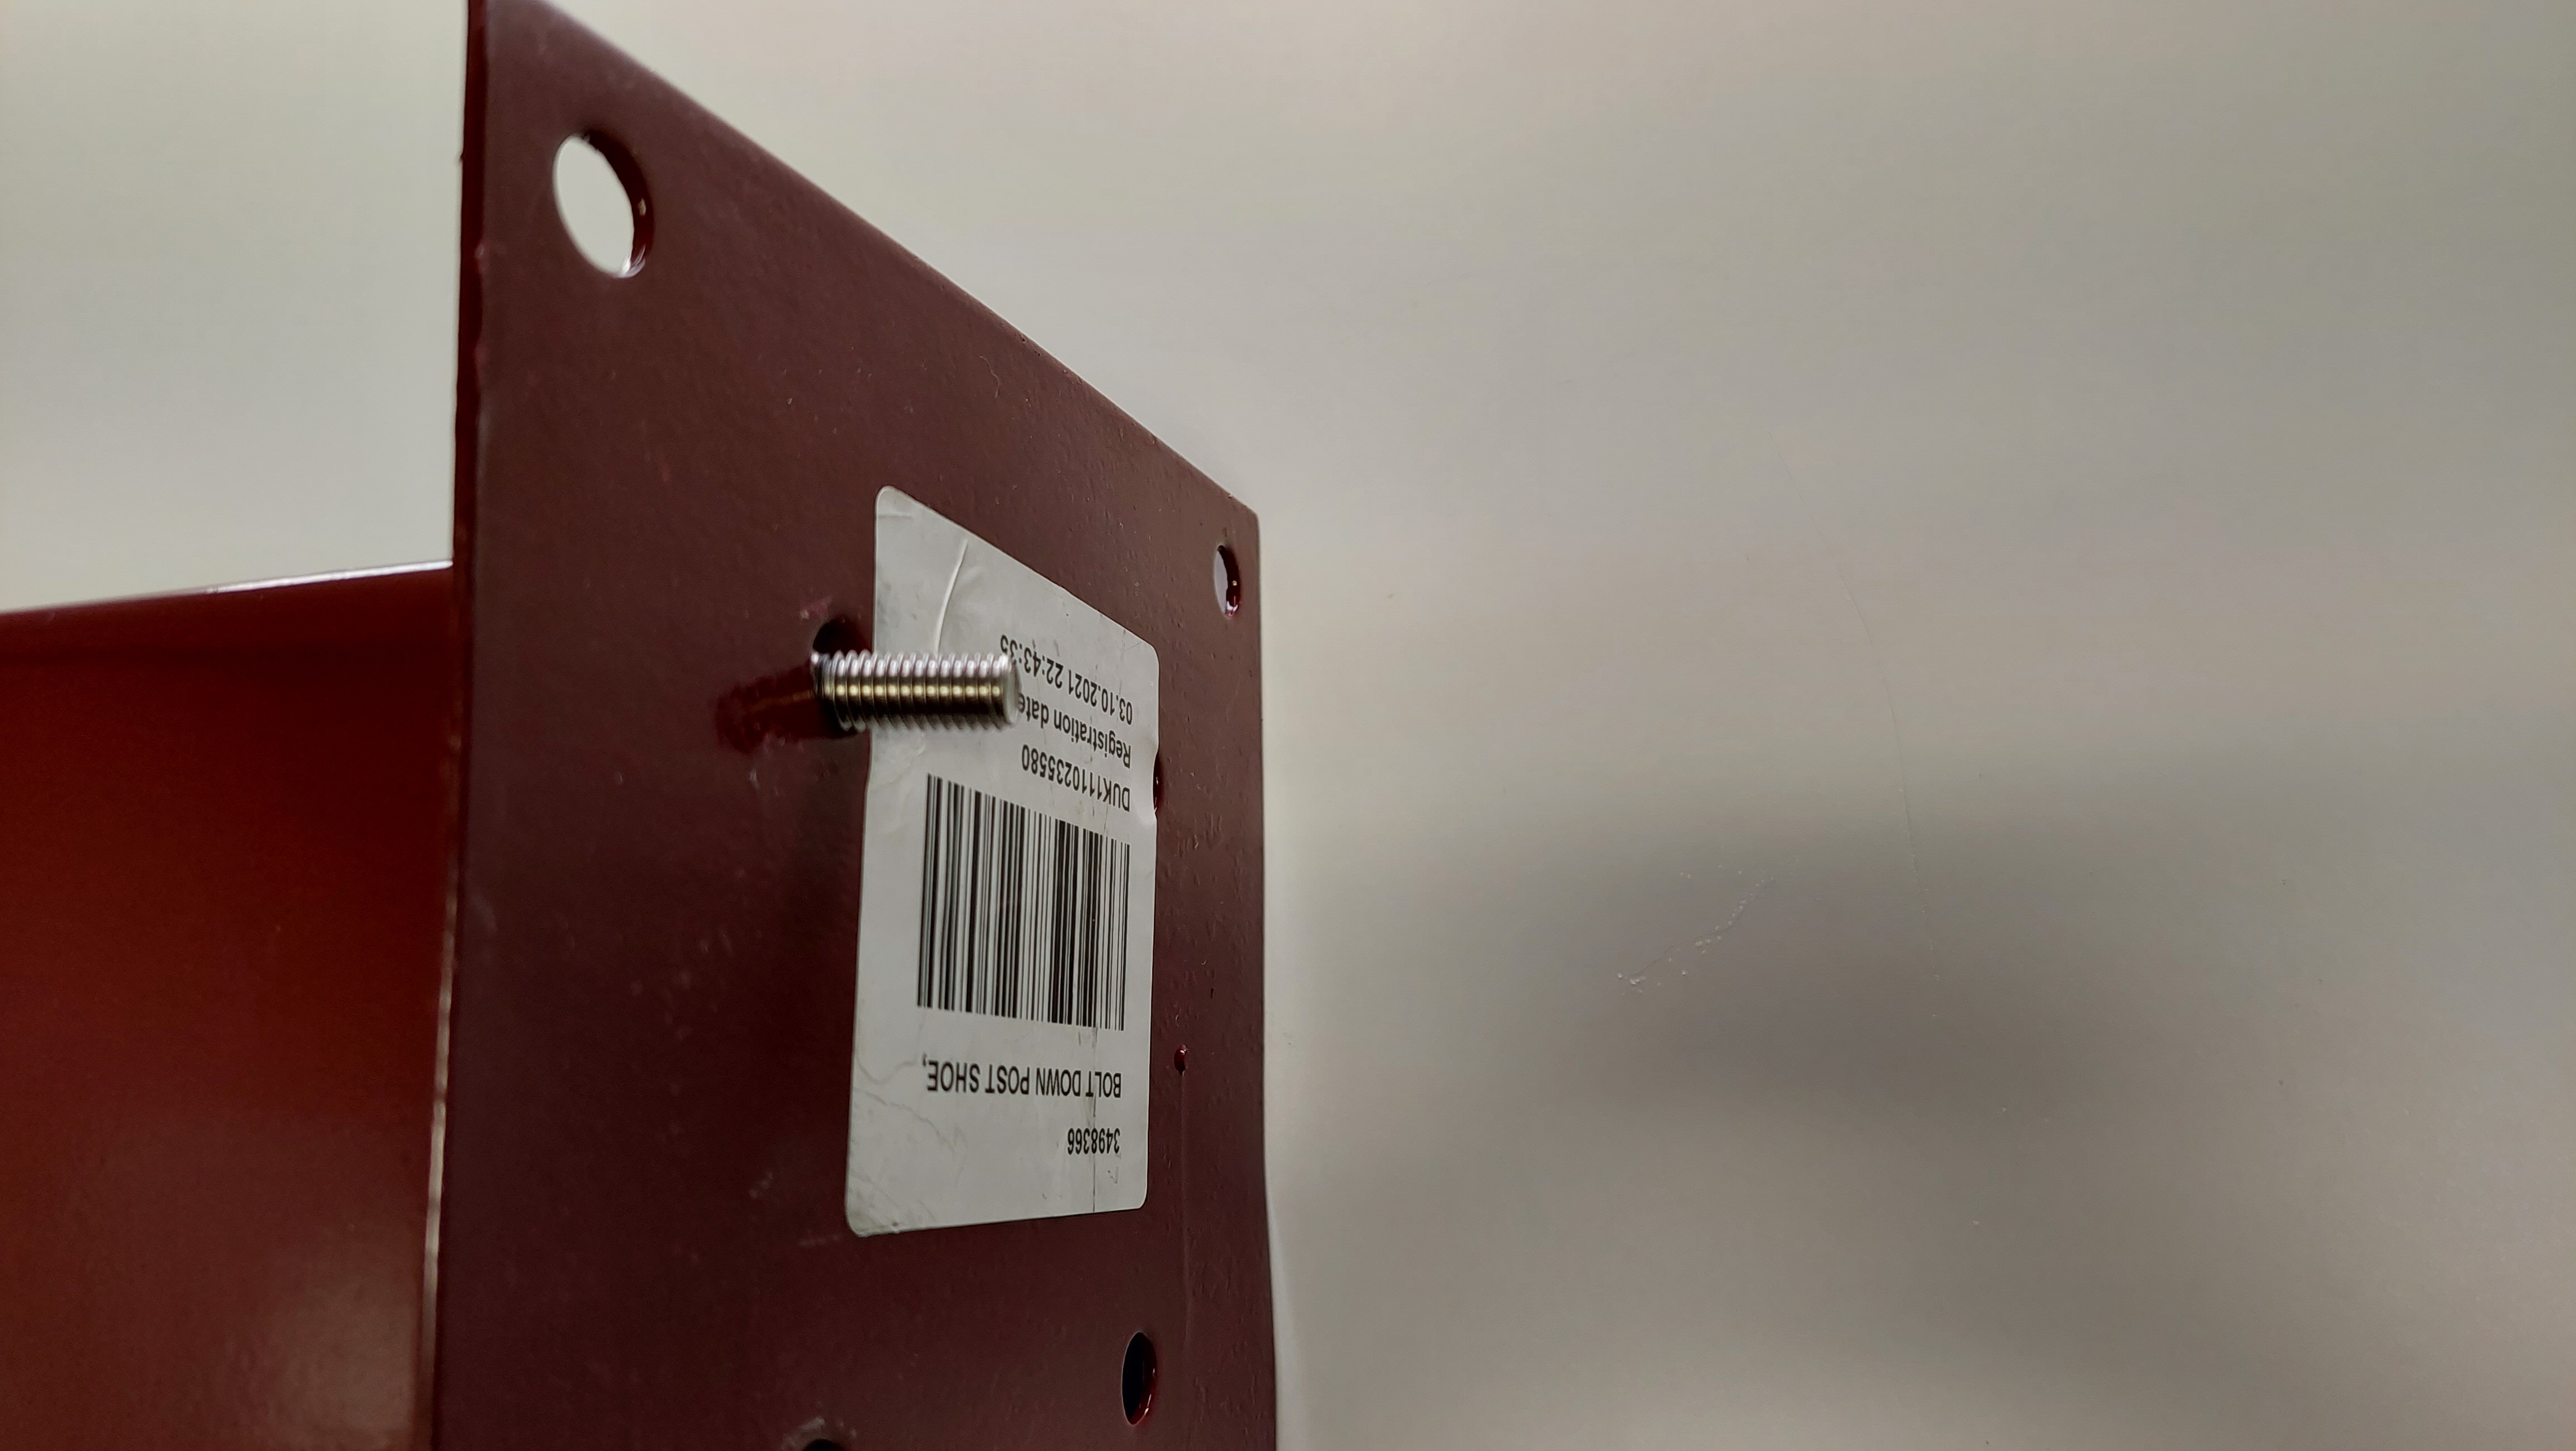
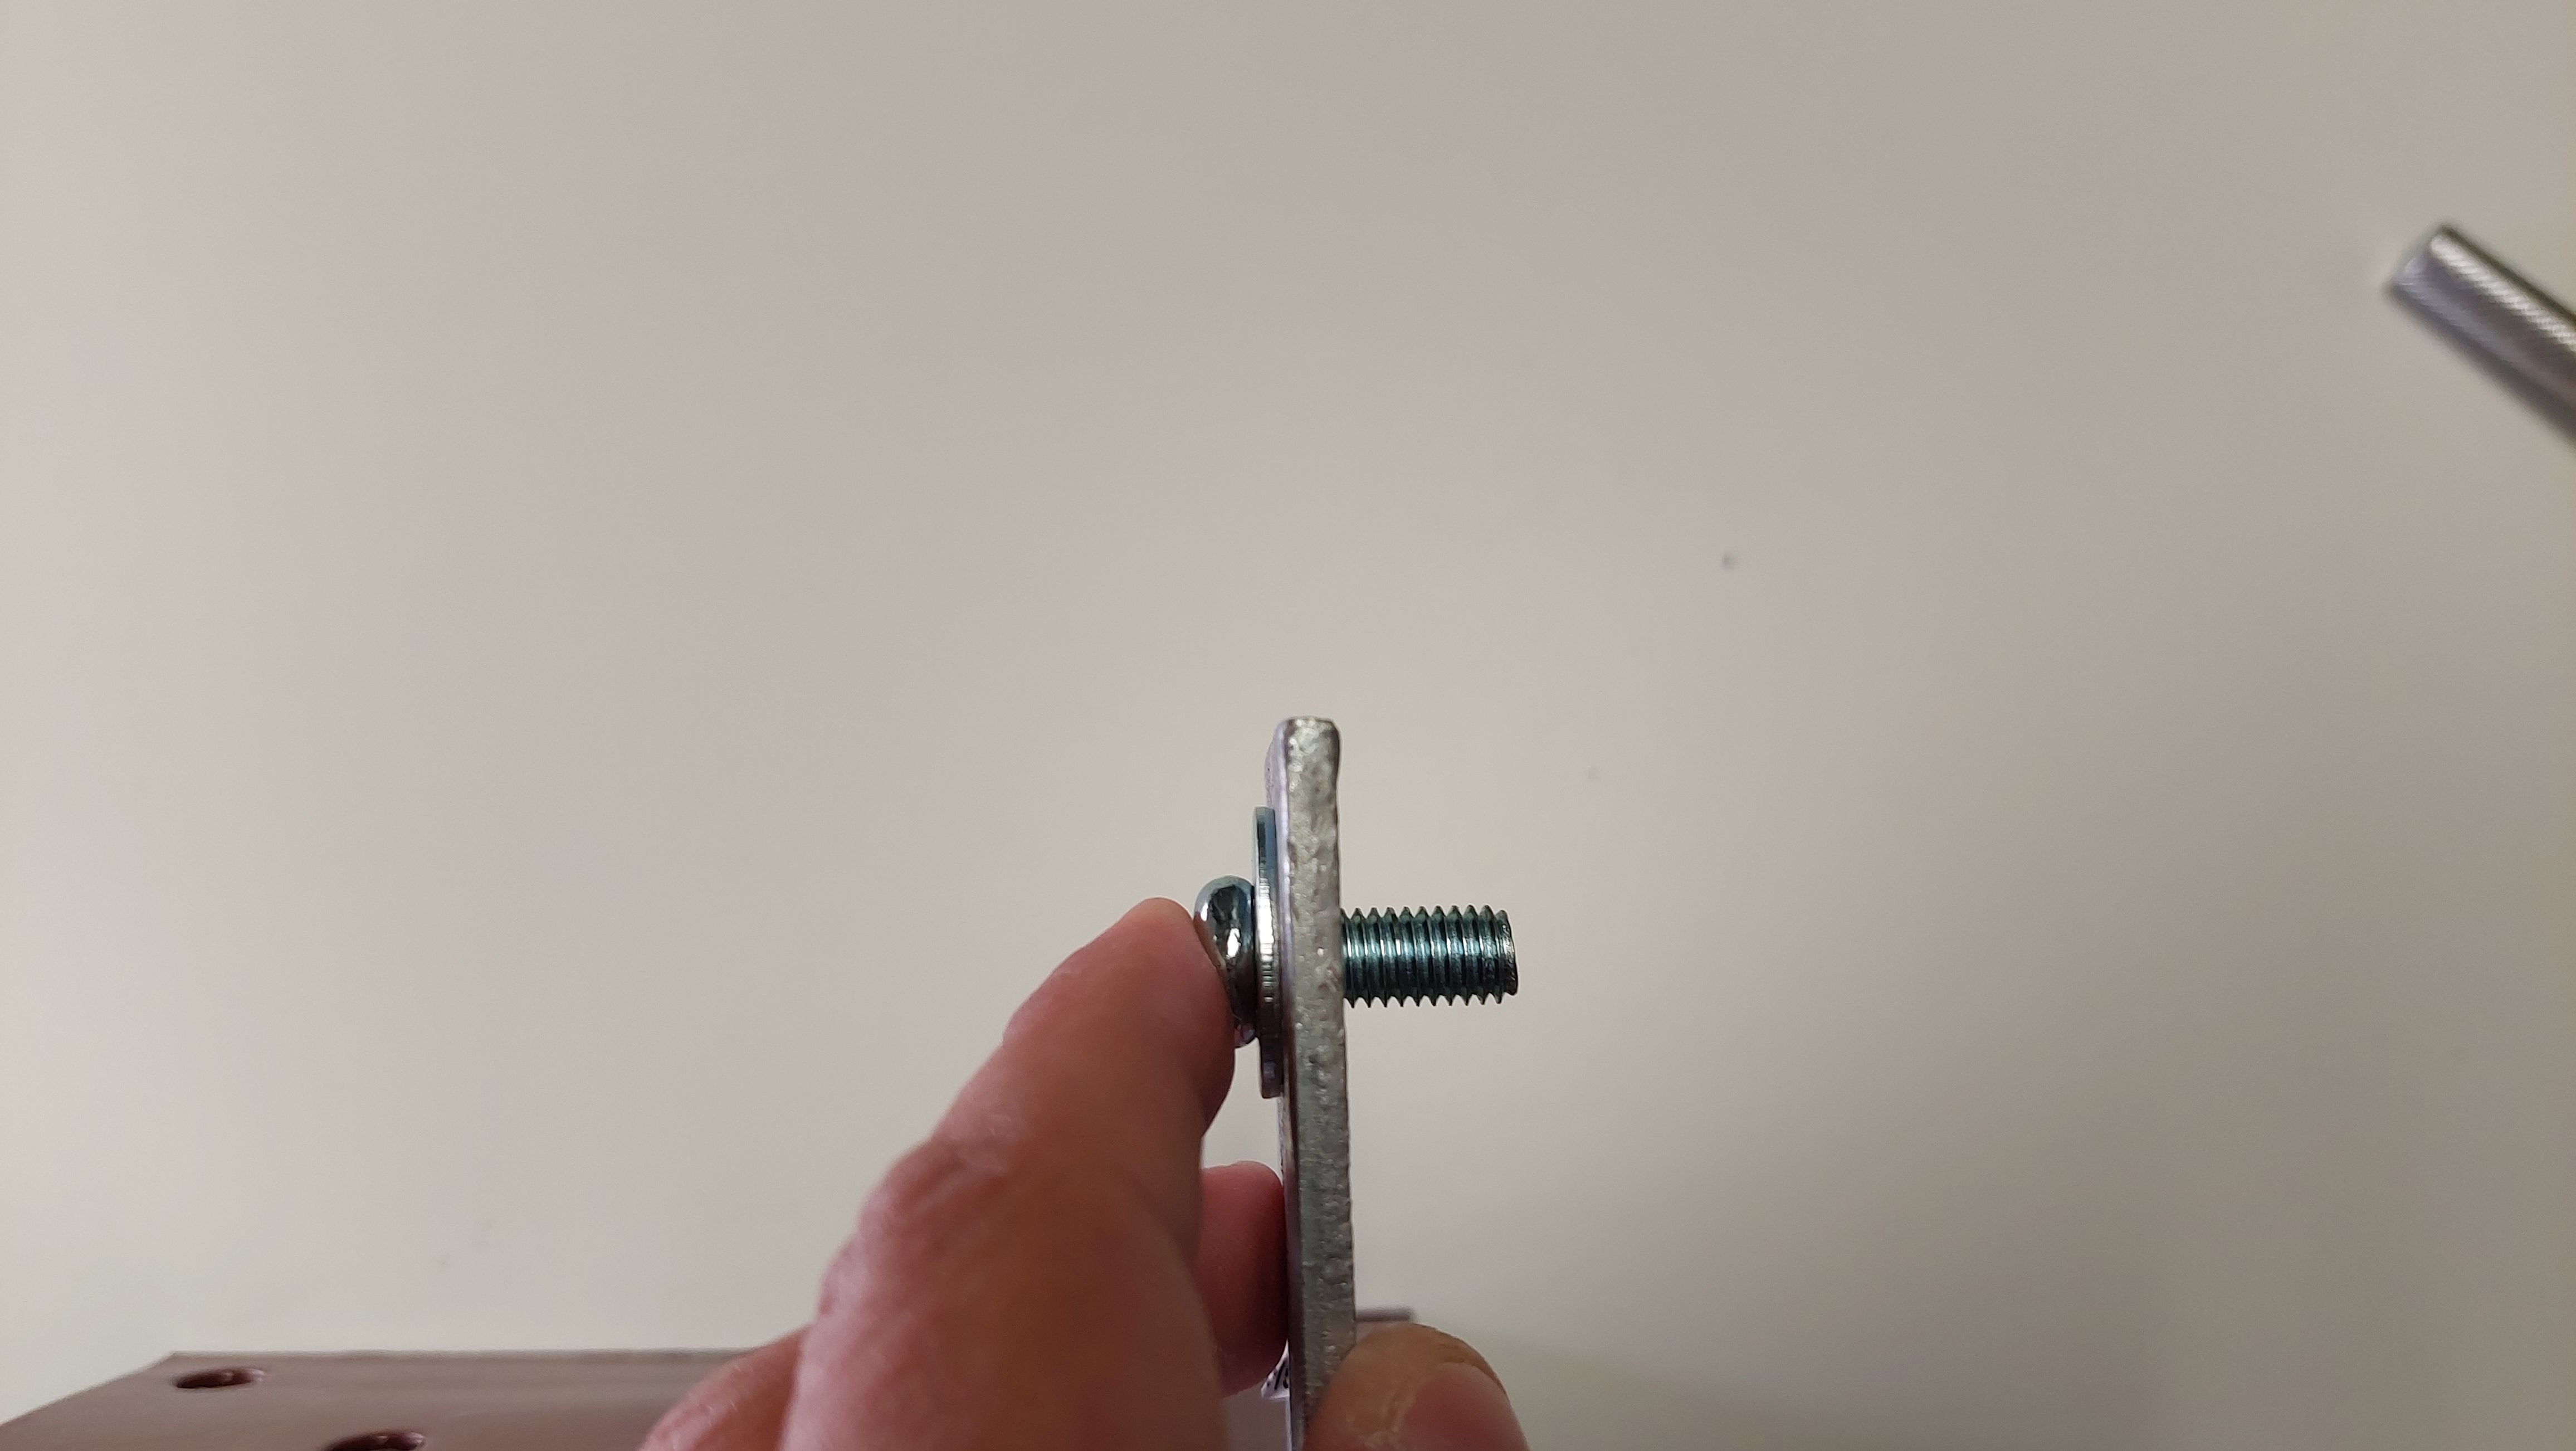
Insert the longer bolt.
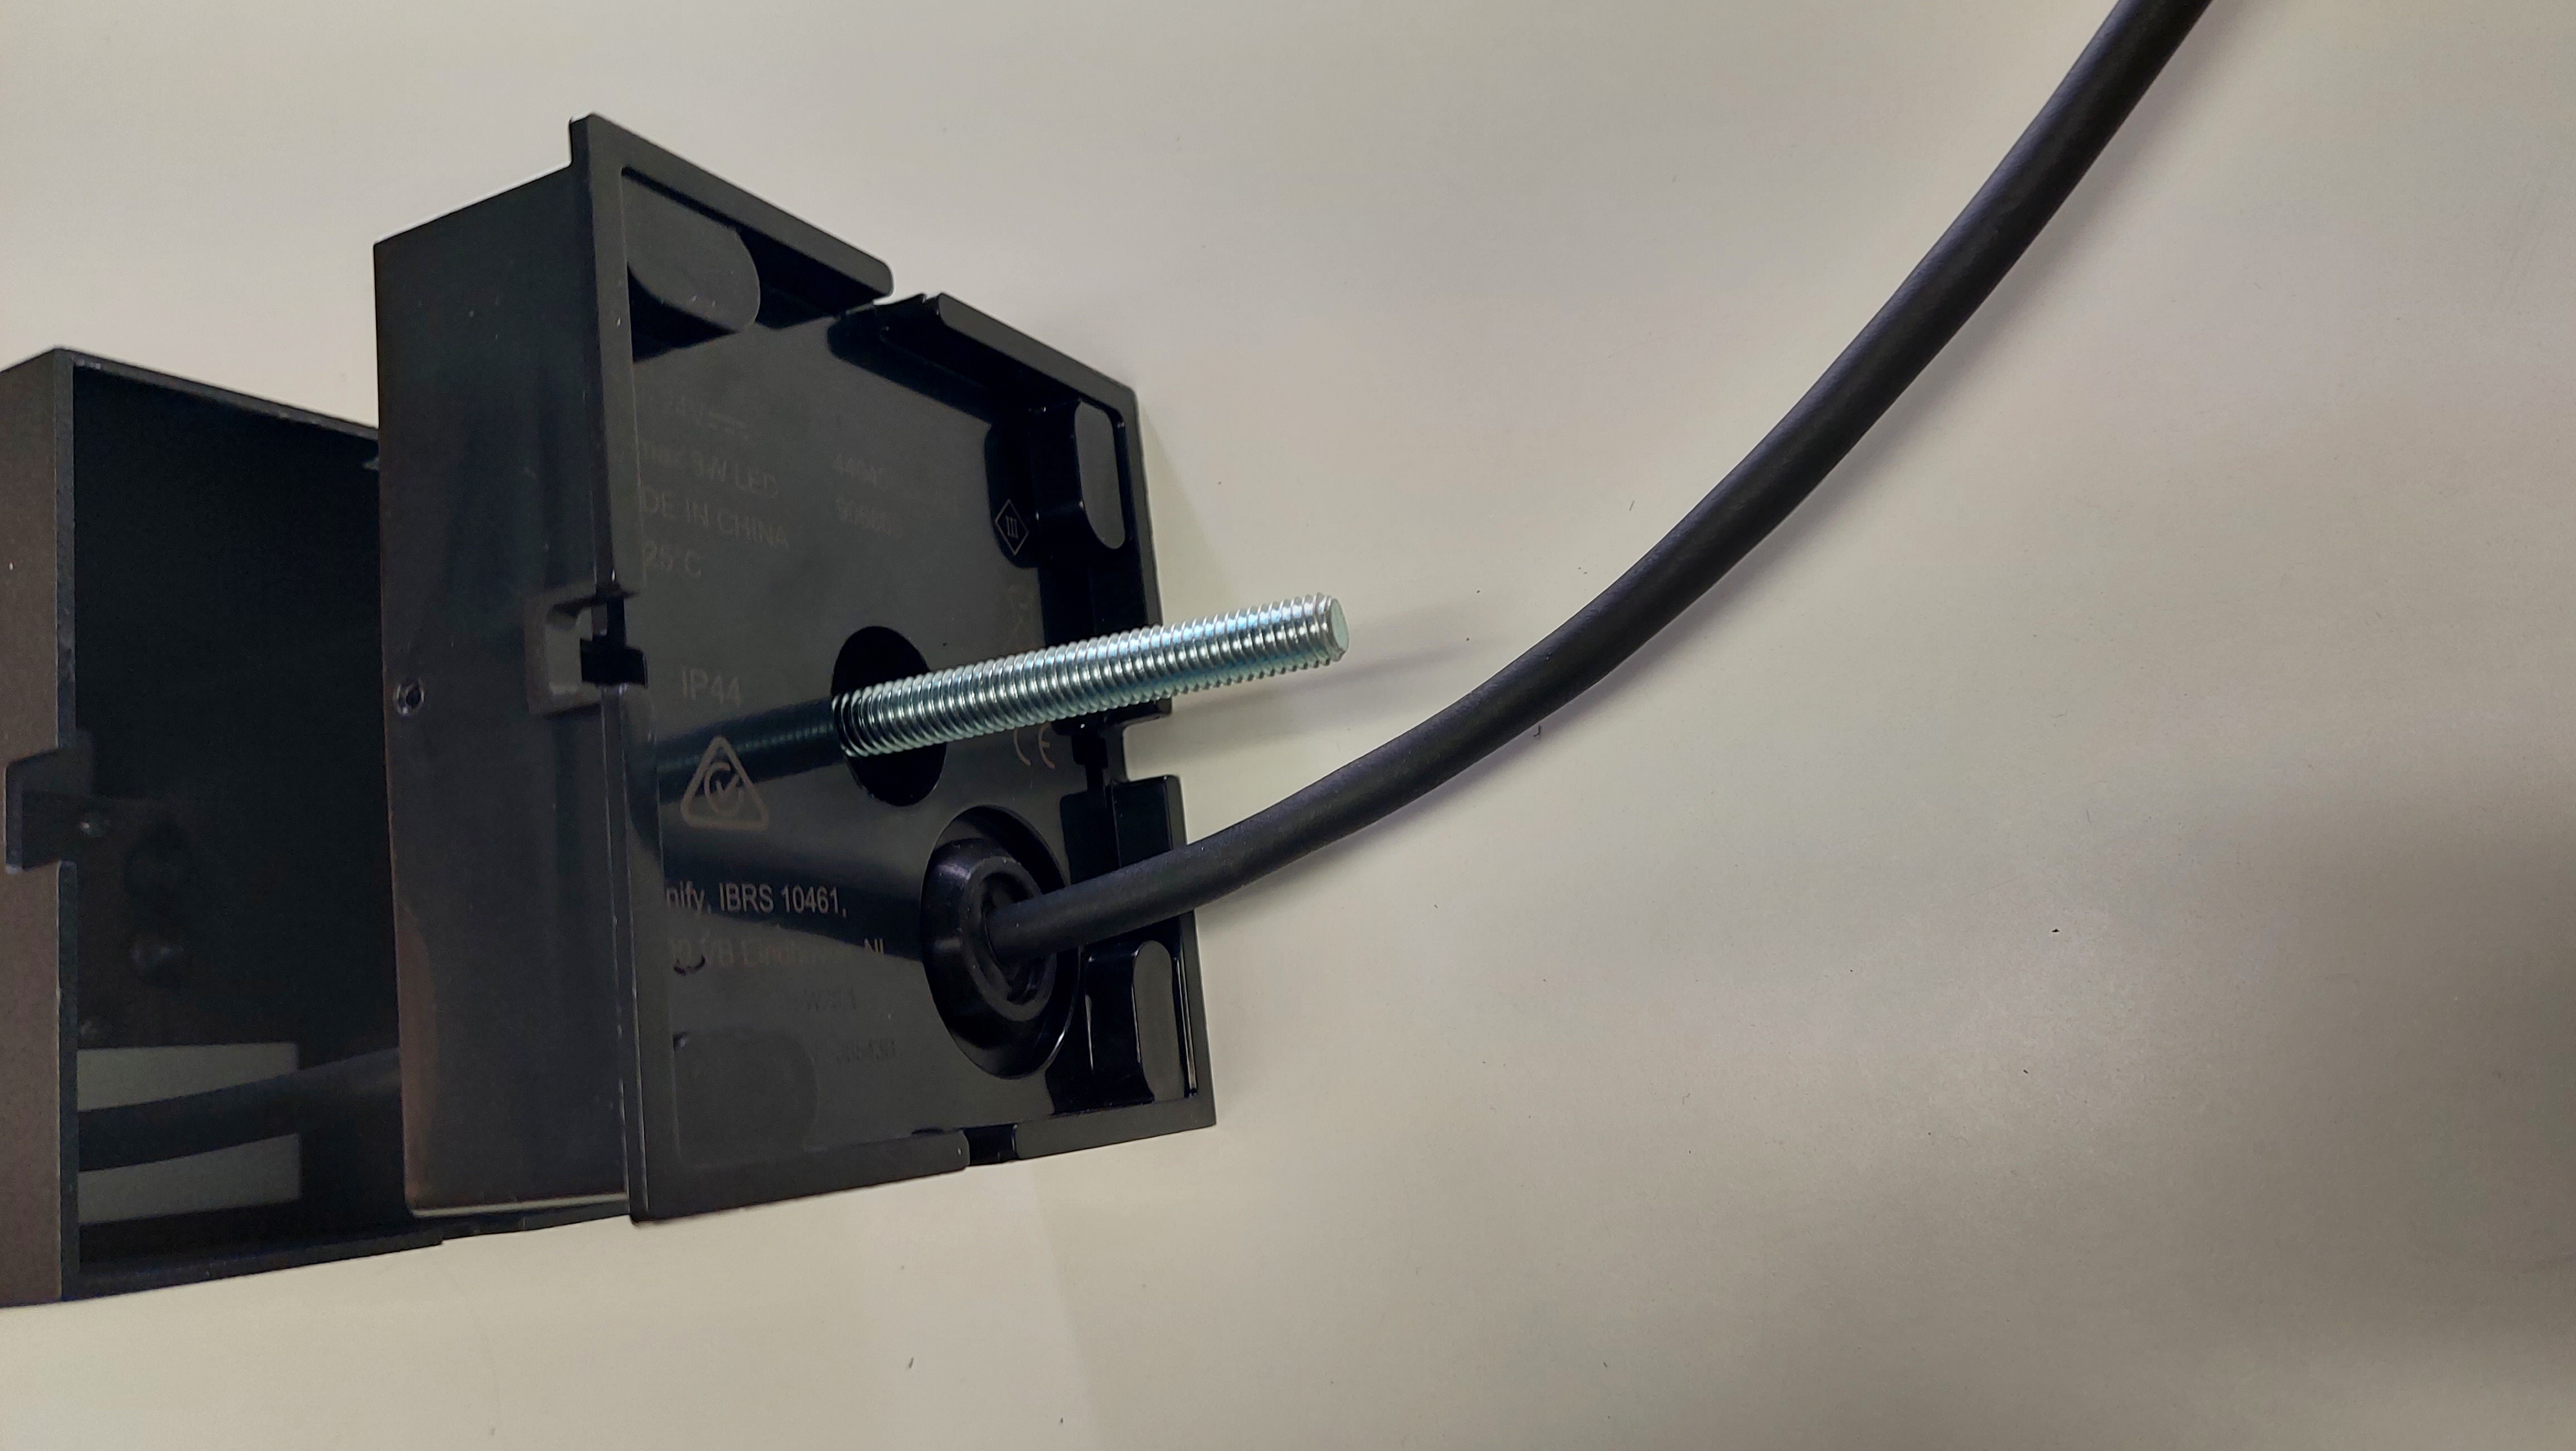
-
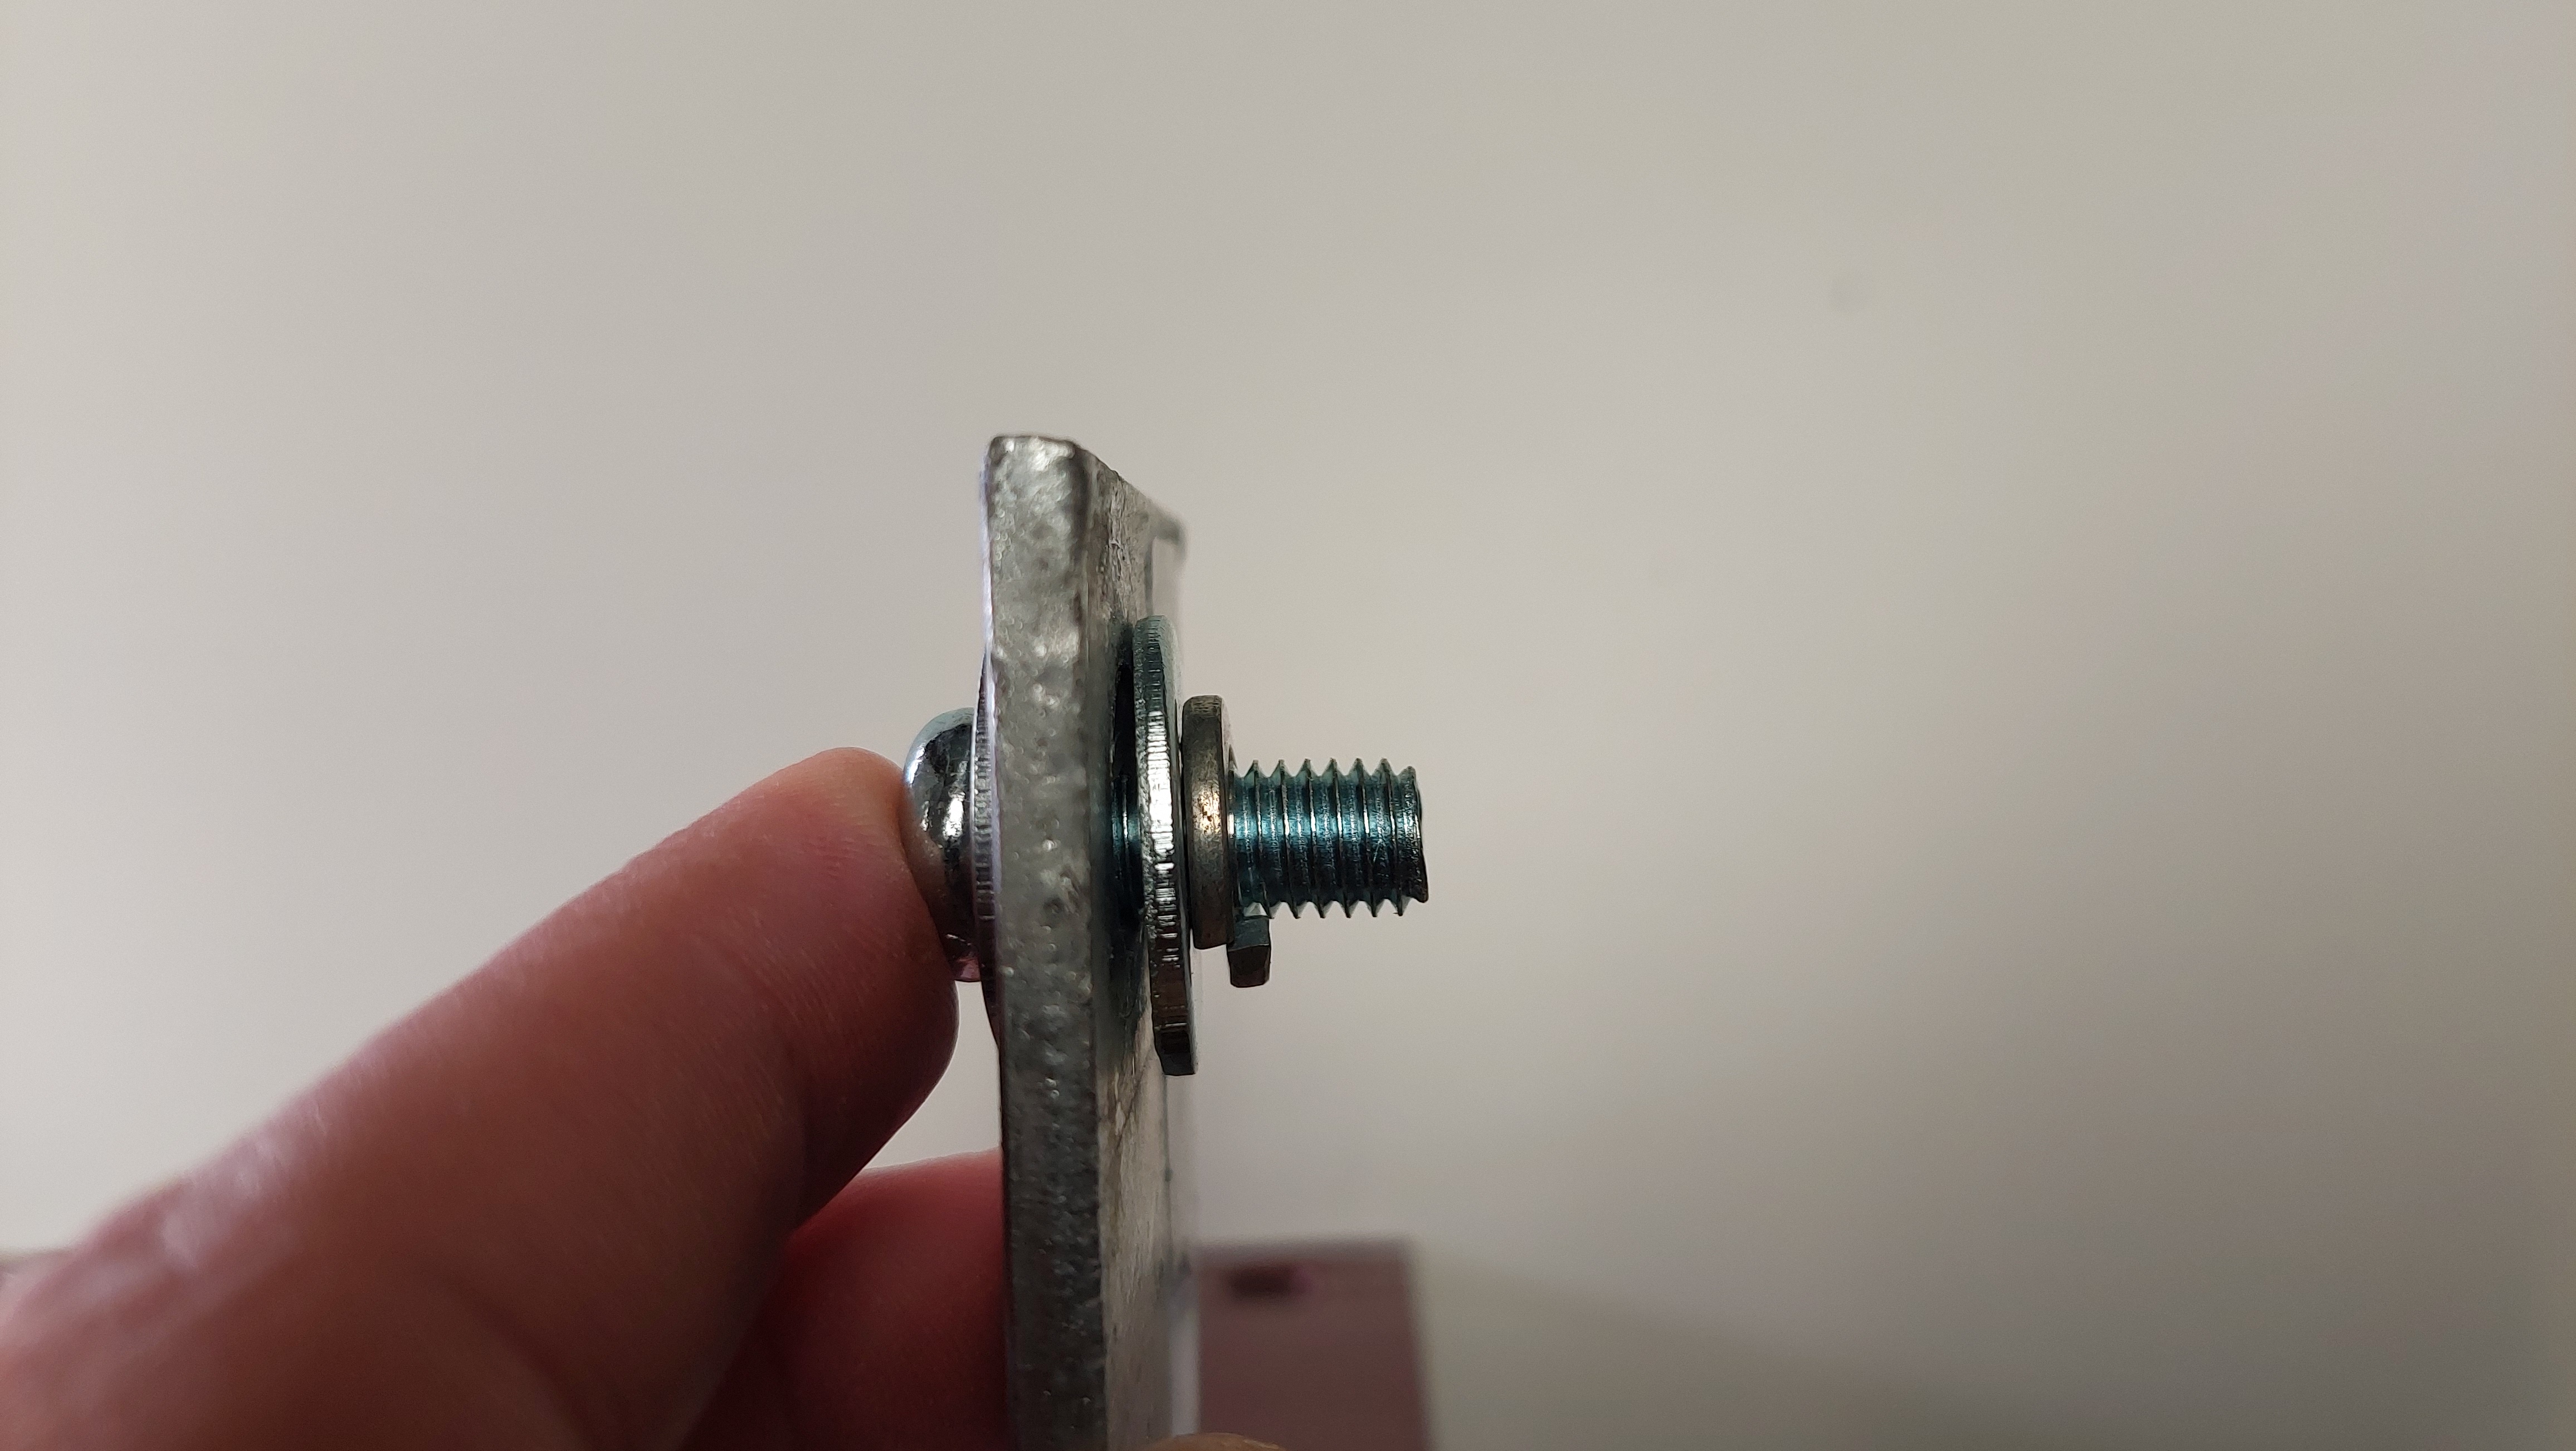
Thread on the first nut. Tighten as much as possible. A small screw driver was used. Friction from spring washer will help tighten in next steps.
-
Place spring wash on bolt.

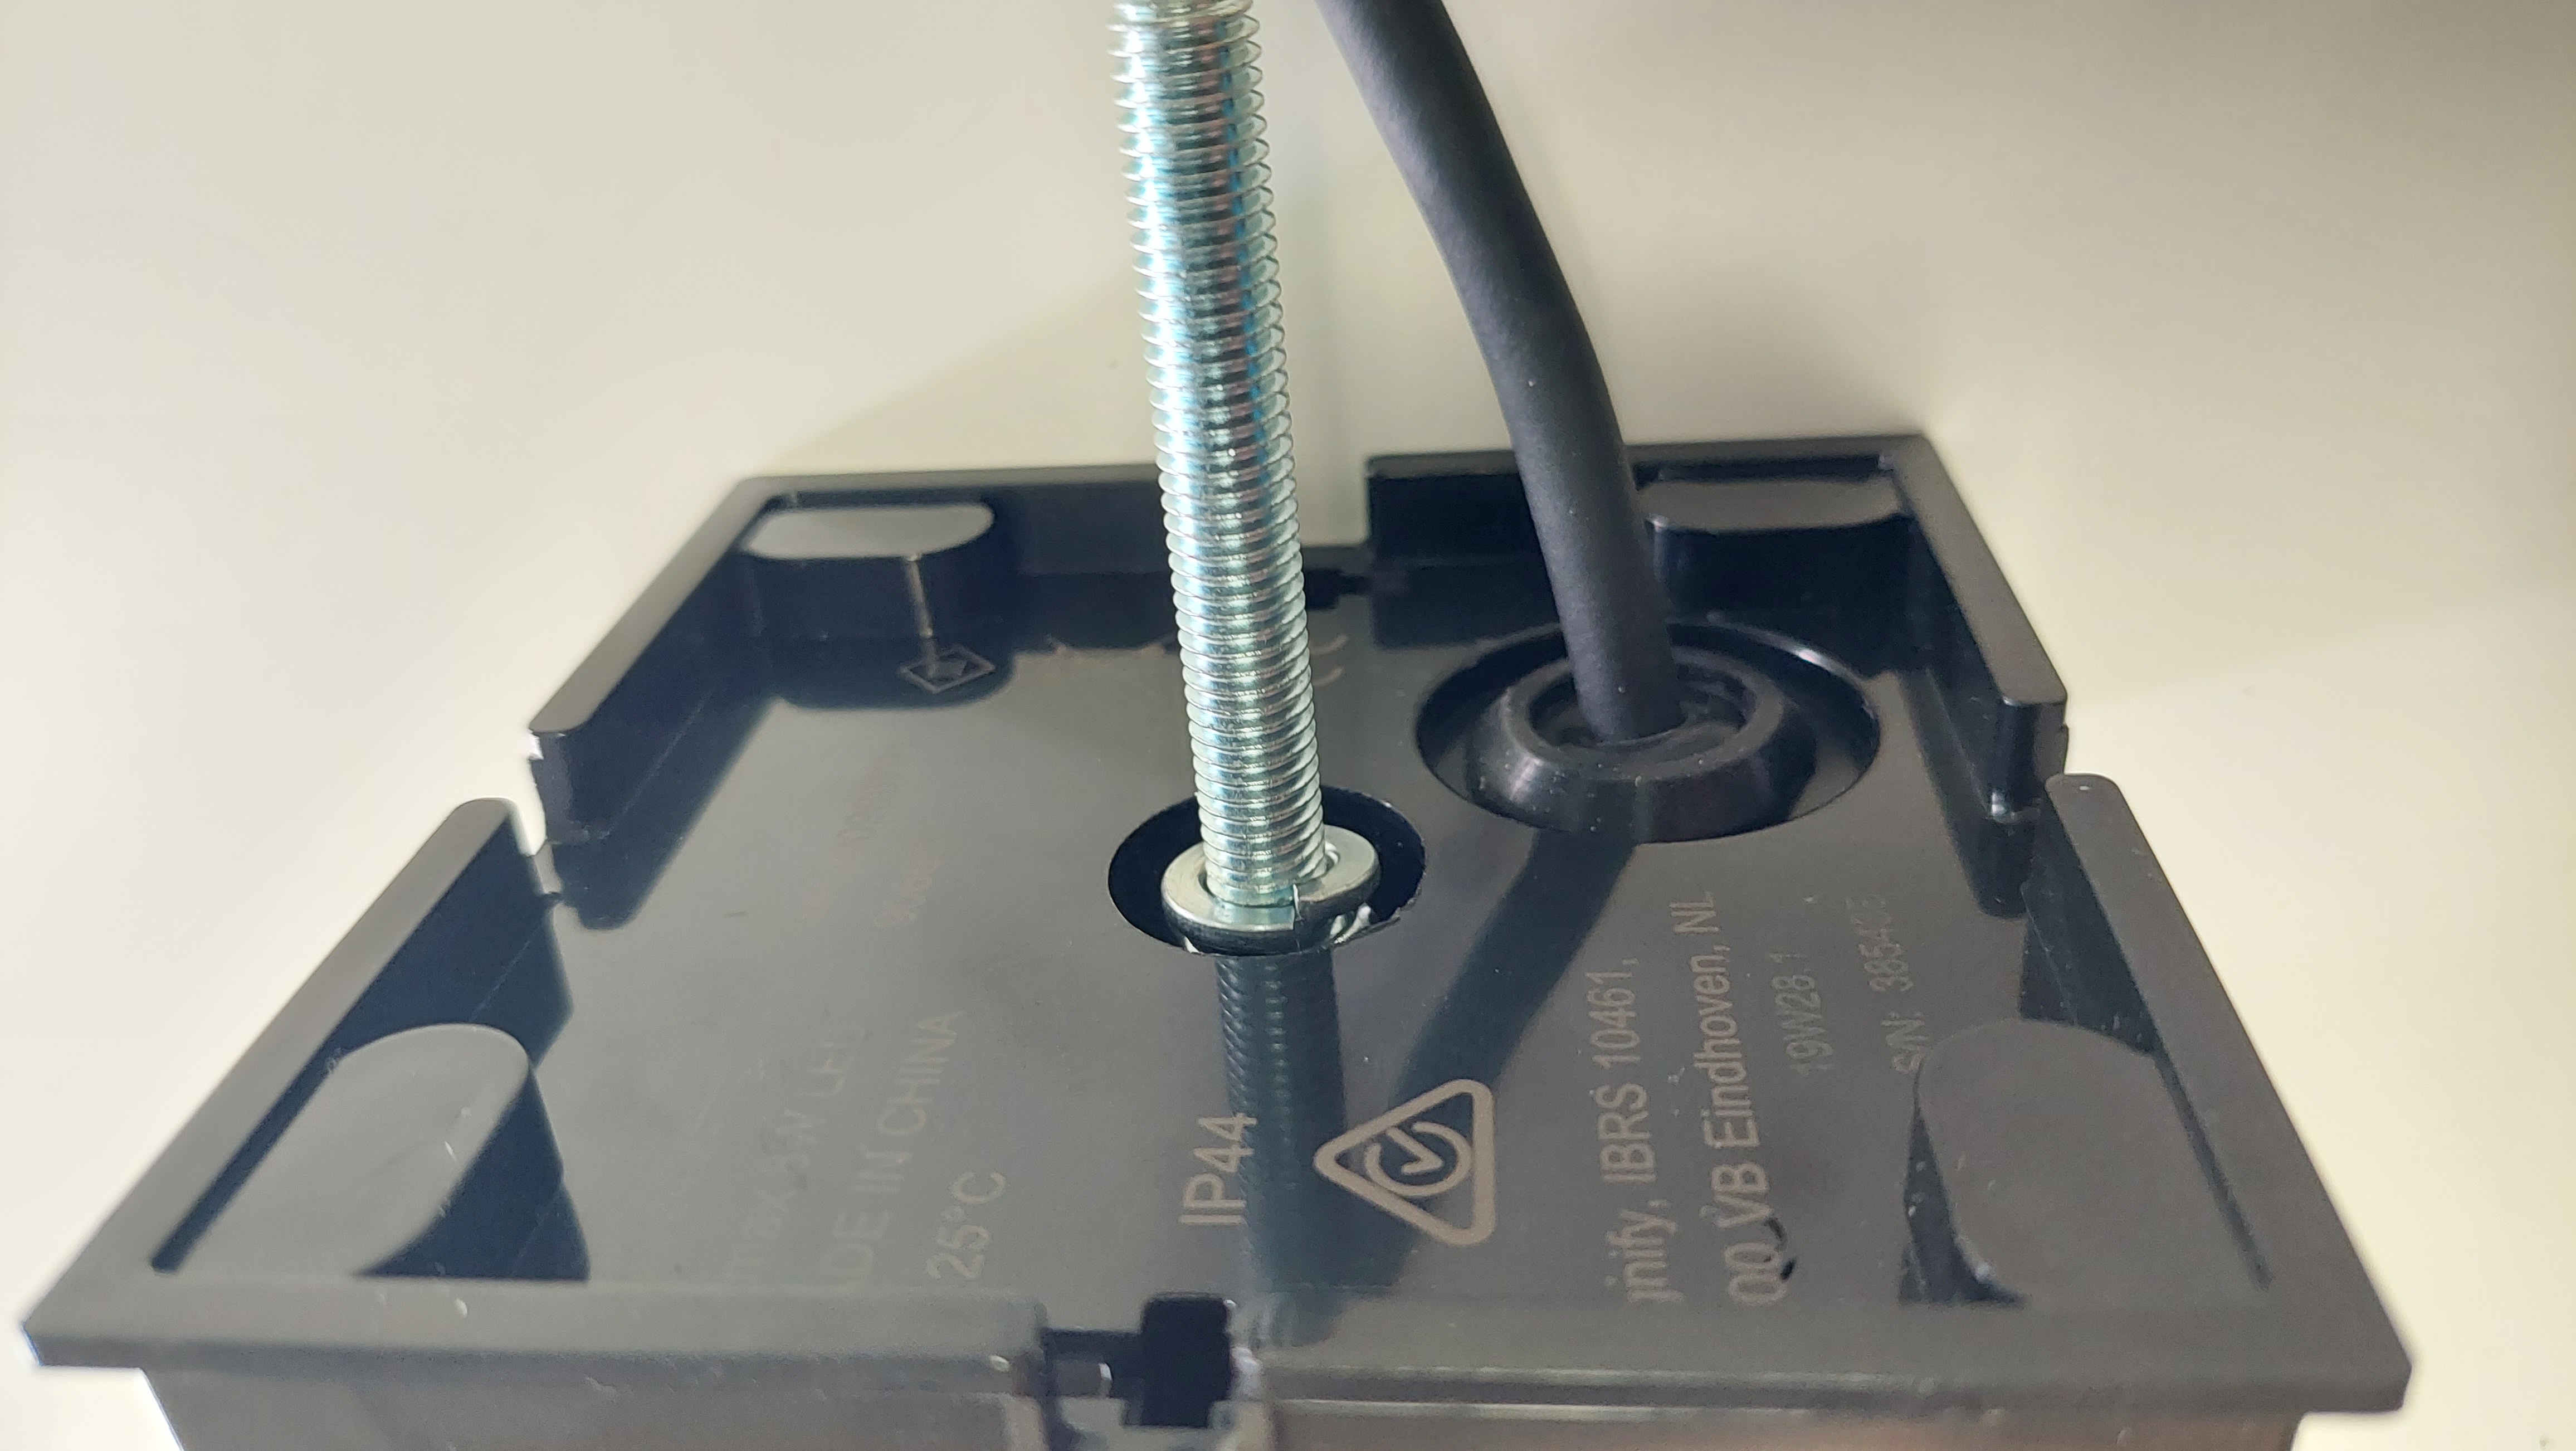
-
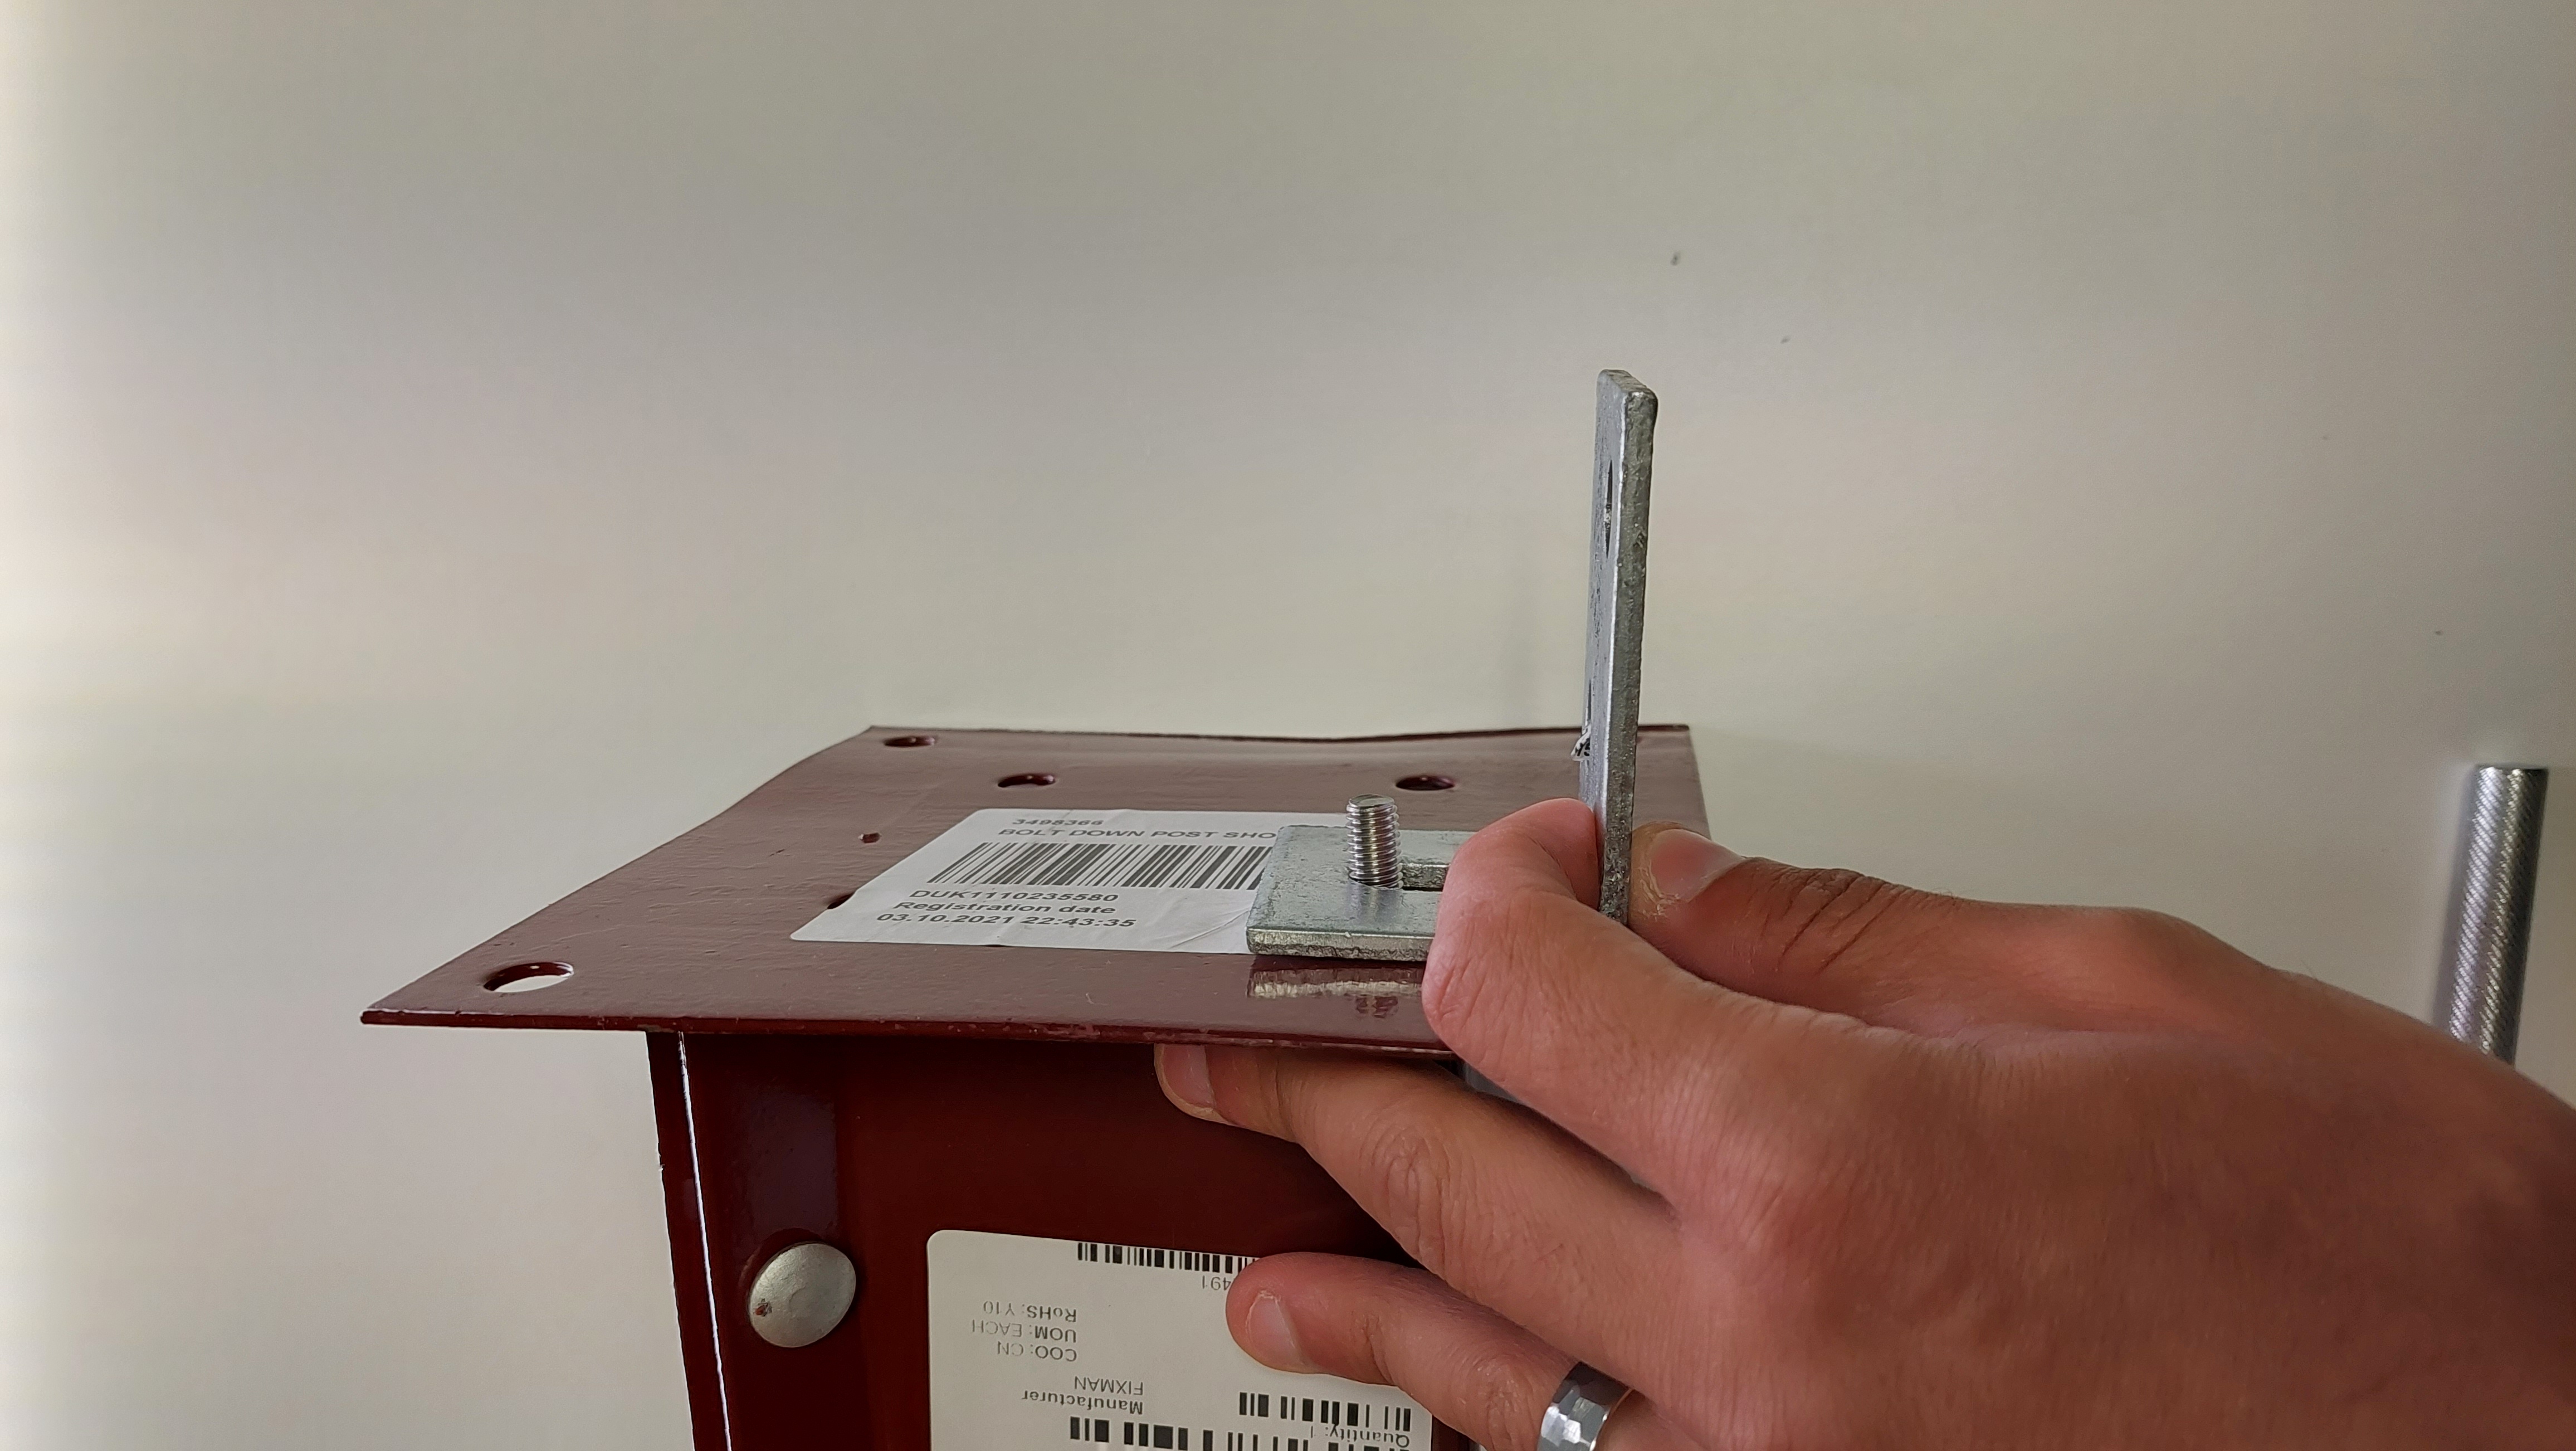
Thread on second nut.
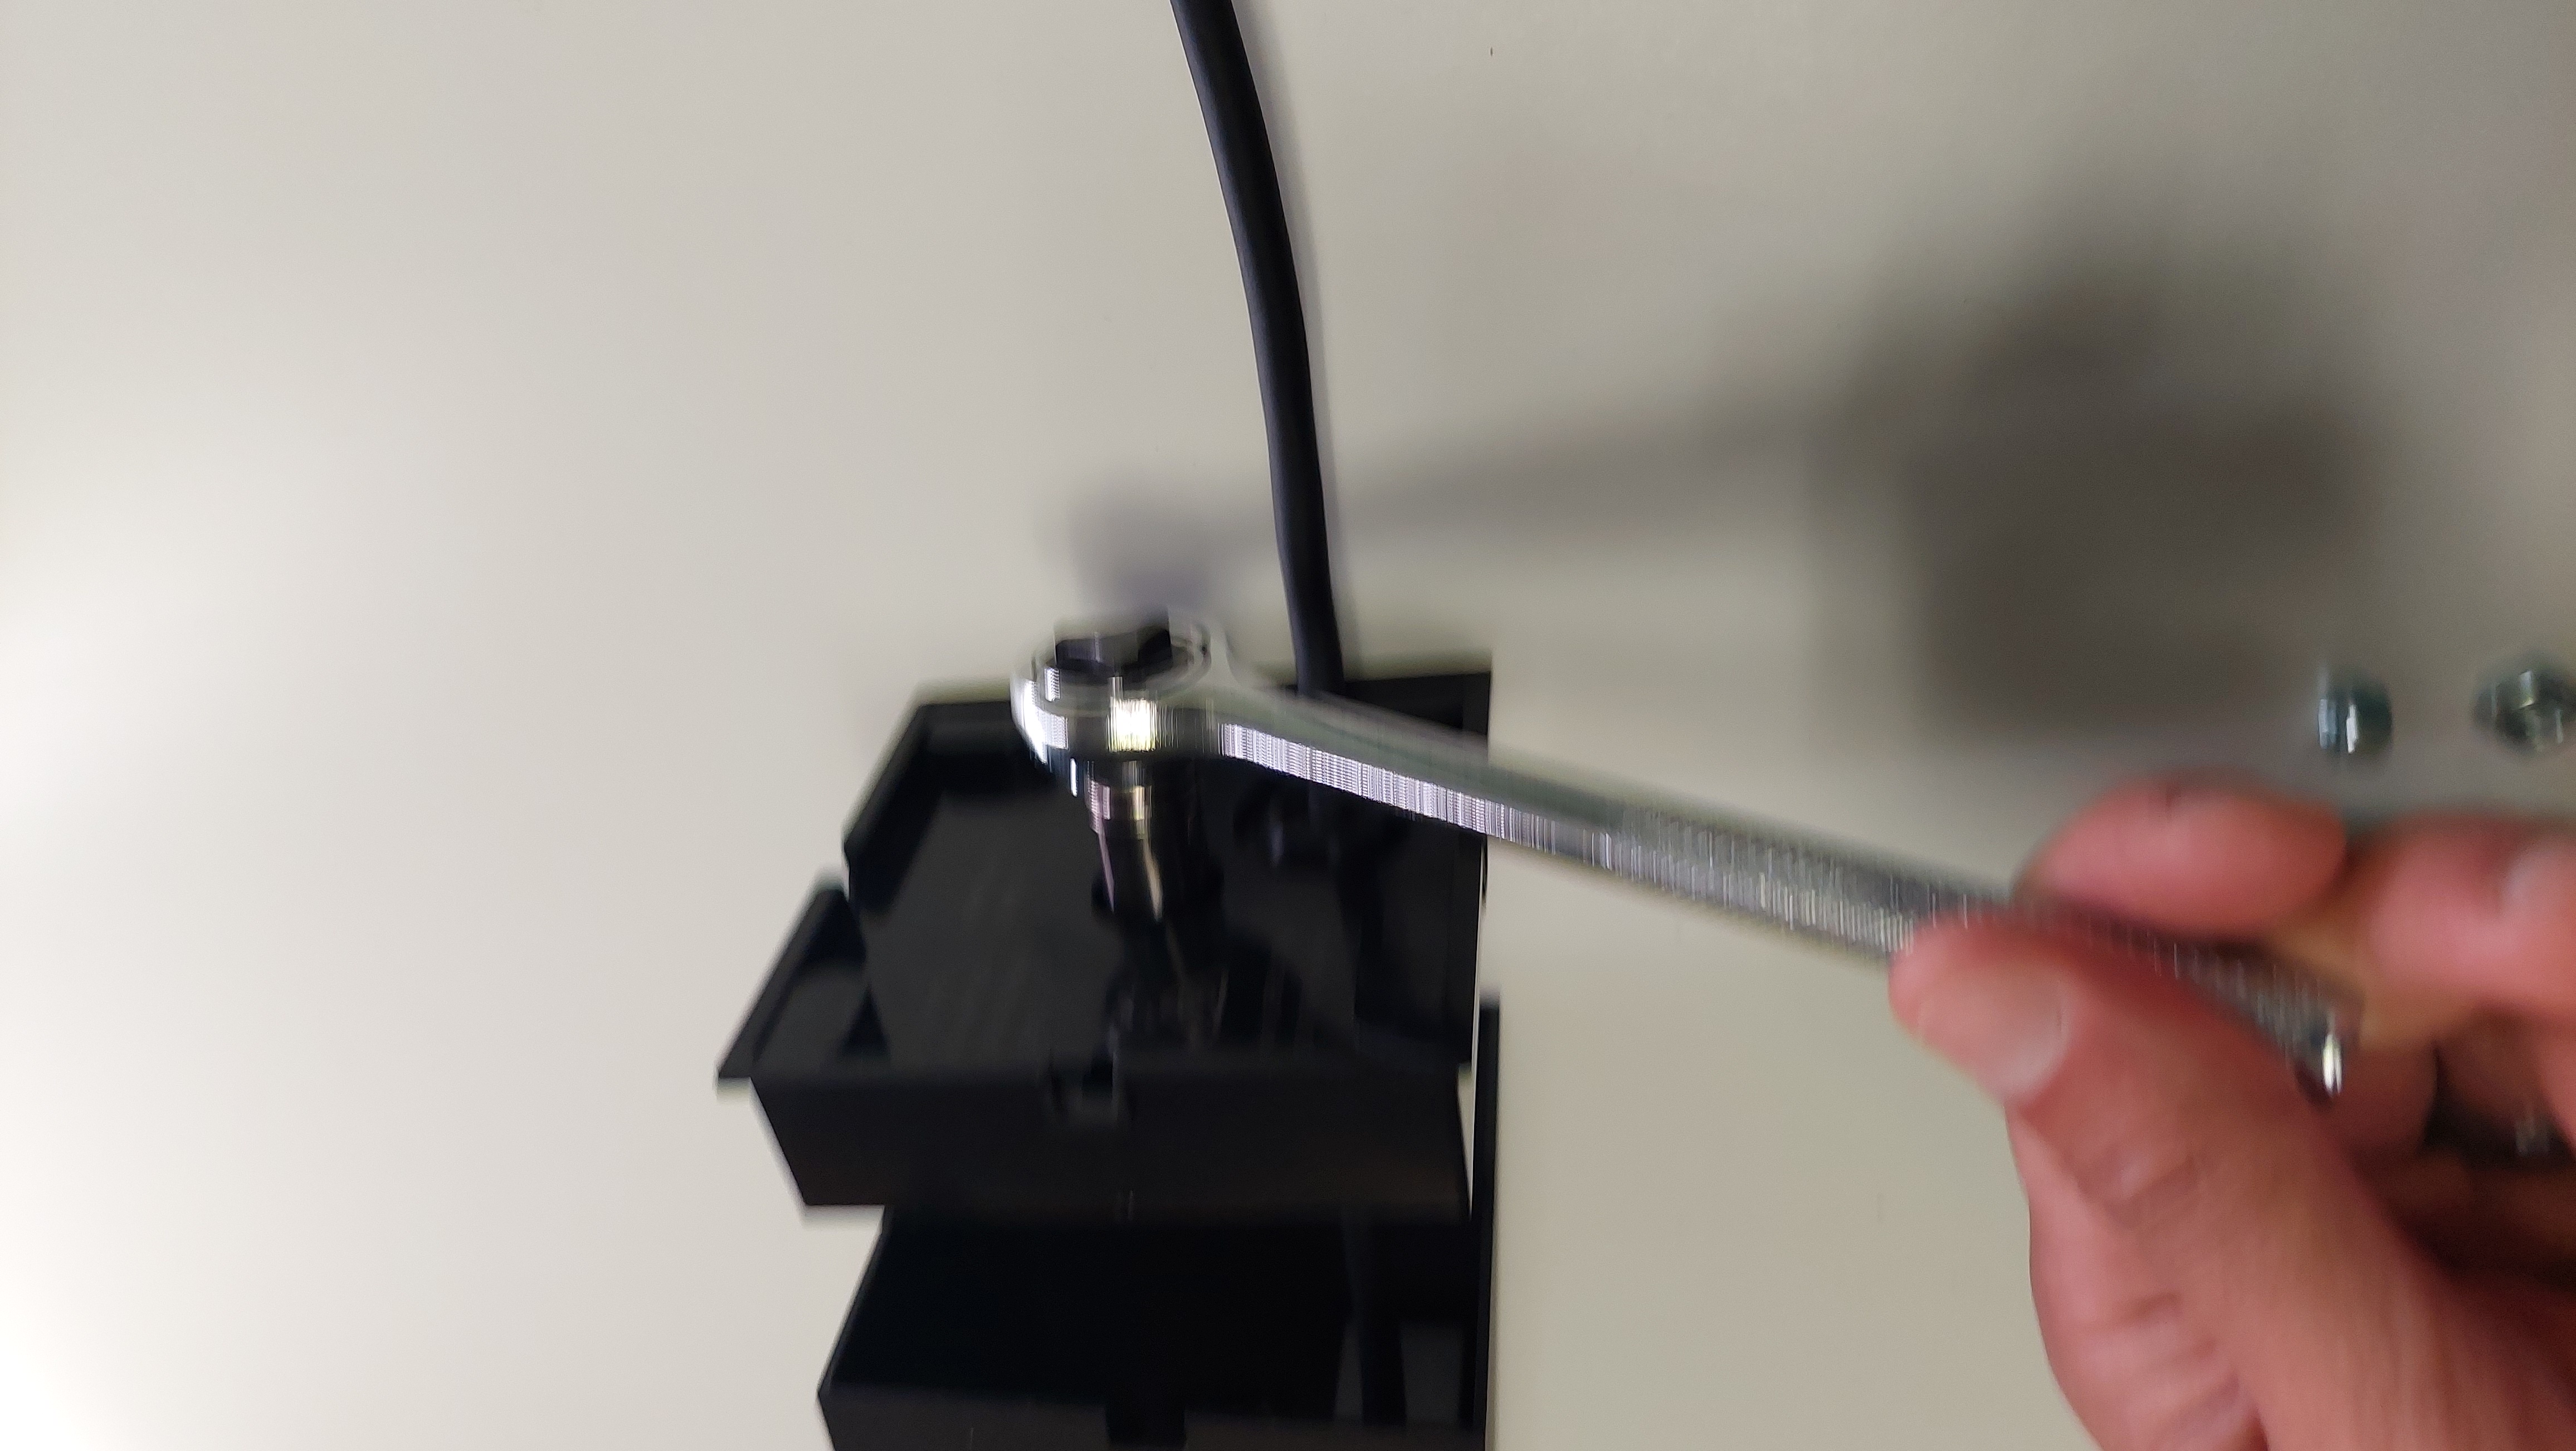
-
Tighten with adjustable spanner.
-
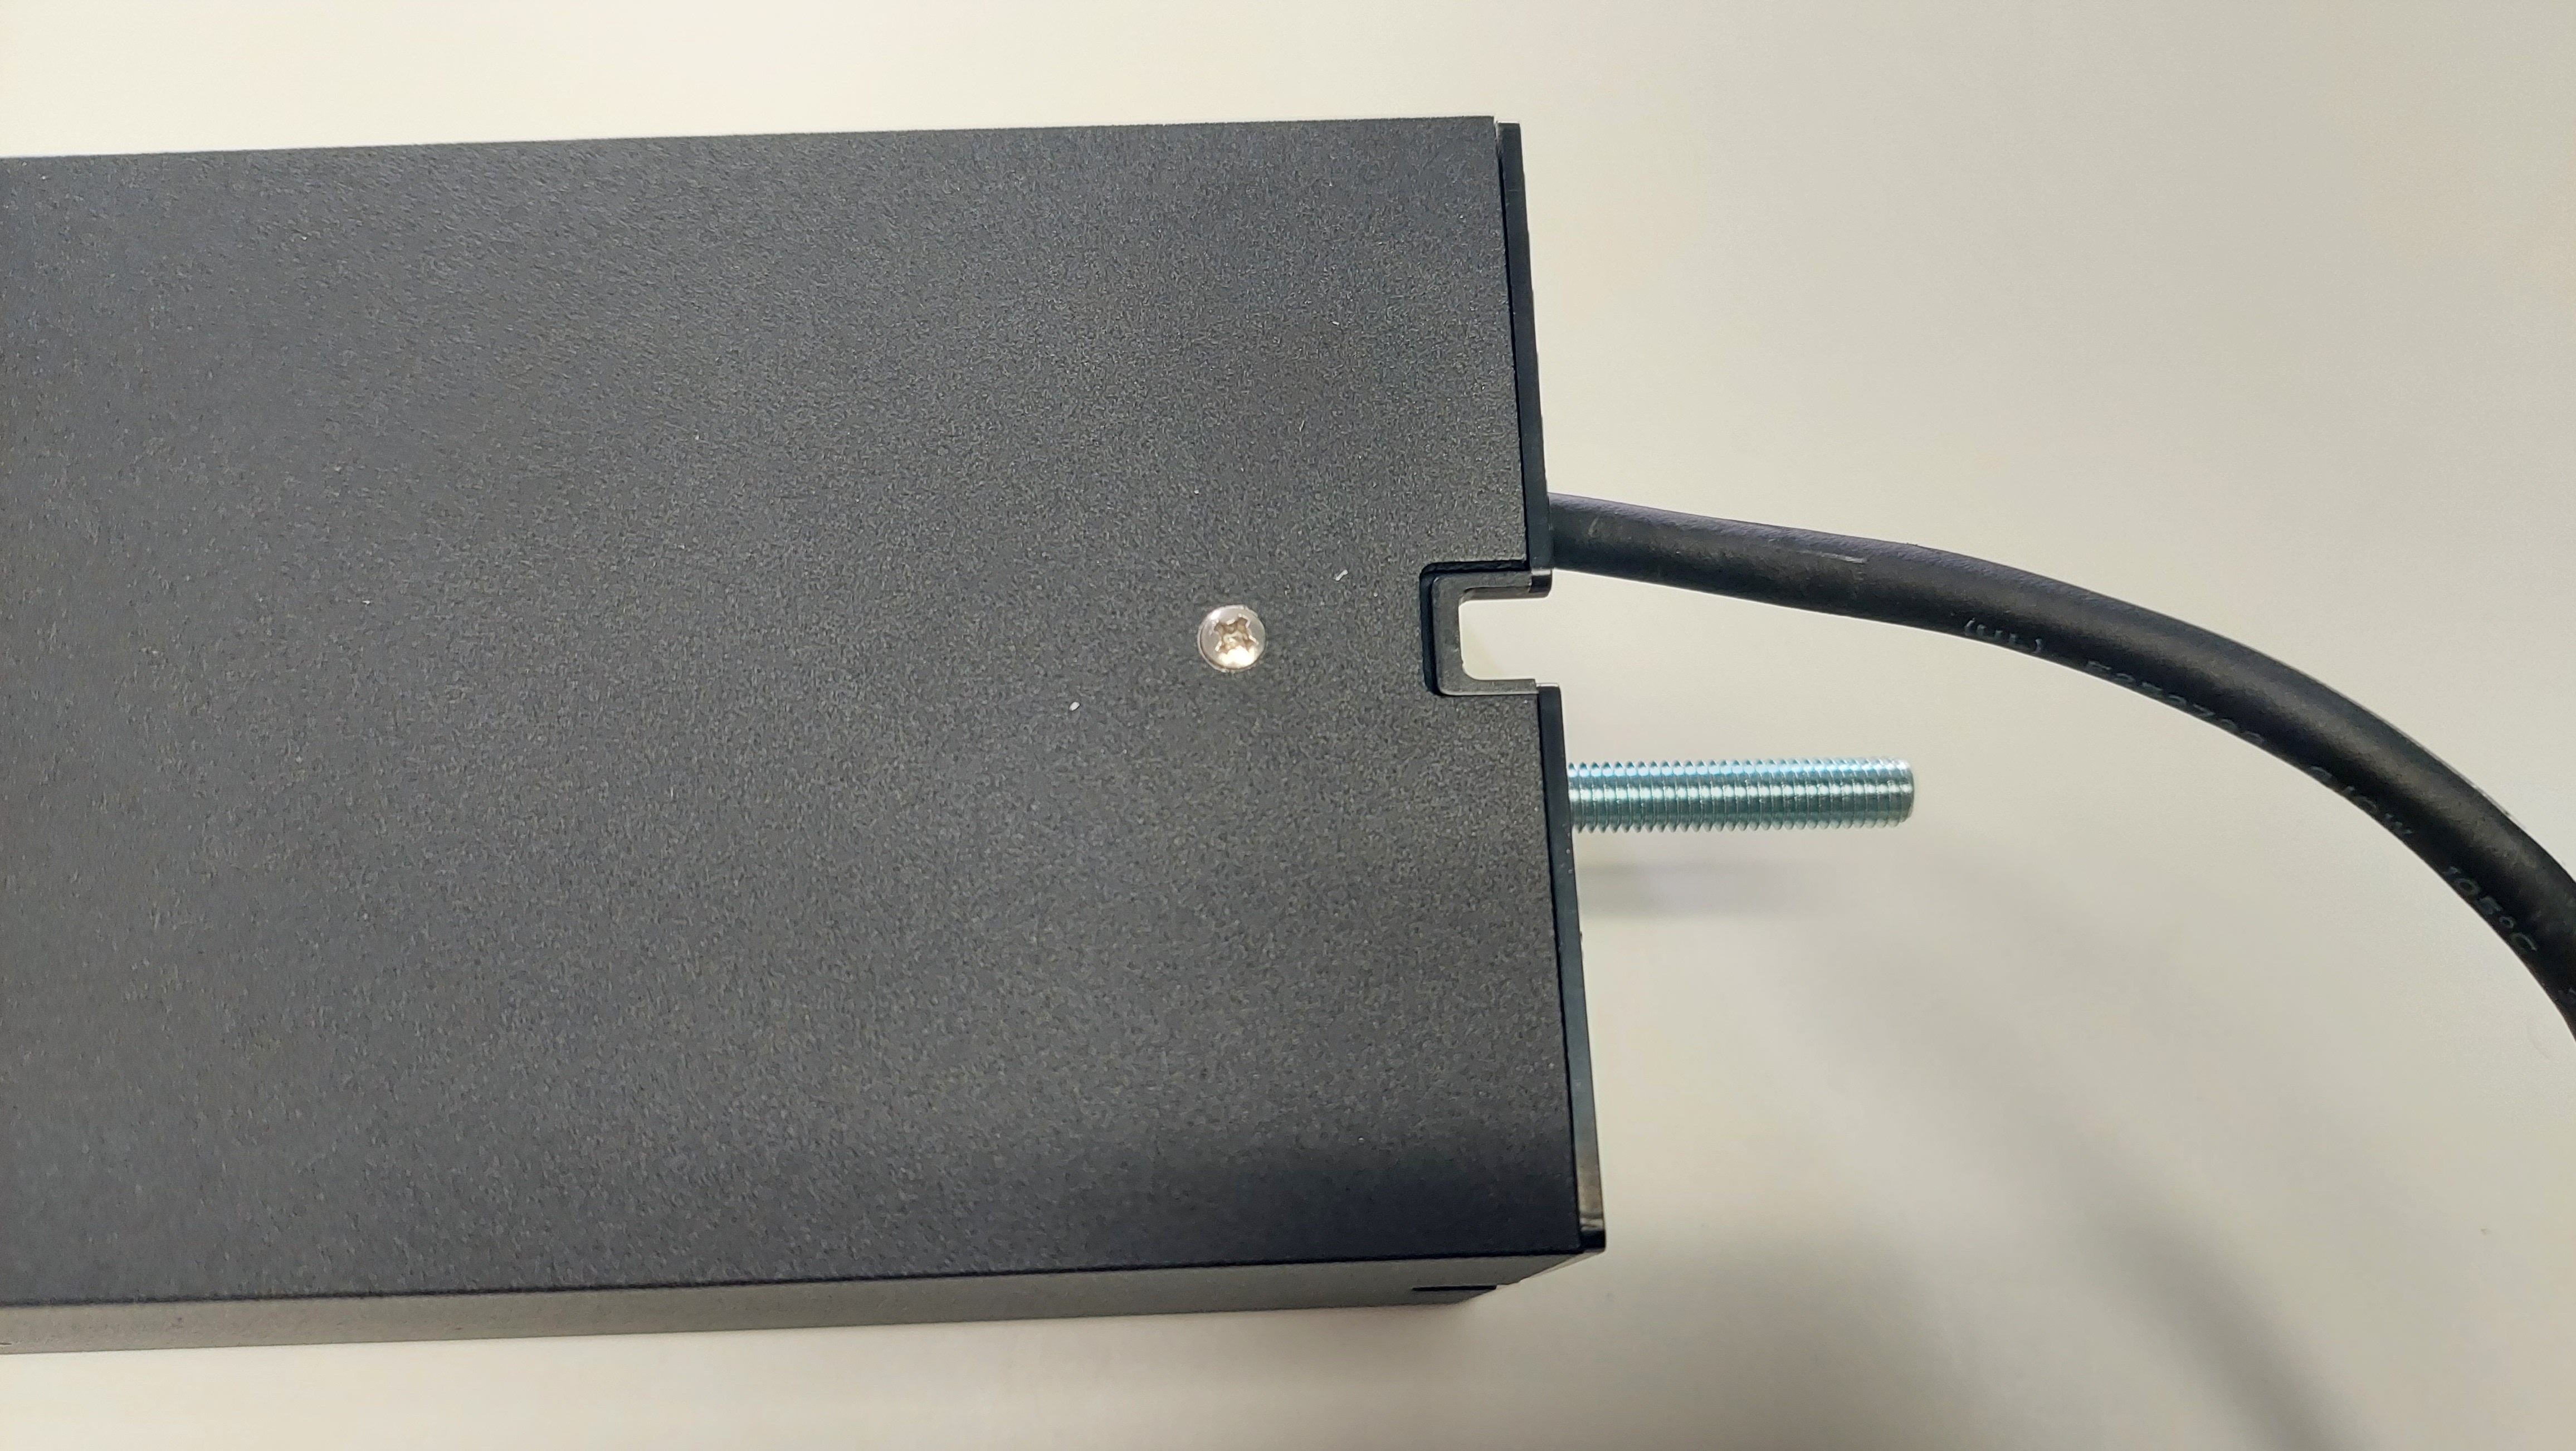
Slide Base back into case.

-
Screw in side screws.
-
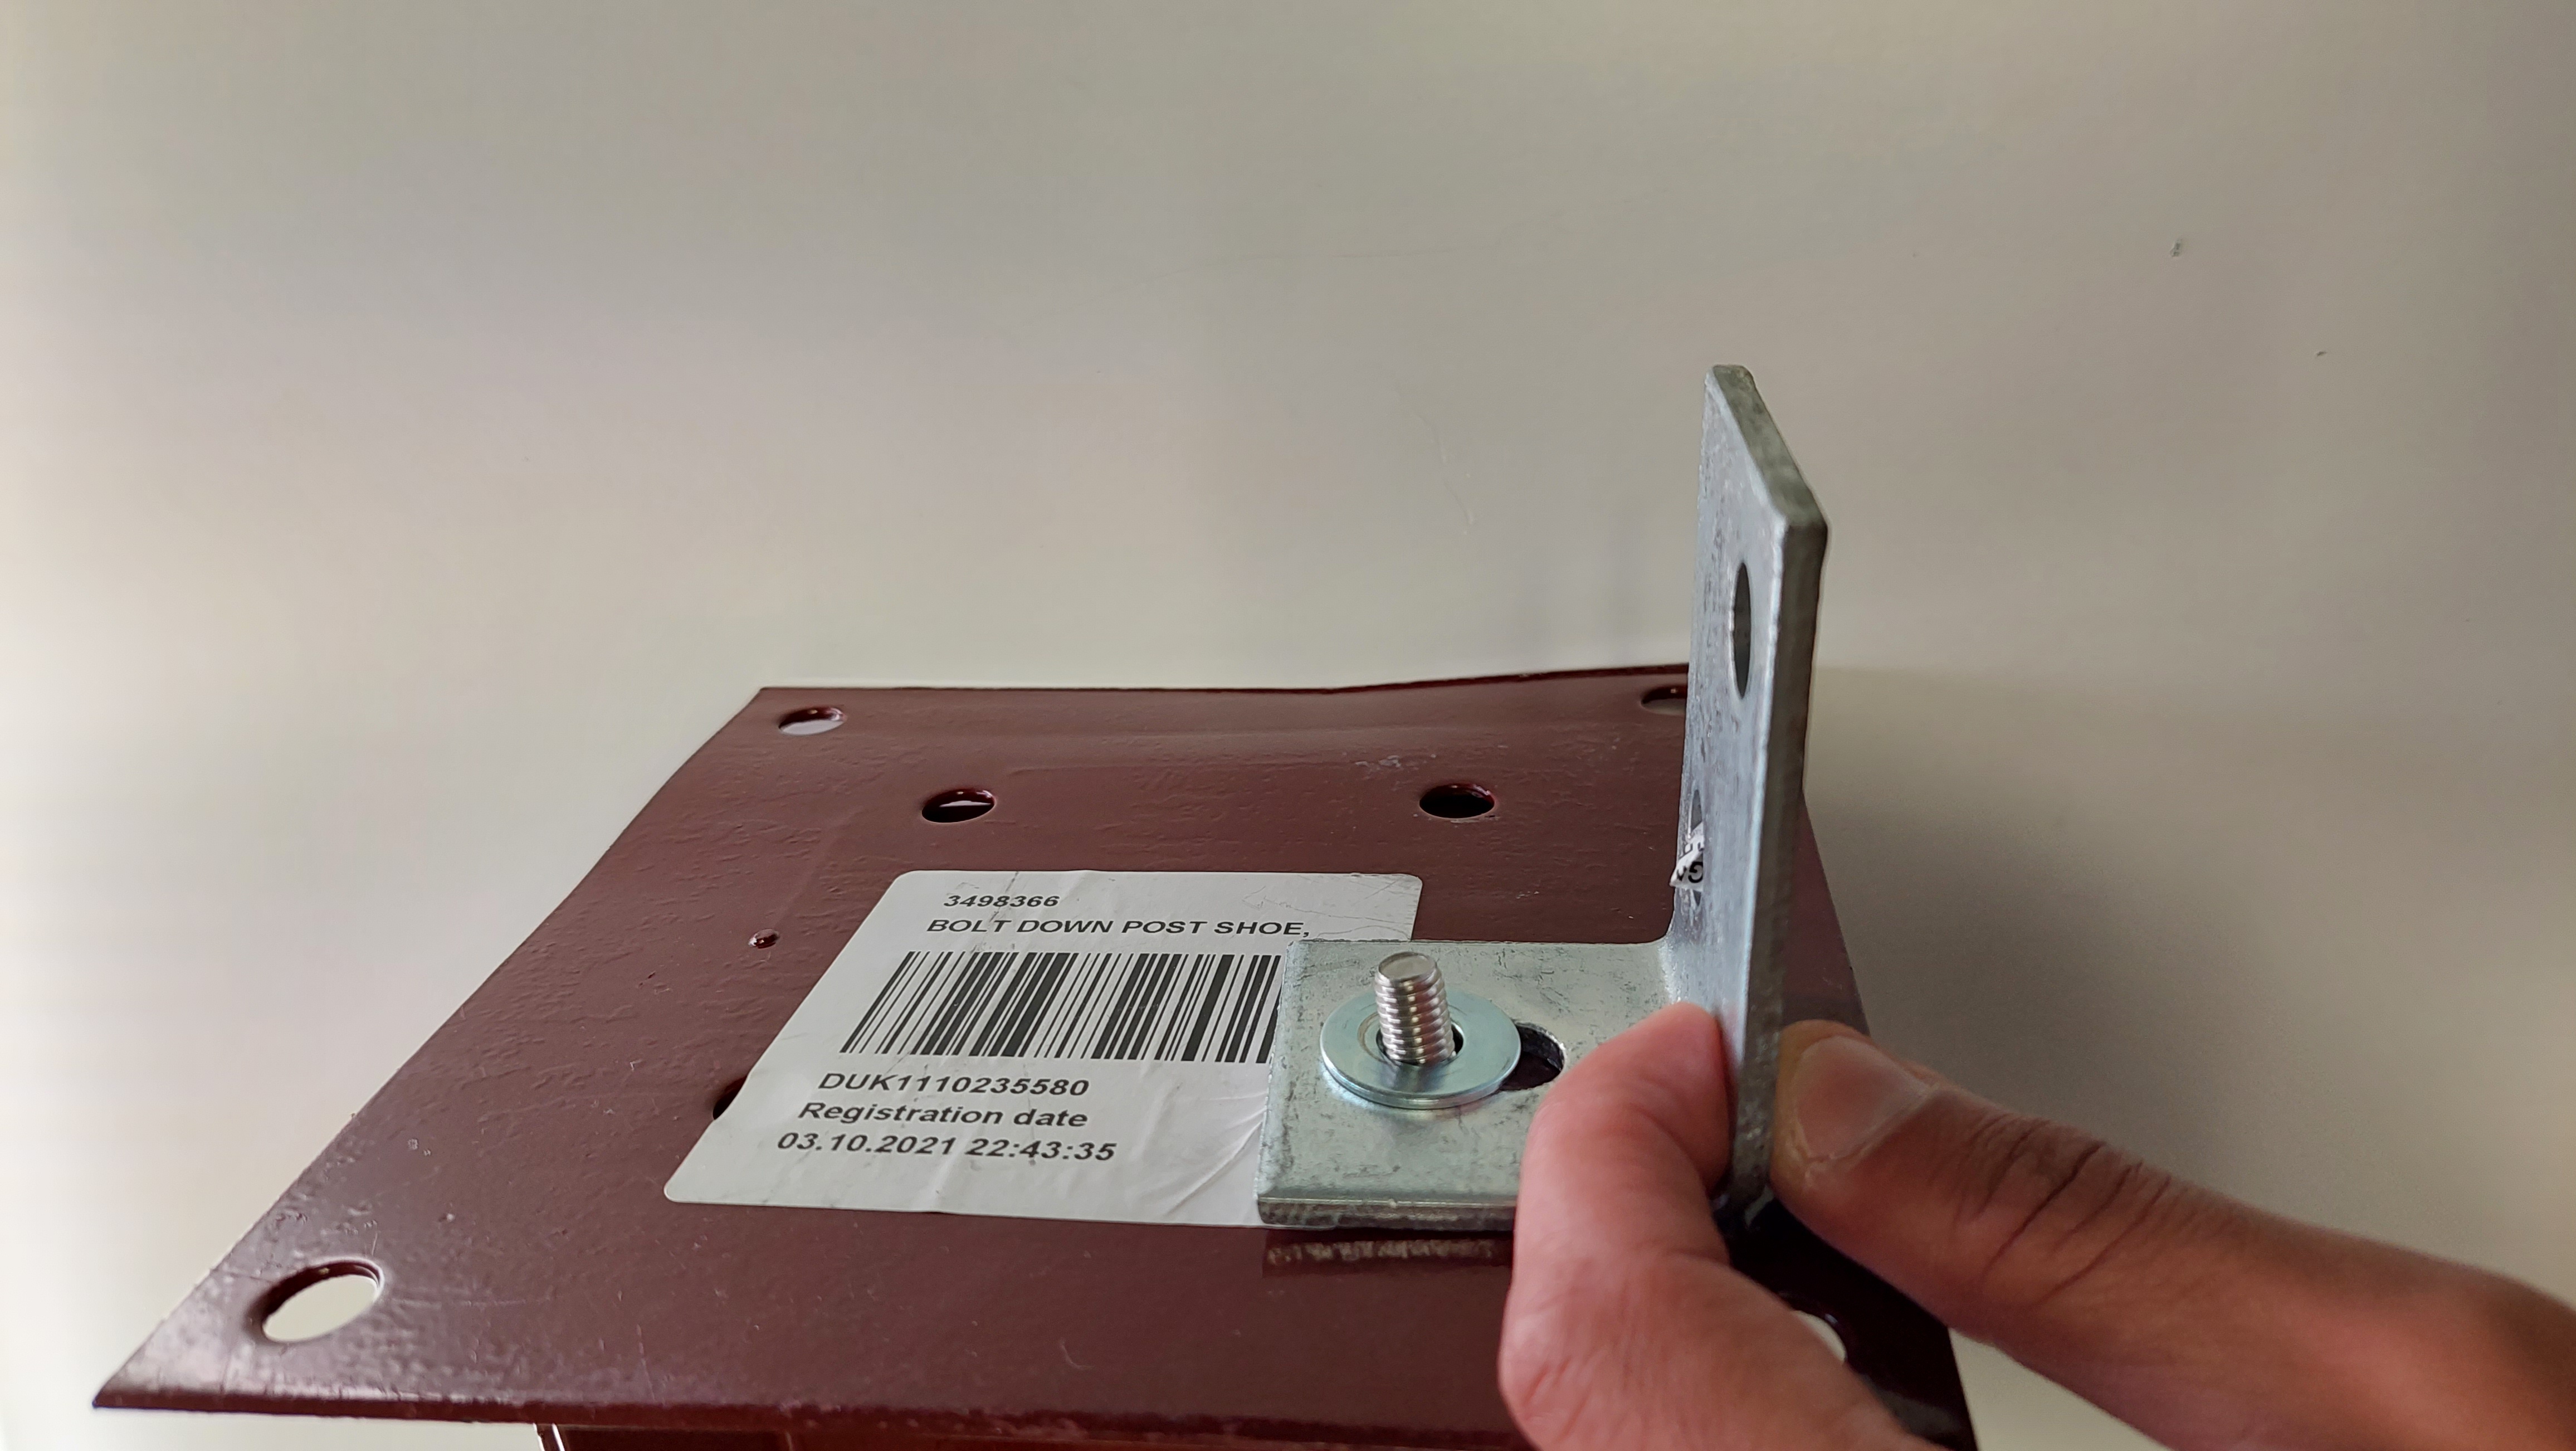
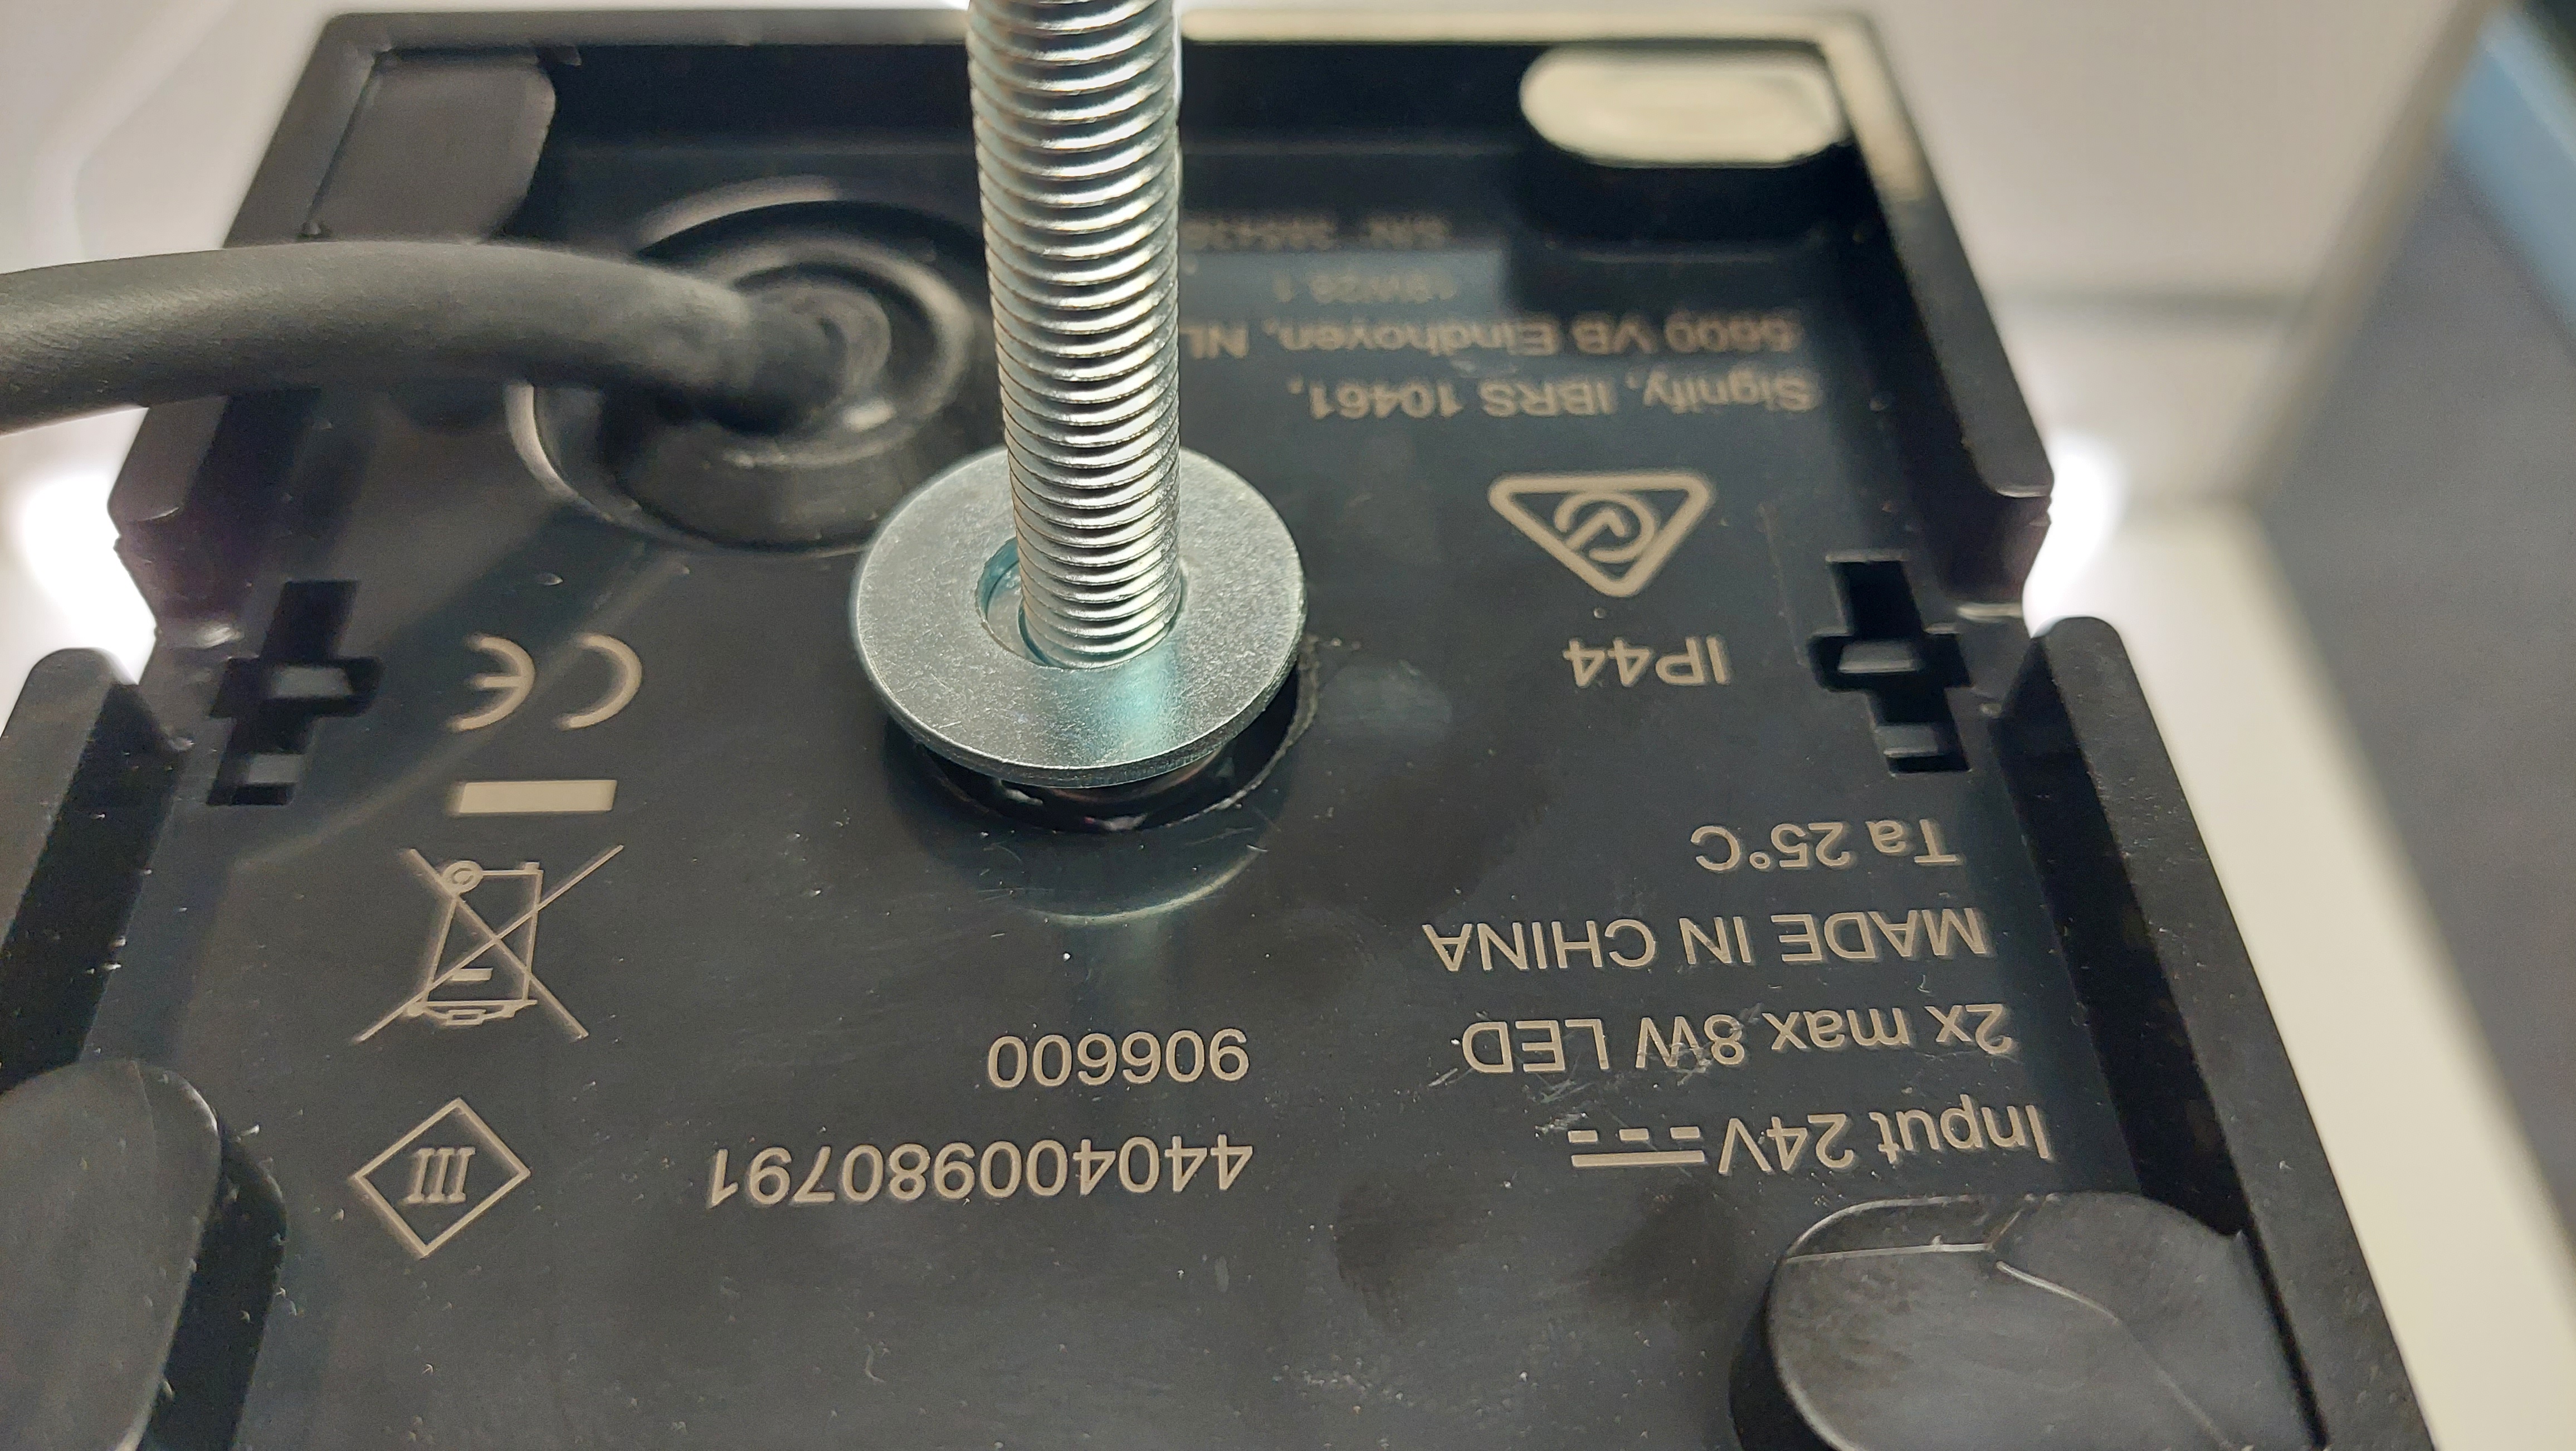
Place washer on bolt.
-
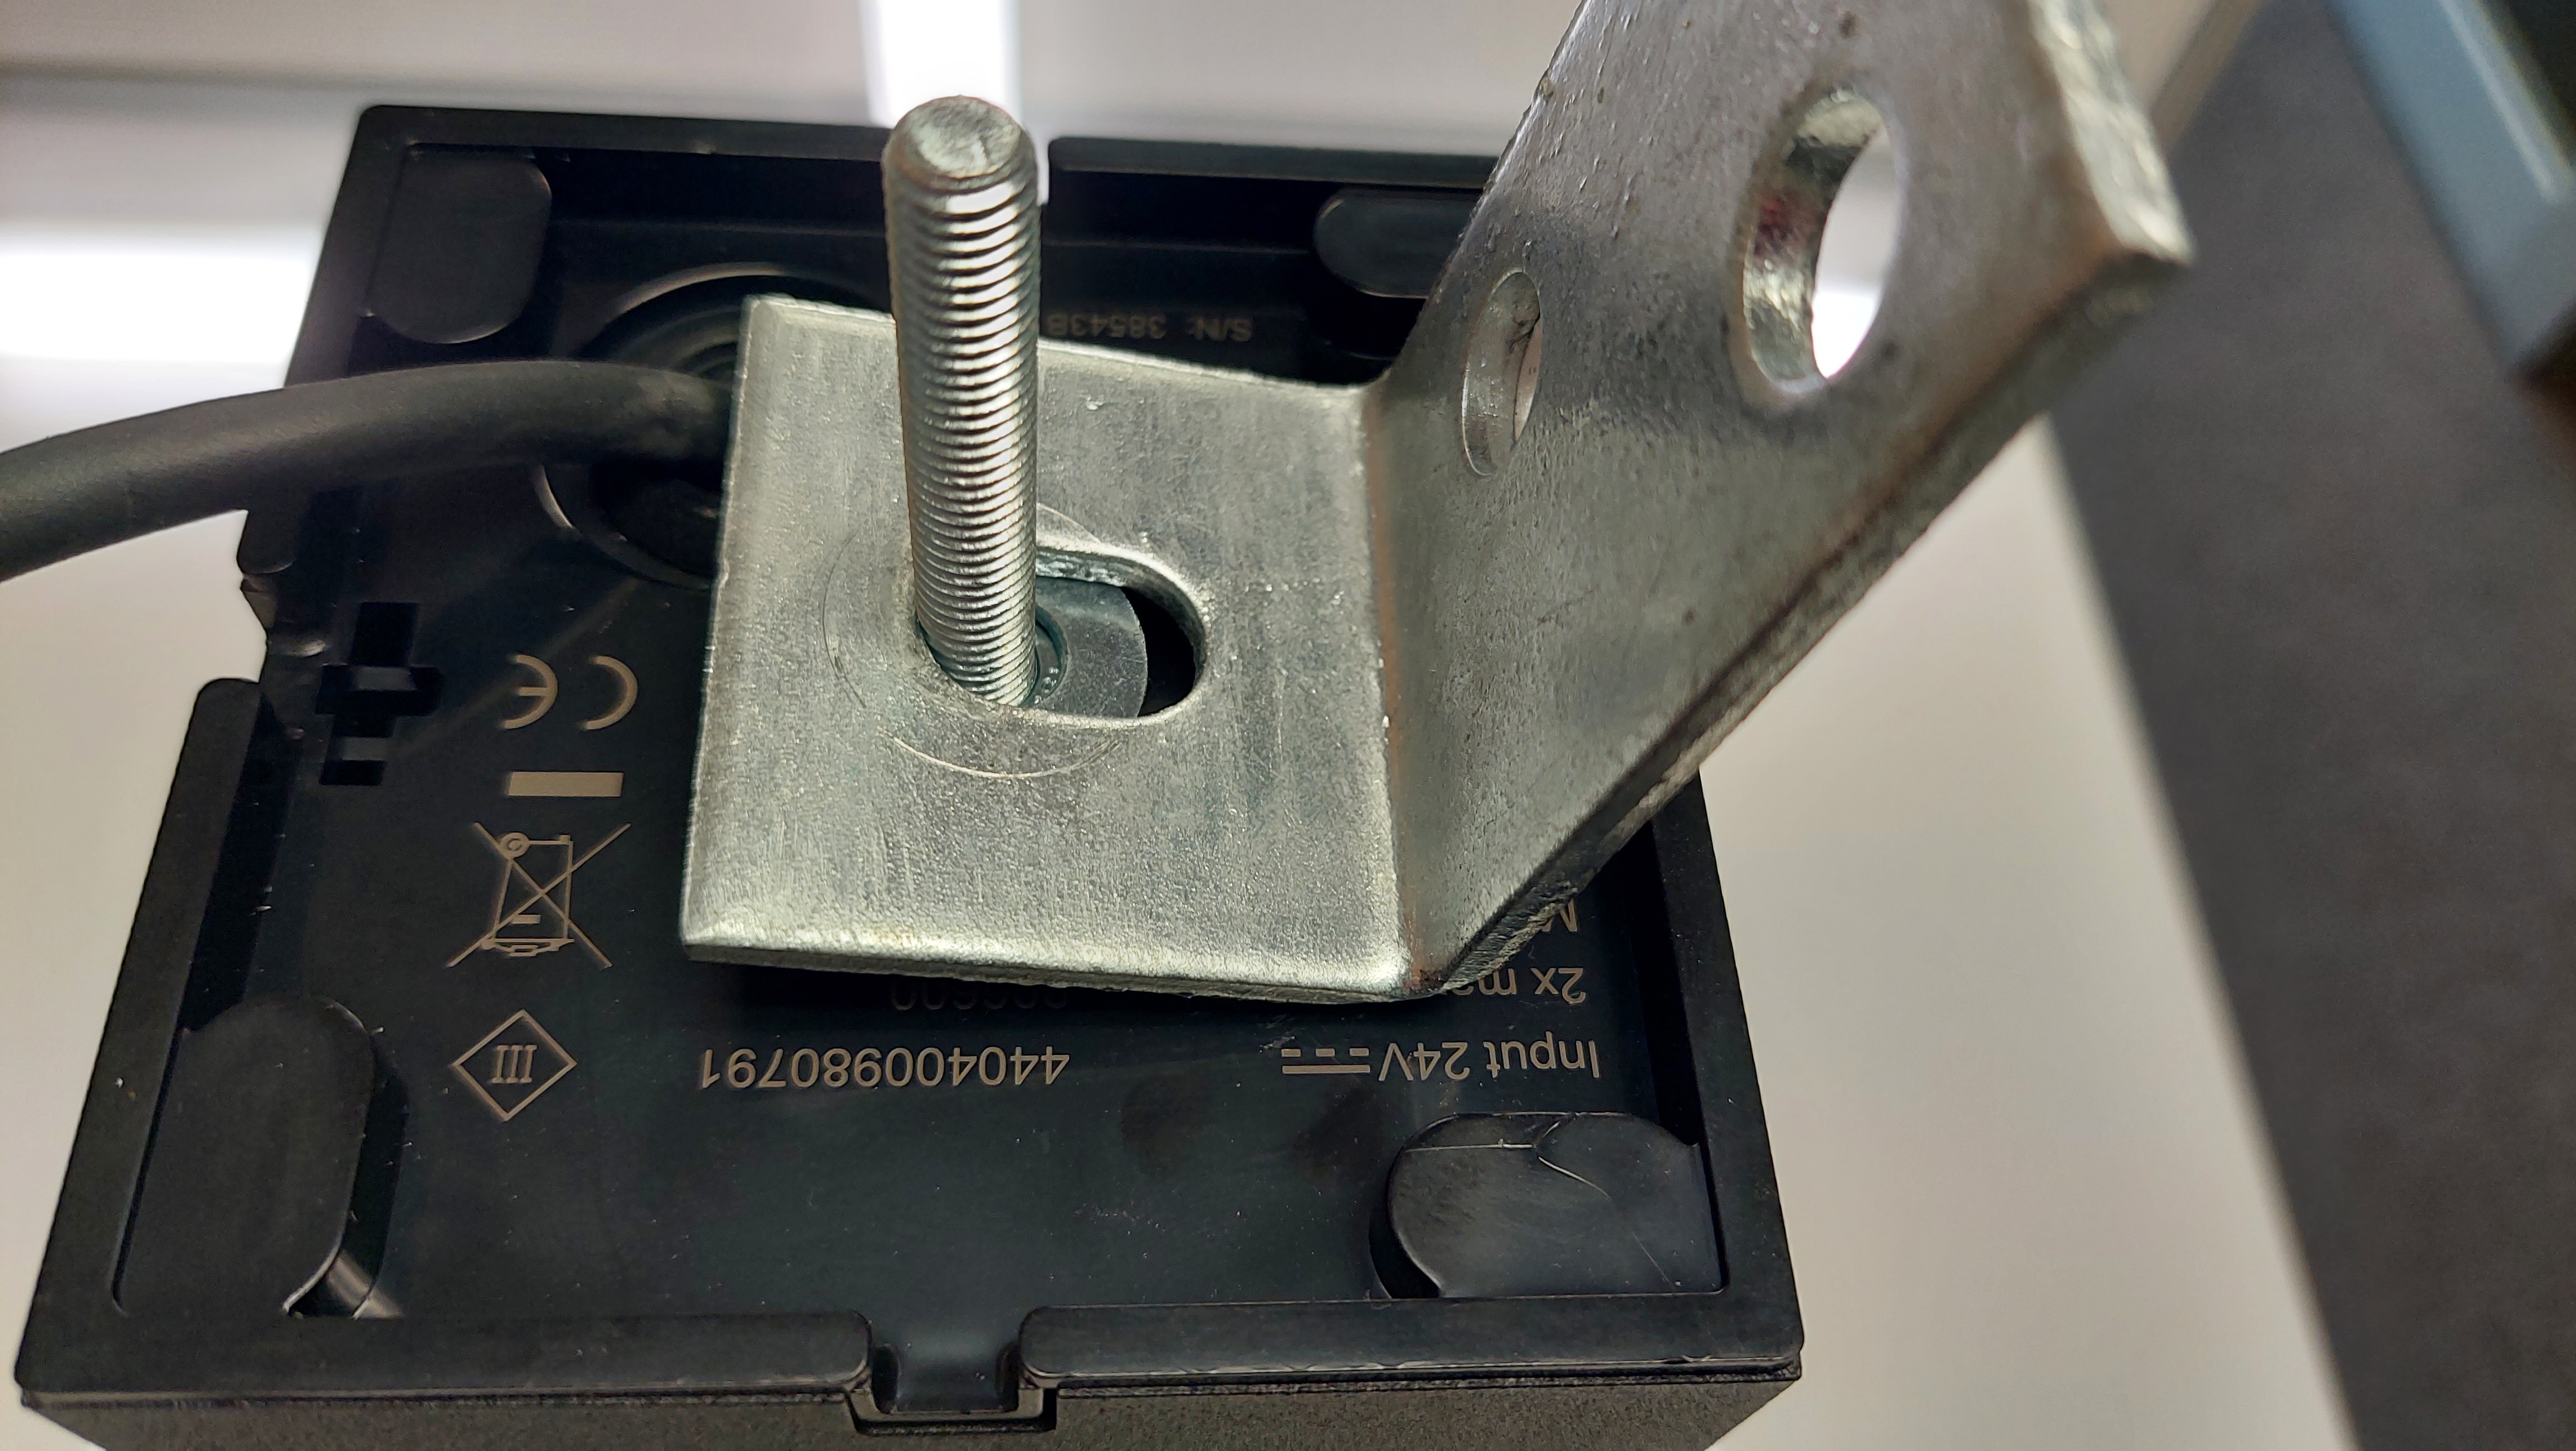
Place right angled bracket.
-
Place washer on bolt.
-
Place spring washer on bolt.
-
Thread on nut.
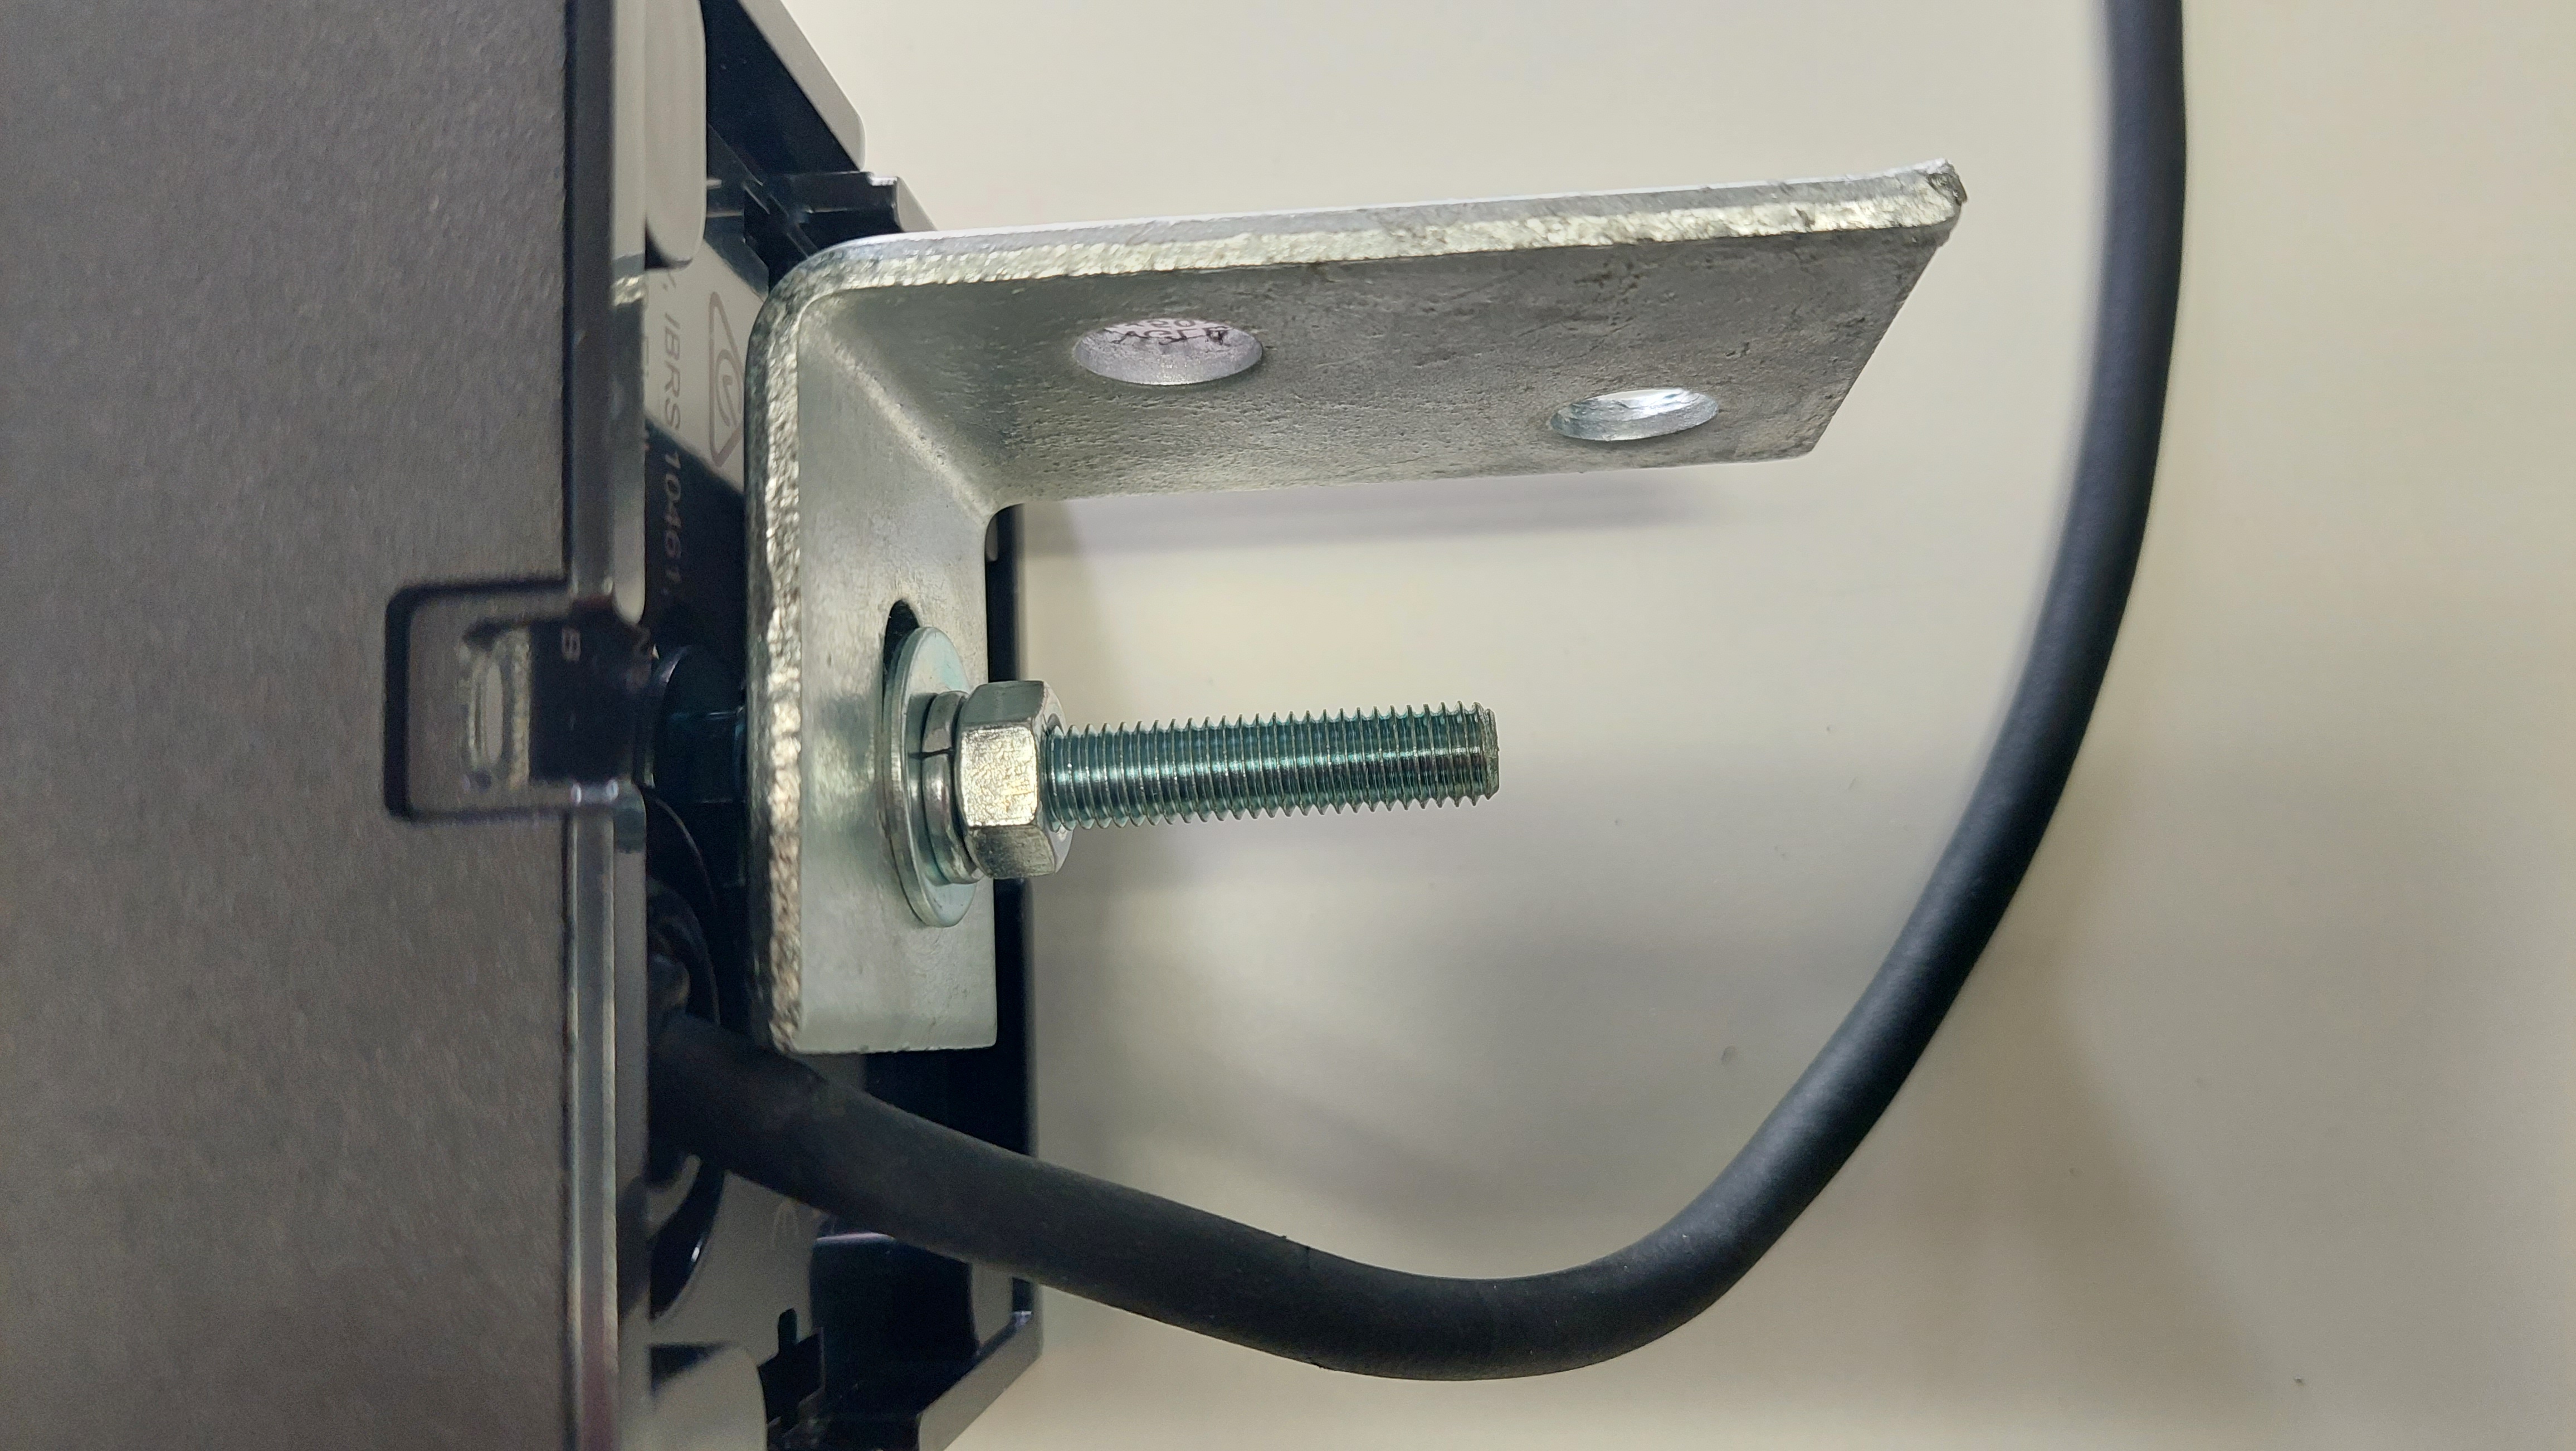
-
Tighten with adjustable spanner.
-
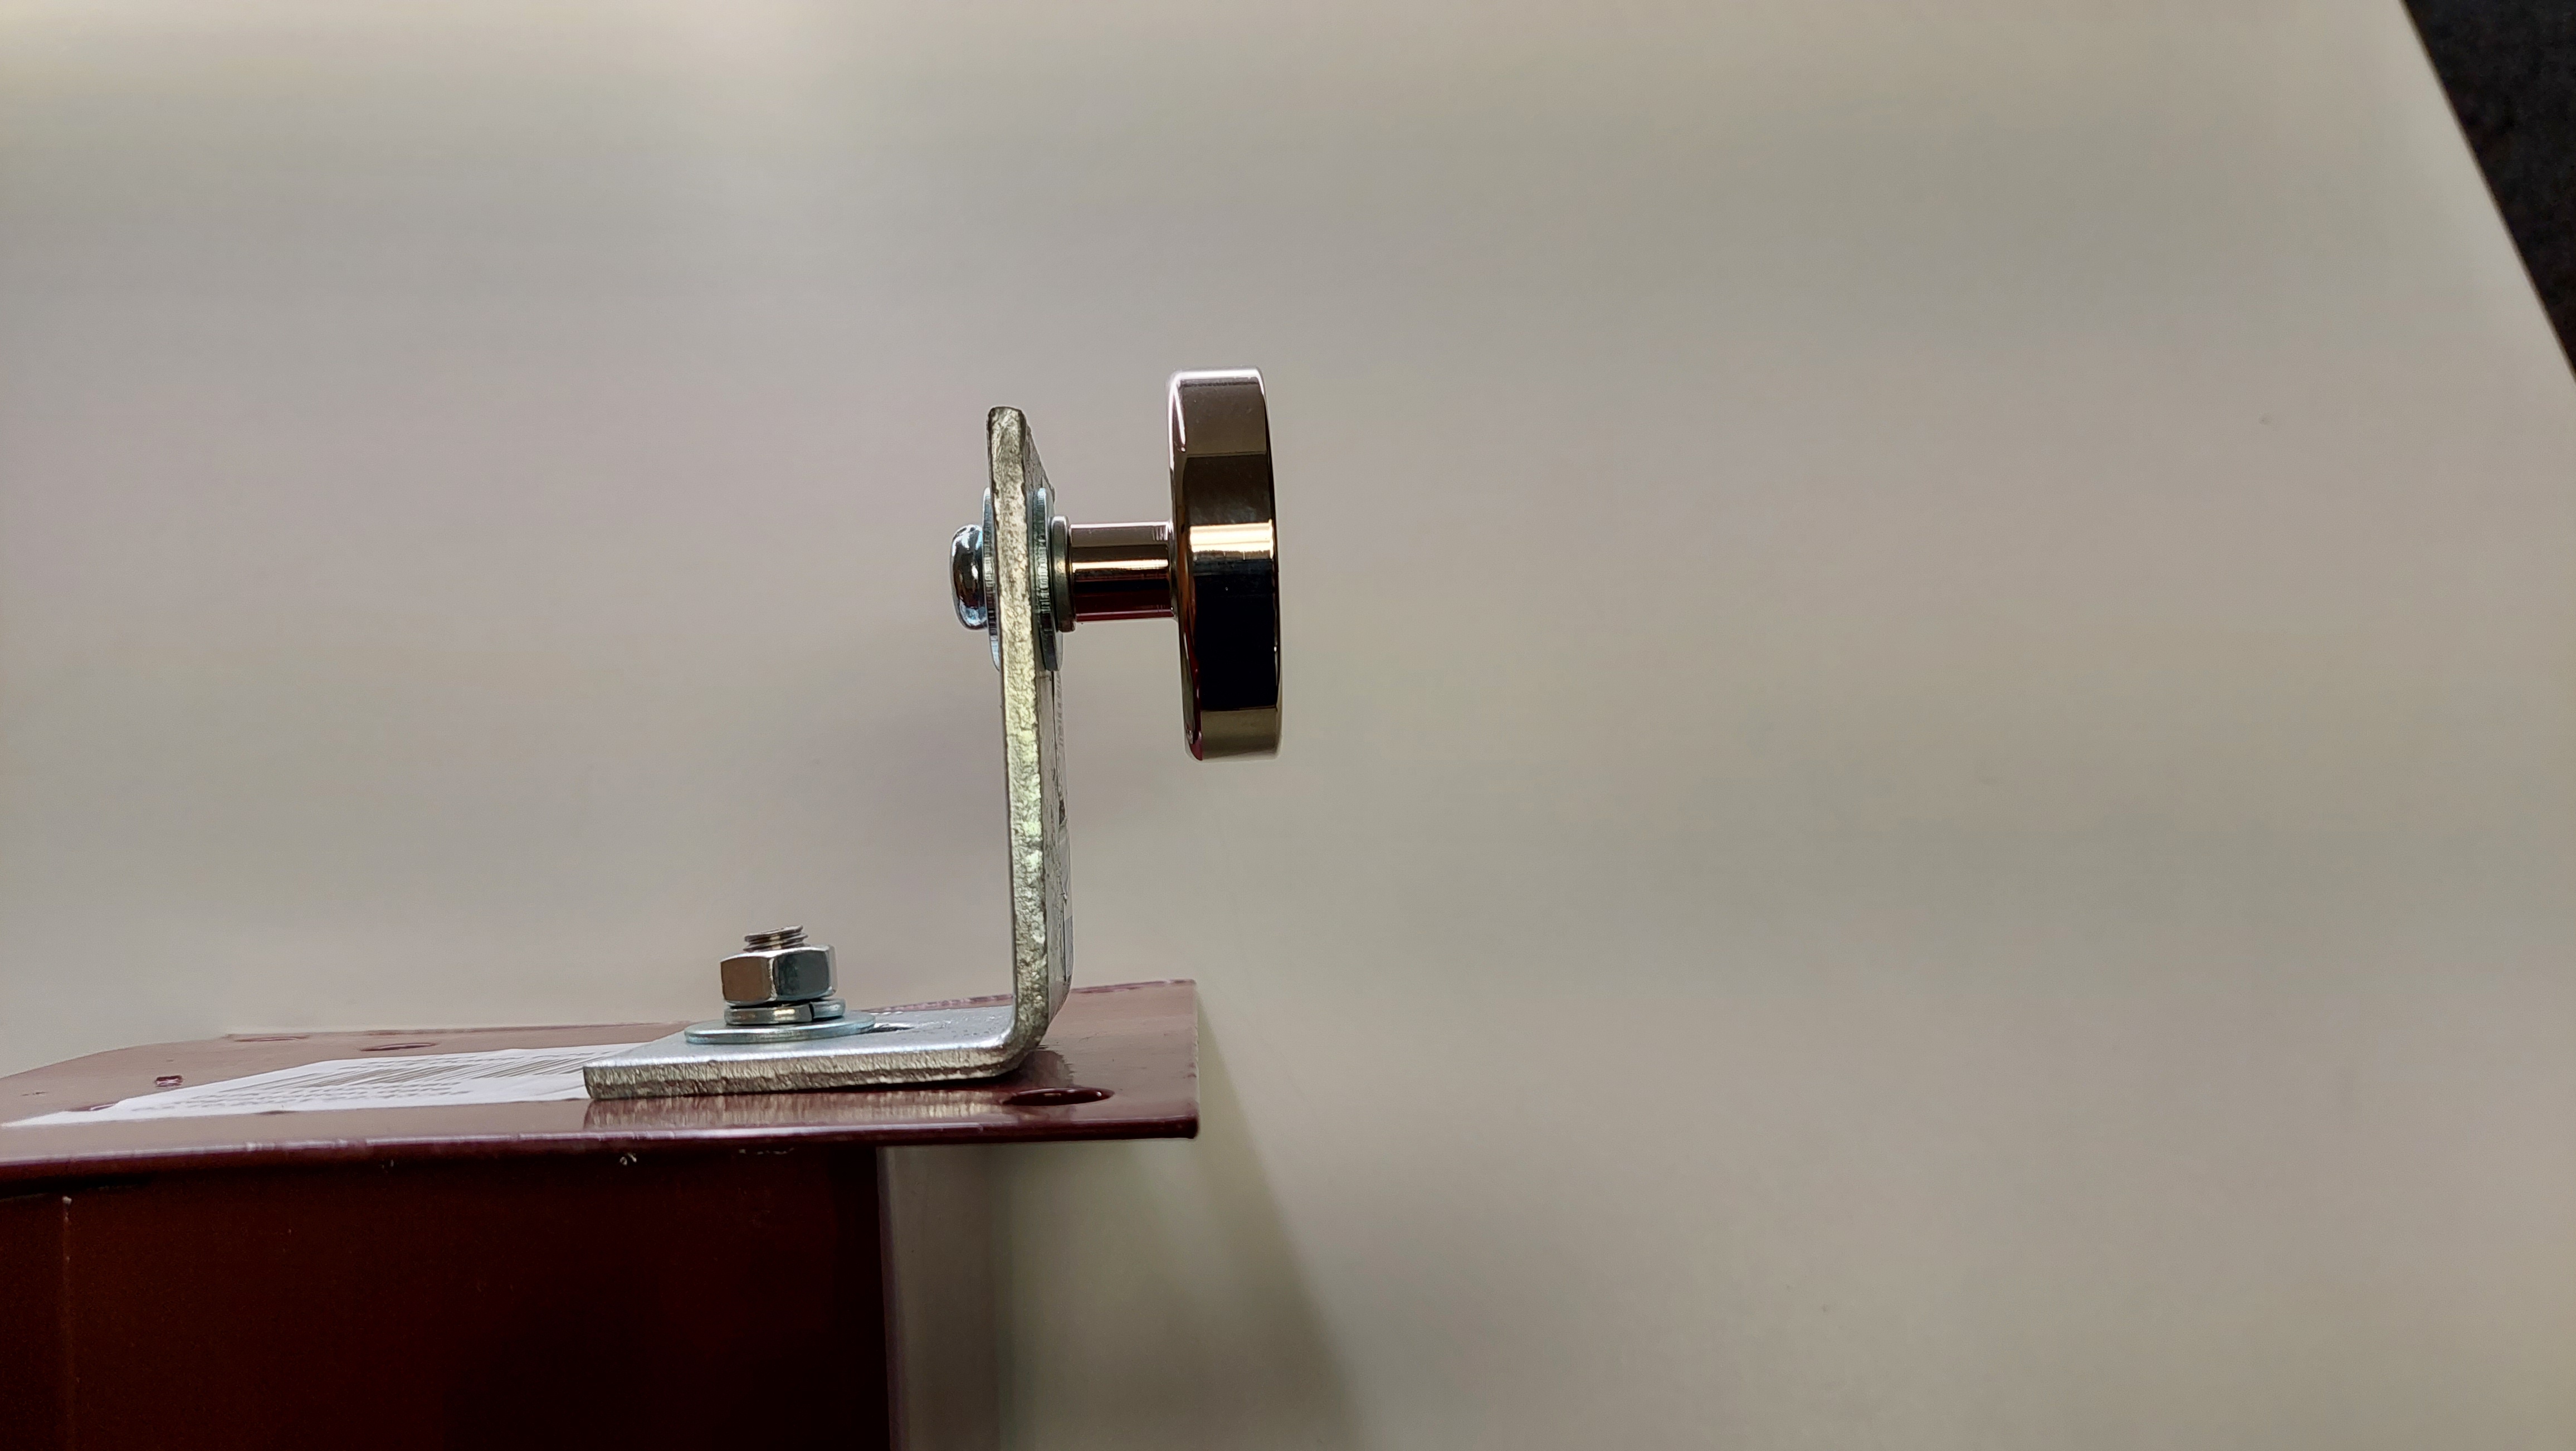
Reuse smaller bolt that was removed.
-
Place washer on bolt.
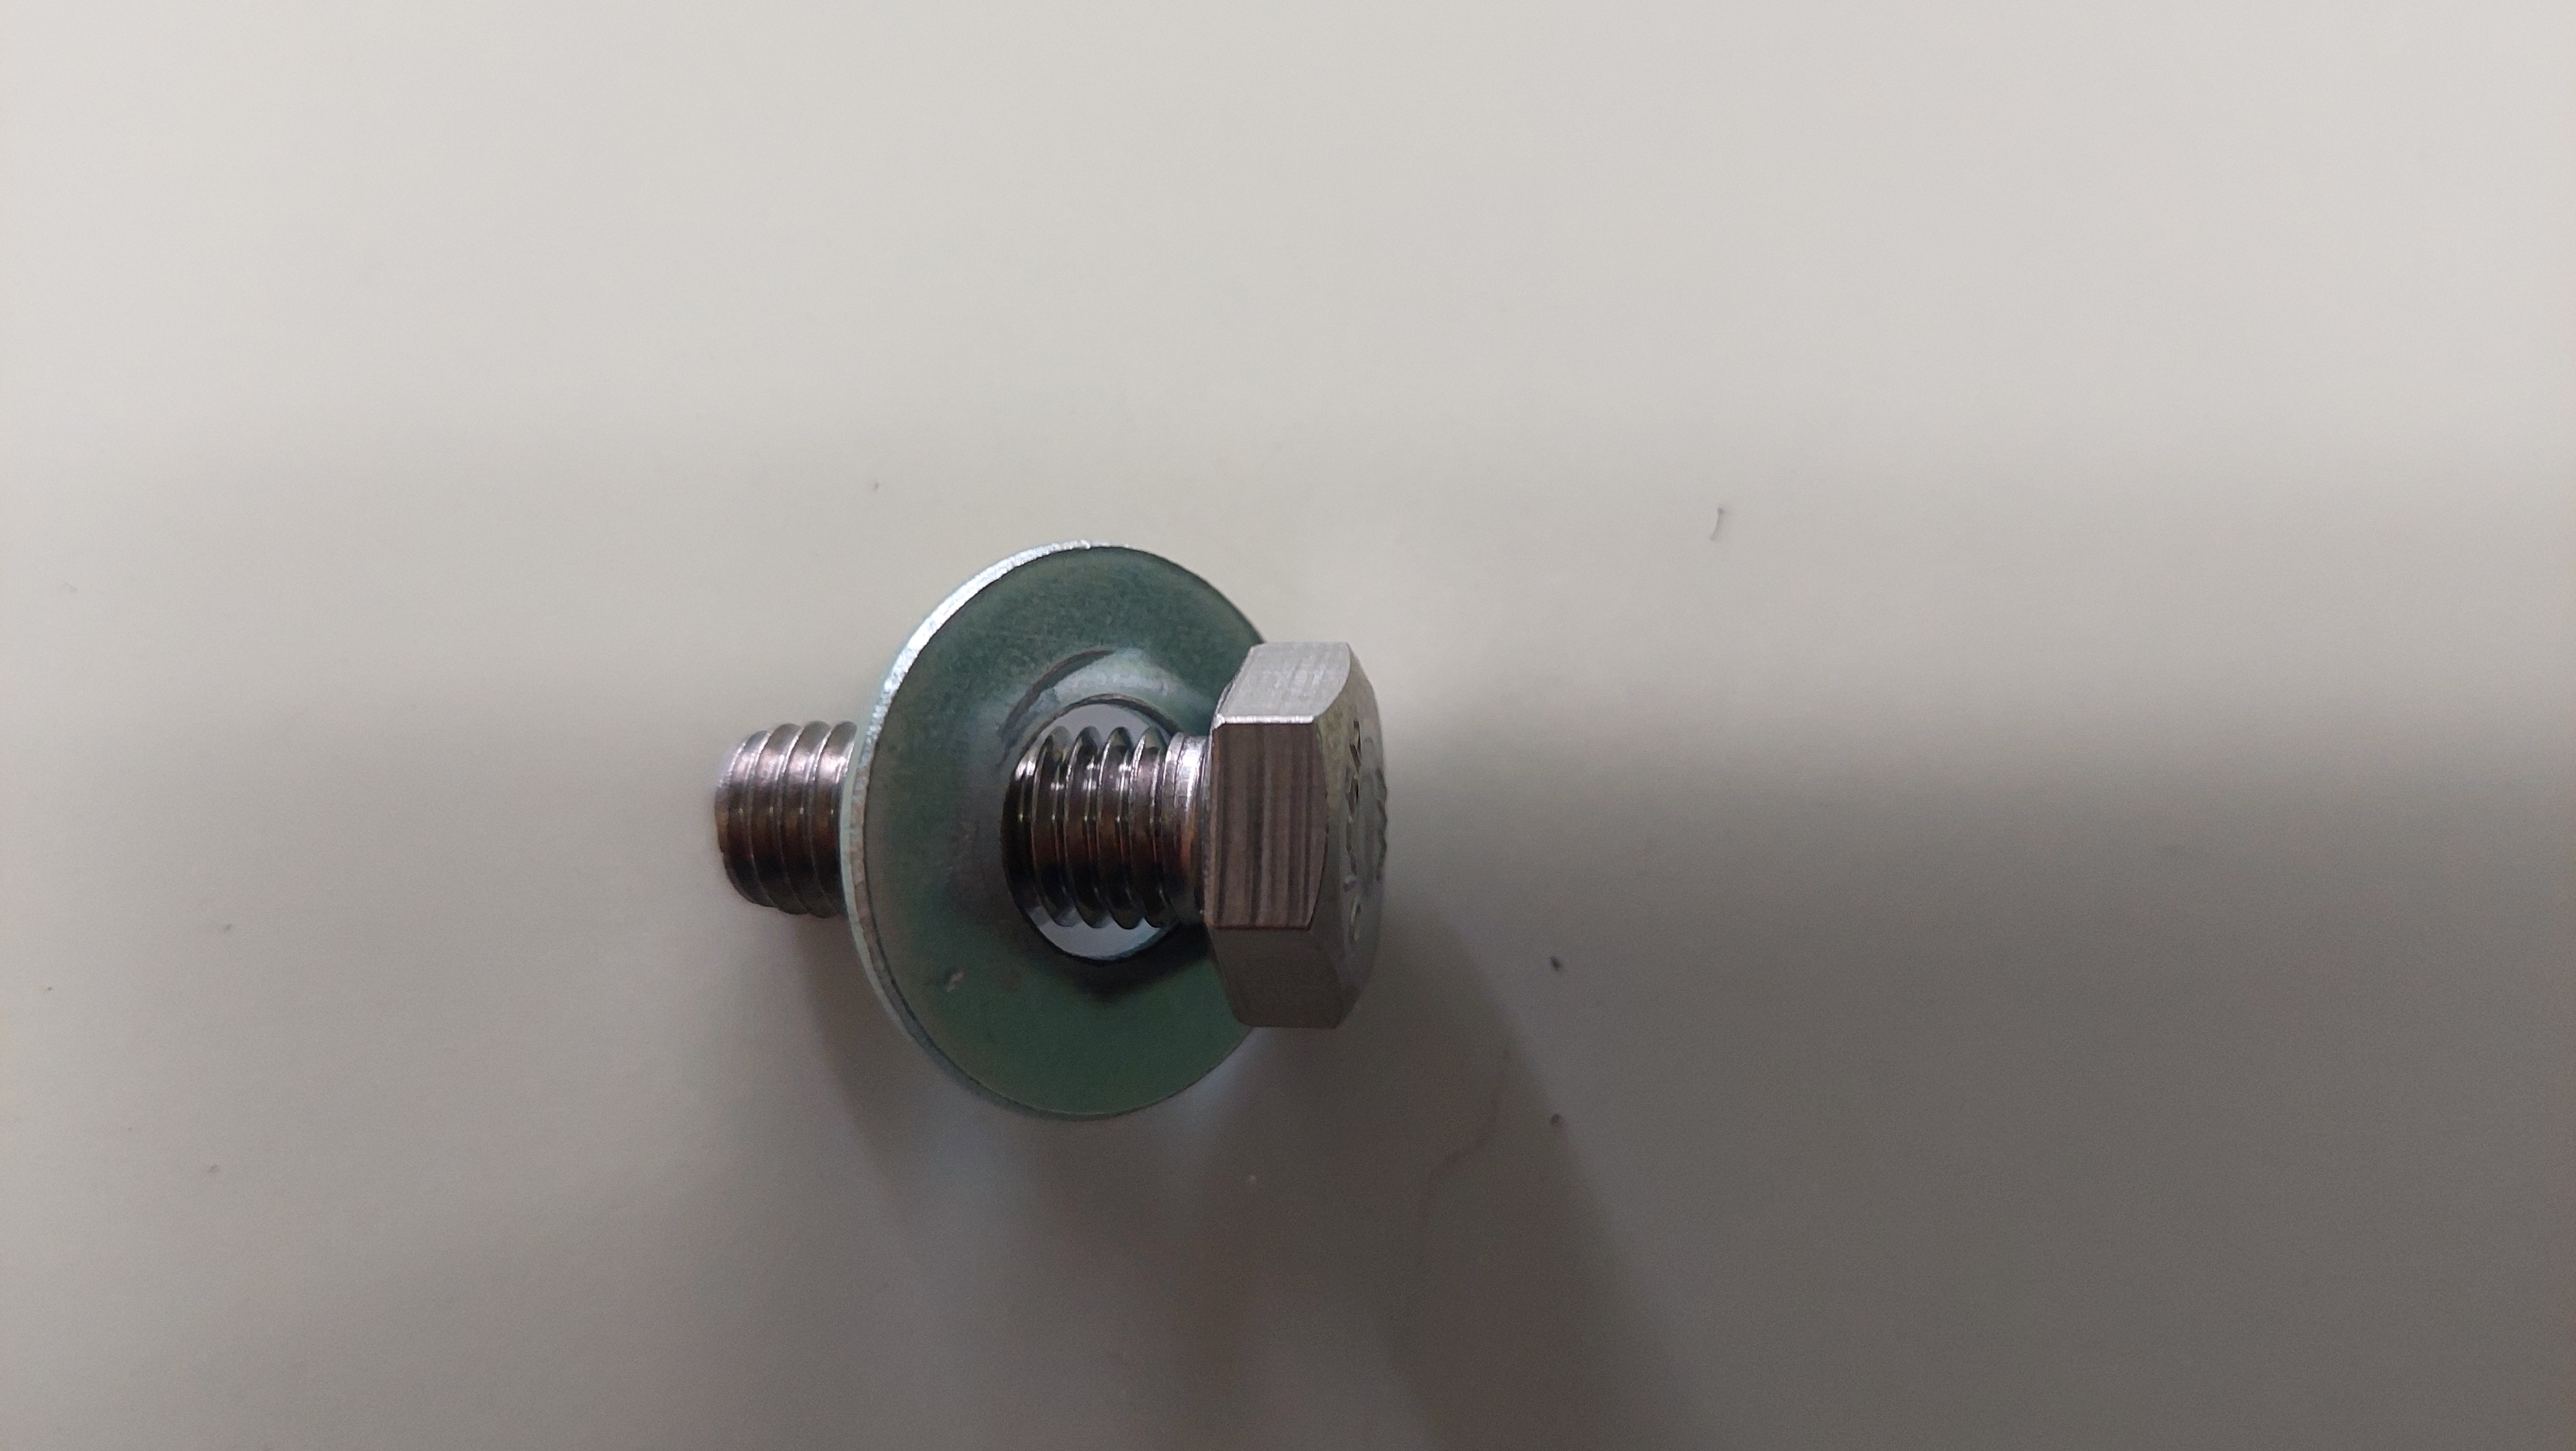
-
Insert into bracket pointing to the outside of the casing.
-
Place washer on bolt.
-
Place spring washer on bolt.
-
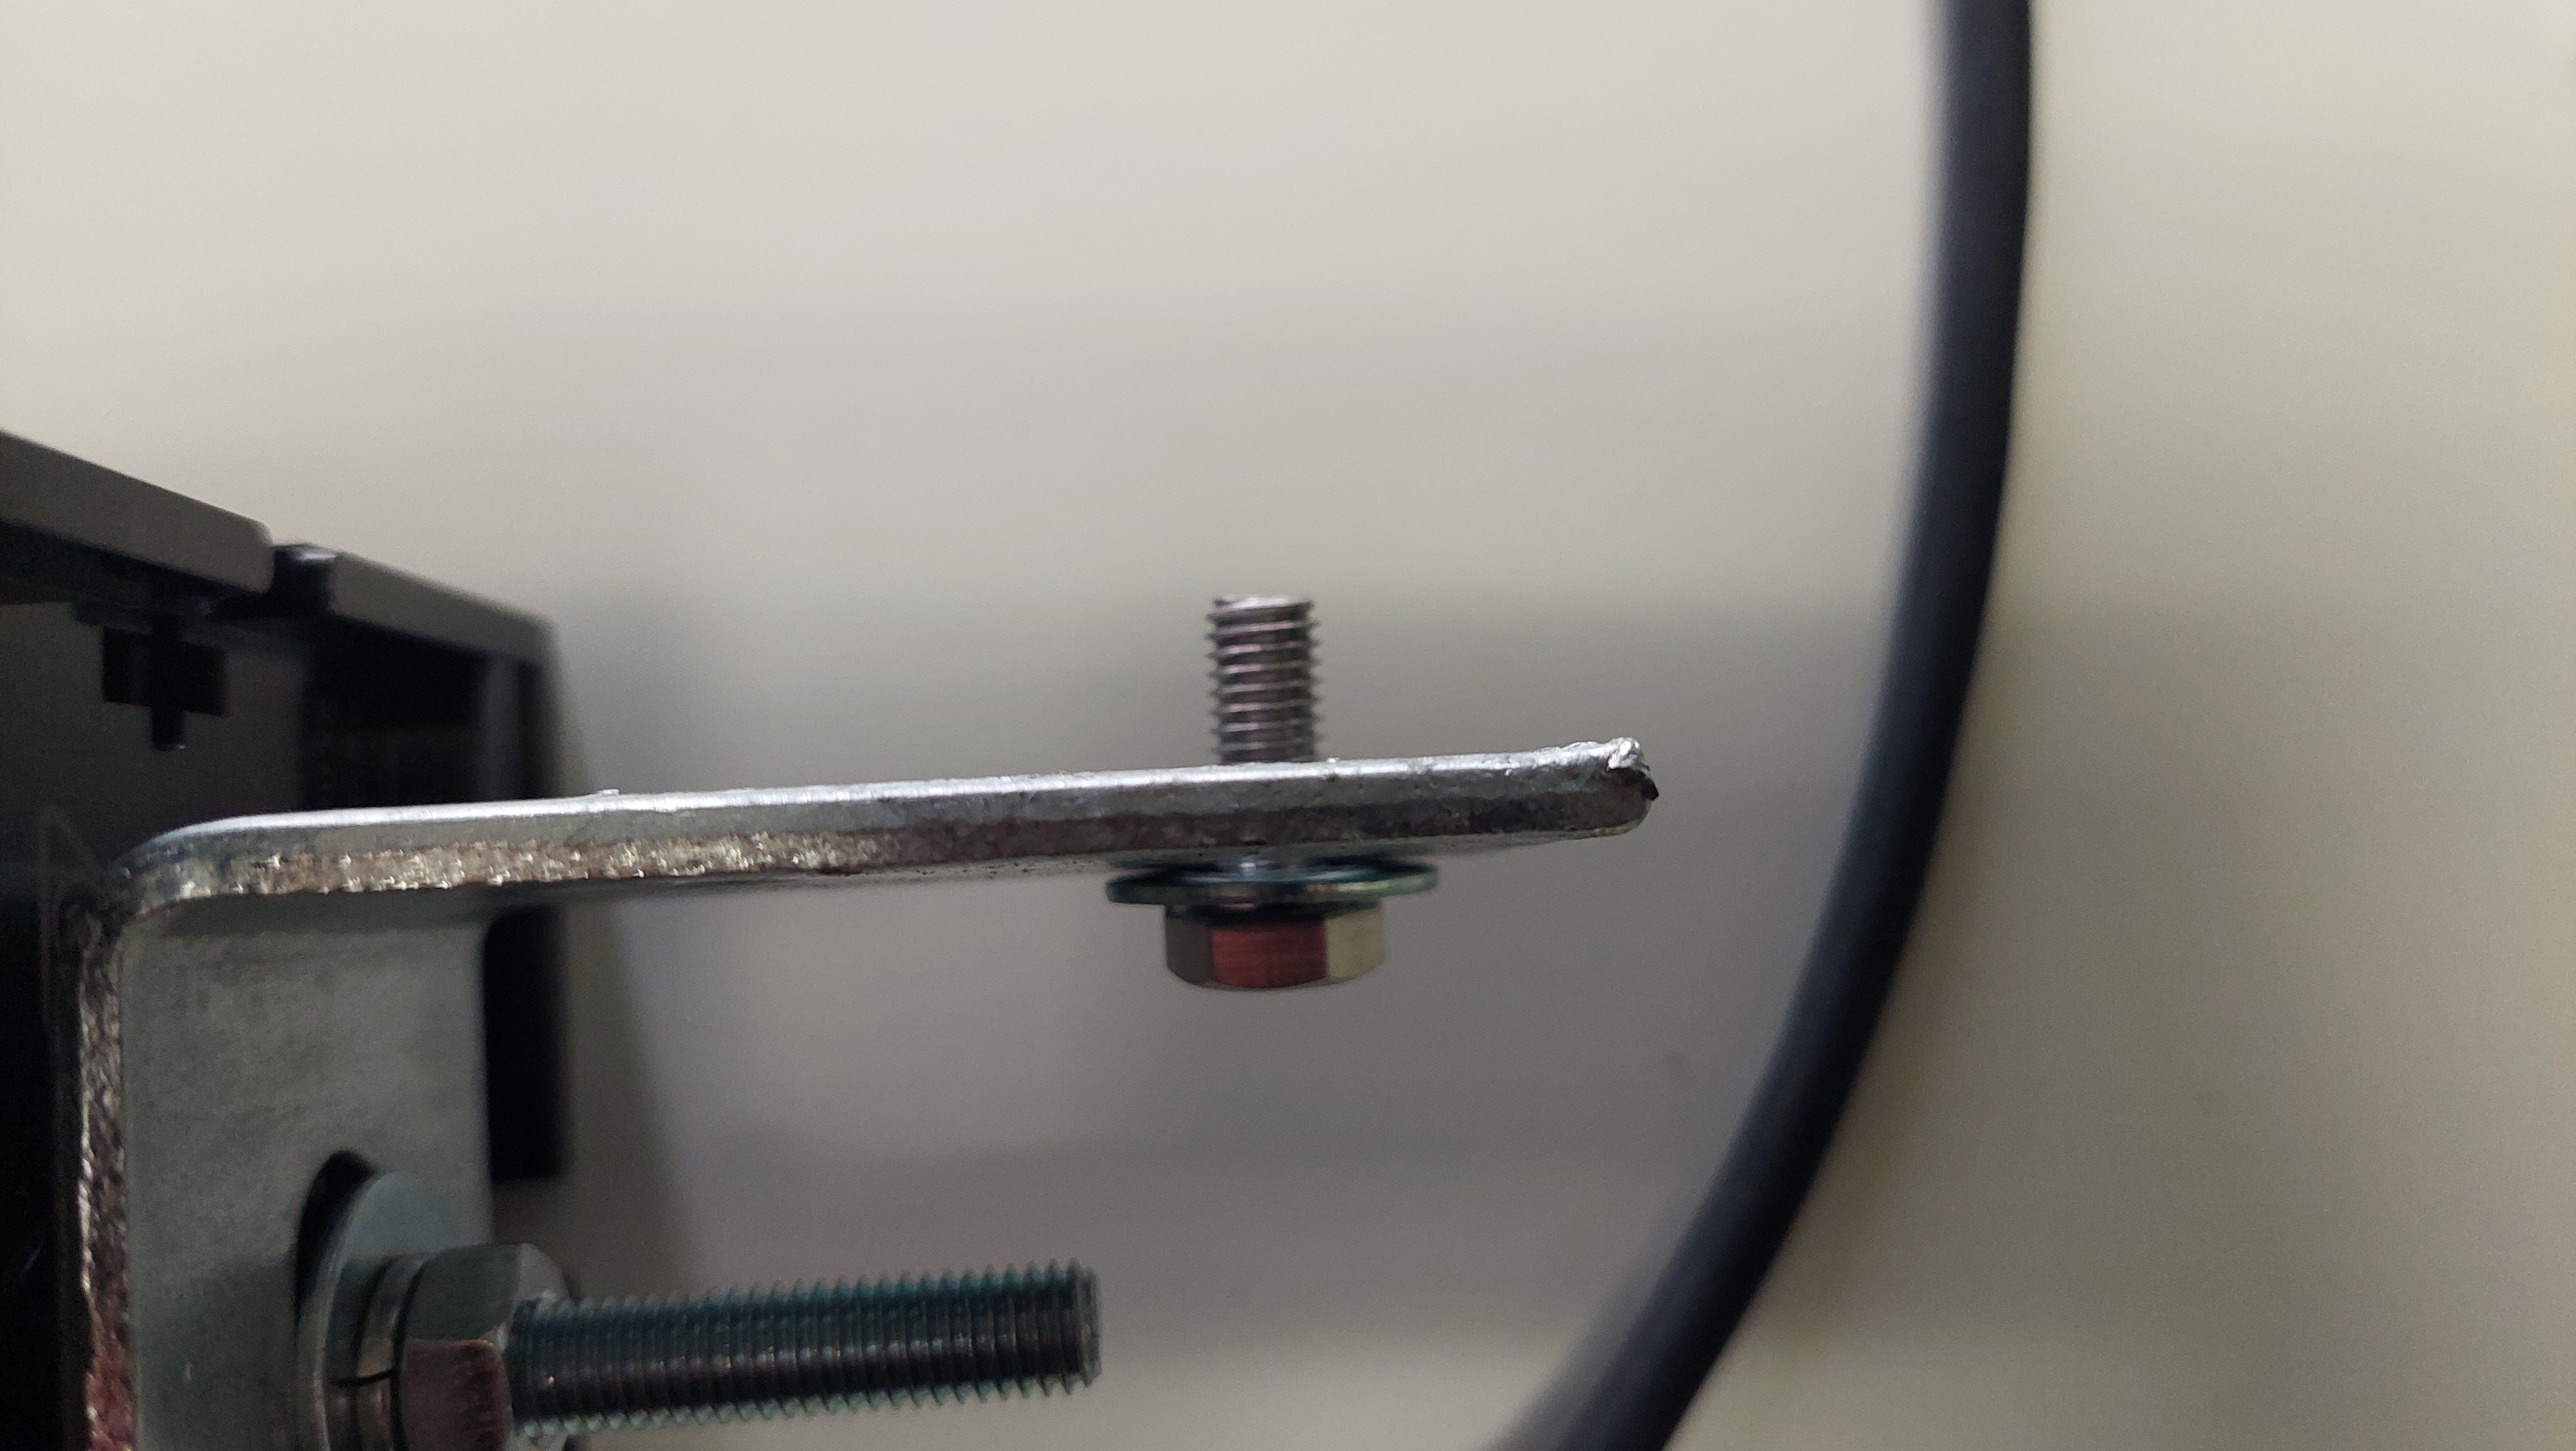
Thread on magnet.
-
Tighten with socket or adjustable spanner.
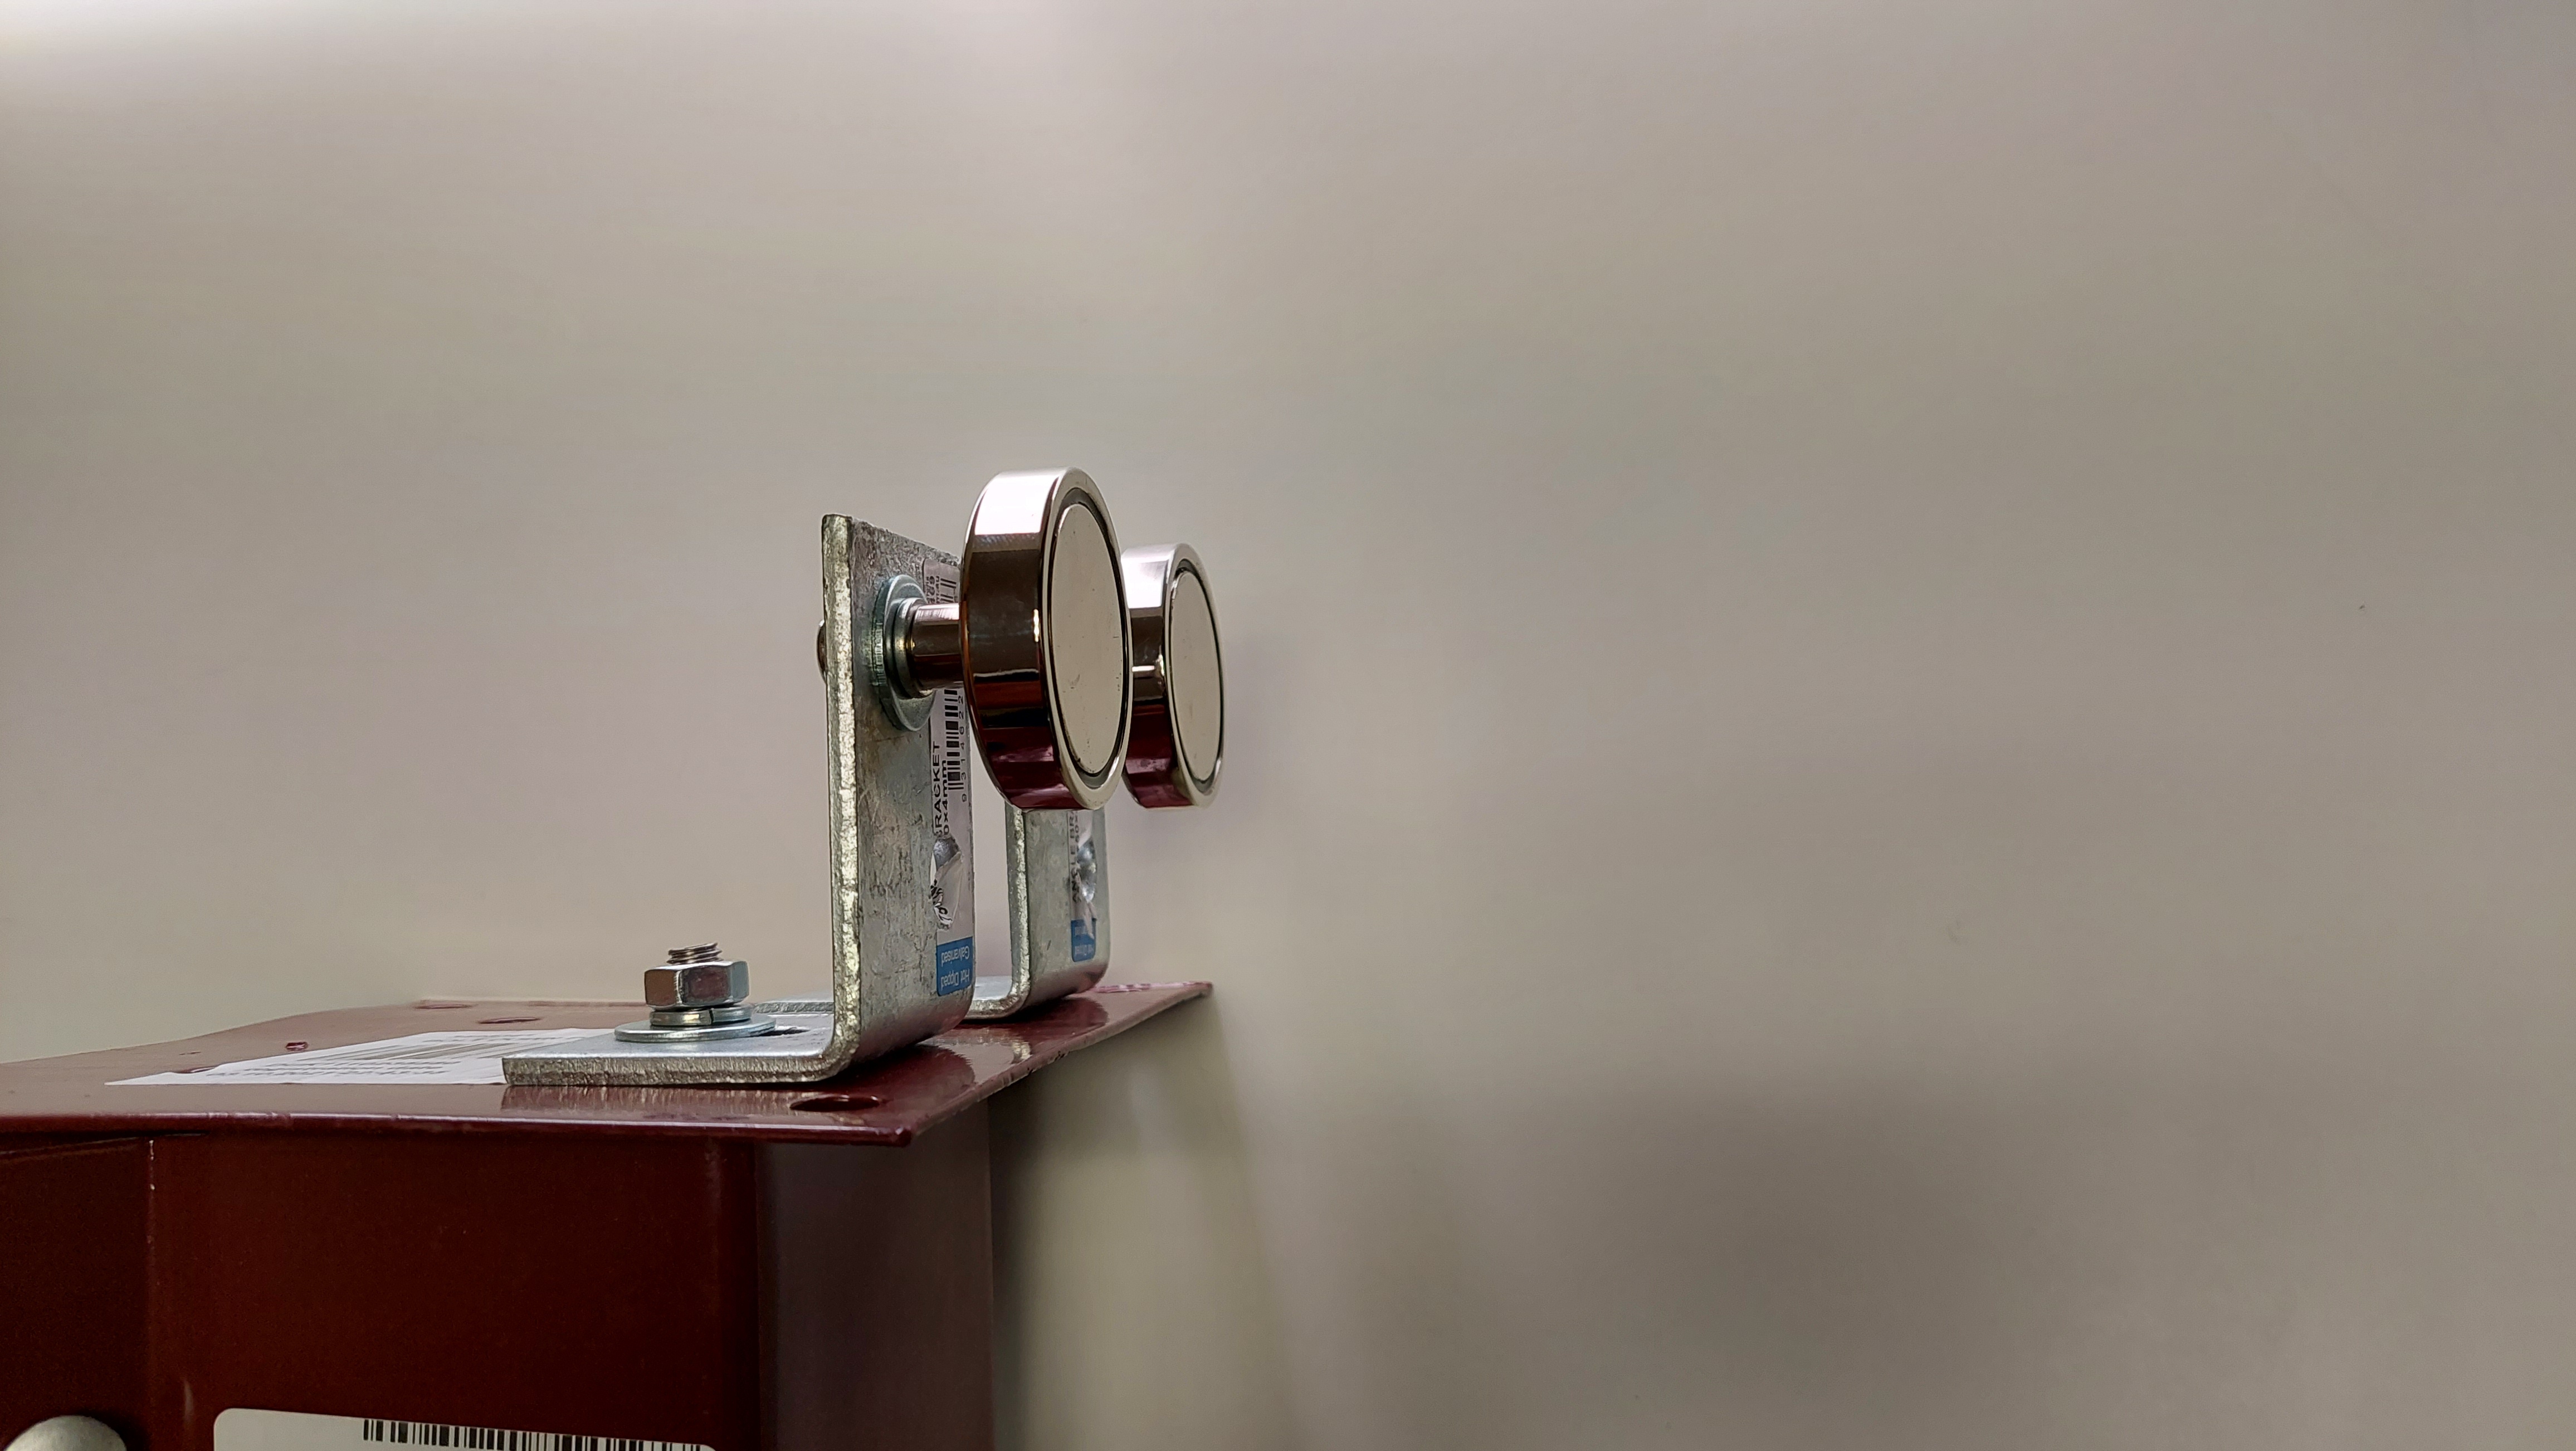
Warning
This does work but the base of the casing is made of plastic and excessive force may make the bolt break loose and the light can then fall. The recommended method is the safest and most secure way of mounting the light.
Also the manufacturer warranty may be voided by doing this, so we do not recommend this.